
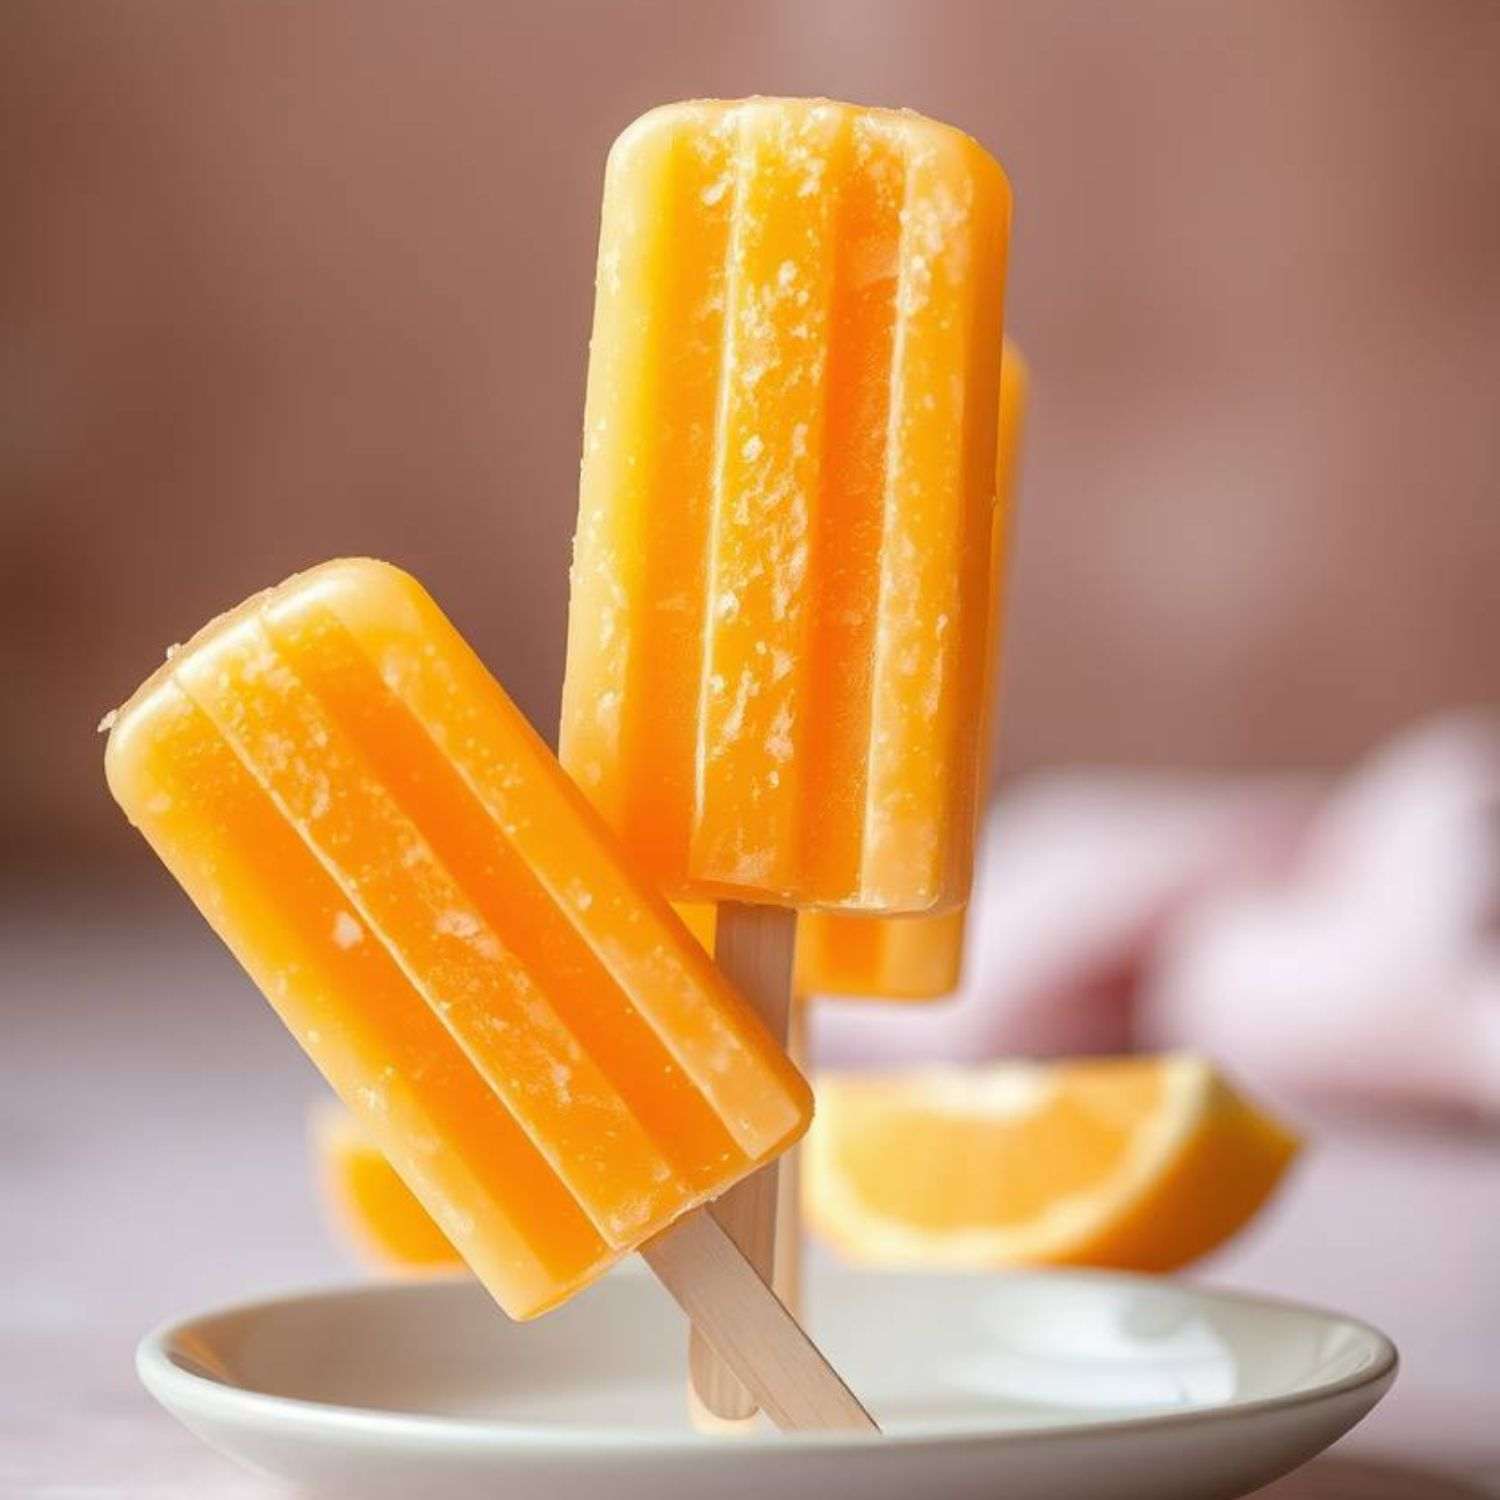
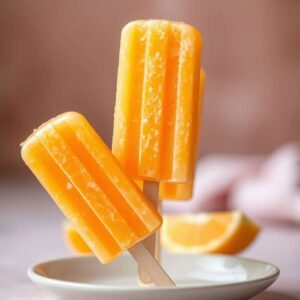
There’s nothing quite as refreshing as a bite into orange popsicles on a warm day. These vibrant, tangy treats have a way of bringing back nostalgic memories of summers spent chasing after ice cream trucks or cooling off in the backyard. Their bright citrus flavor and icy texture make them an all-time favorite for kids and adults alike.
Disclosure: This post may contain affiliate links. As an Amazon Associate, I earn from qualifying purchases. Read more.
Making your own orange popsicles at home is surprisingly simple. With just a handful of natural ingredients—like fresh orange juice, a touch of sweetness, and water—you can create a wholesome dessert that’s perfect for all ages. No need for artificial additives or complicated steps—this recipe is as easy as blend, pour, and freeze!
So, why make your own? Not only are homemade orange popsicles a cost-effective alternative to store-bought versions, but they’re also packed with health benefits. You control the ingredients, ensuring a snack free of unnecessary preservatives. Plus, the joy of crafting these popsicles yourself (or with family) adds a special touch to every delicious bite.
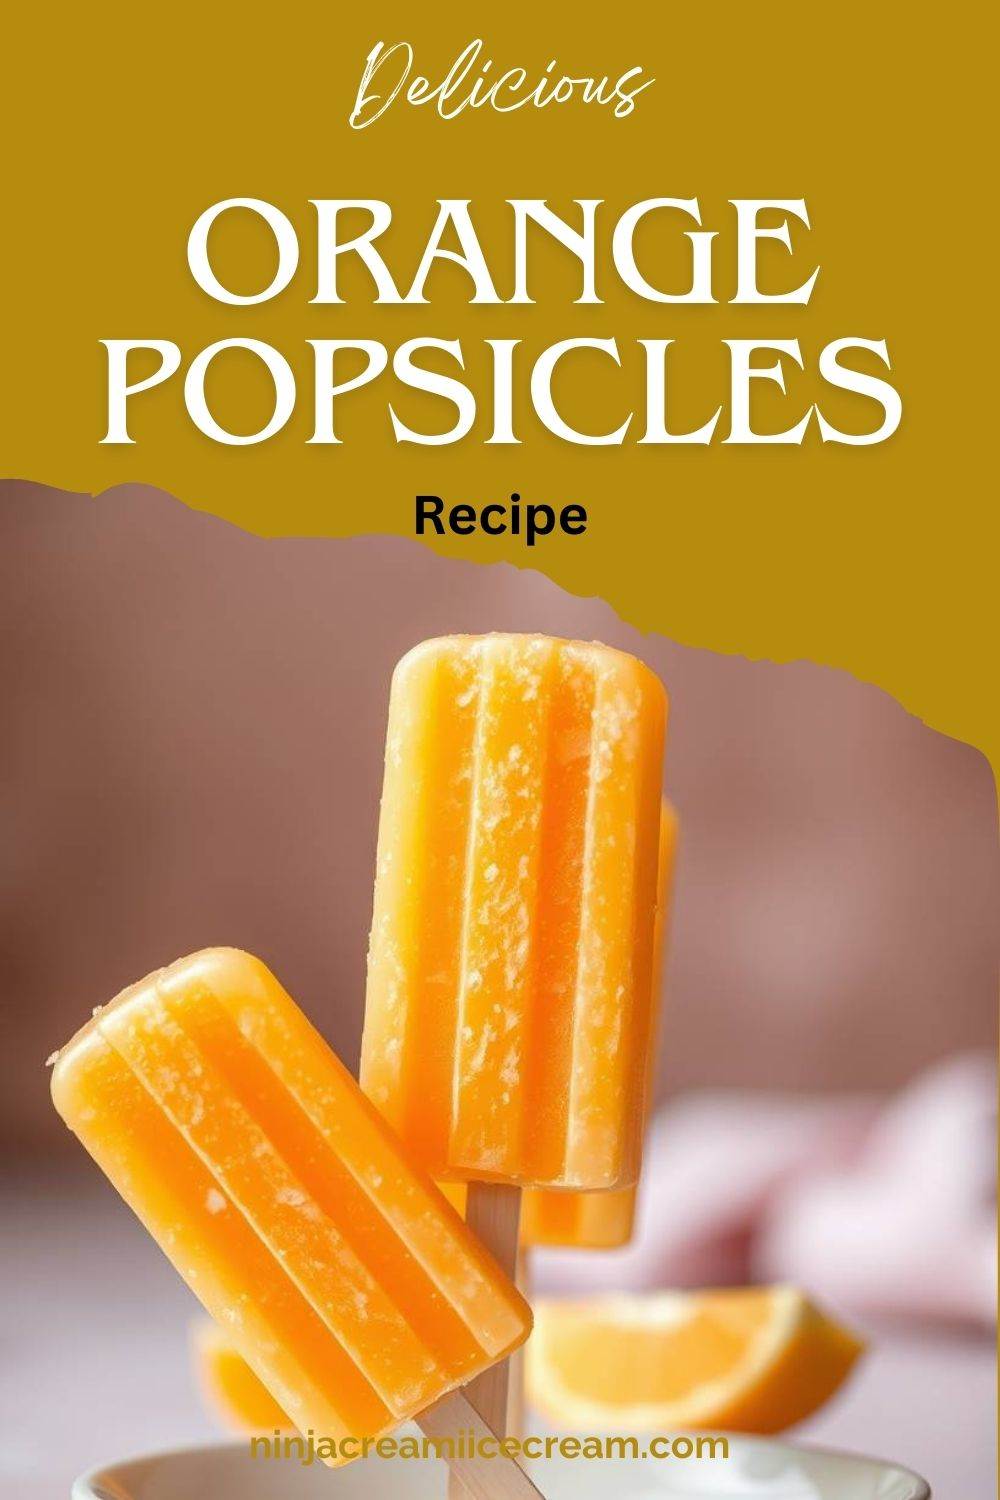
Orange Popsicles Recipe
Ingredients for Orange Popsicles
Fresh Oranges (4-5 medium oranges)
- The star of the recipe! Fresh oranges provide natural sweetness and a tangy citrus flavor.
- Use sweet, juicy varieties like navel oranges or Valencia oranges for the best results.
- If fresh oranges aren’t available, you can substitute with 2 cups of high-quality, unsweetened orange juice.
Sweetener (Optional)
- Honey (2-3 tablespoons): A natural and healthier alternative to sugar that complements the oranges’ tartness.
- Granulated Sugar (2-3 tablespoons): Use this if you prefer a classic sweetness or if the oranges are slightly sour.
- Maple Syrup (2-3 tablespoons): Another natural option for a unique flavor twist.
- Sweetener is optional and can be adjusted based on the natural sweetness of the oranges.
Water or Coconut Water (1/4–1/2 cup)
- Helps dilute the orange juice slightly, making the popsicles smoother when frozen.
- Coconut water adds a hint of tropical flavor and enhances hydration.
Orange Zest (1 teaspoon, optional)
- Adds an extra layer of citrusy aroma and flavor.
- Be sure to use organic oranges and wash them thoroughly if adding zest to avoid any pesticide residue.
Vanilla Extract (1/2 teaspoon, optional)
- For a subtle creamy undertone that balances the citrus tang beautifully.
Chia Seeds (Optional, 1 tablespoon)
- Optional but adds a fun texture and boosts the nutritional value with fiber and omega-3s.
These simple, wholesome ingredients combine to create the perfect balance of flavor, sweetness, and nutrition in every bite!
Instructions for Making Orange Popsicles
Step 1: Prepare the Oranges
- Wash the oranges thoroughly to remove any dirt or residue. If you’re planning to use zest, choose organic oranges.
- Peel the oranges, removing as much of the white pith as possible to avoid bitterness.
- Separate the orange segments and check for seeds. Remove seeds to ensure a smooth blend.
Step 2: Extract the Juice
- Using a Juicer: If you have a juicer, extract the juice directly and measure about 2 cups.
- Using a Blender: Add the peeled orange segments to a blender and blend until smooth. Strain the mixture through a fine-mesh sieve to remove pulp if a smoother texture is preferred.
Step 3: Sweeten the Juice (Optional)
- Taste the orange juice to gauge its natural sweetness.
- If needed, add honey, sugar, or maple syrup (2-3 tablespoons) to the juice. Mix well until dissolved. Adjust sweetness based on your preference.
Step 4: Add Liquid and Flavoring
- Add 1/4–1/2 cup of water or coconut water to the juice to slightly dilute it. This step ensures the popsicles freeze smoothly and aren’t too icy.
- For extra flavor, stir in 1 teaspoon of orange zest and 1/2 teaspoon of vanilla extract, if desired.
Step 5: Fill the Popsicle Molds
- Pour the prepared orange juice mixture into popsicle molds, leaving about 1/4 inch of space at the top to allow for expansion during freezing.
- If using chia seeds, add a small pinch into each mold and stir lightly to distribute them evenly.
Step 6: Insert Sticks and Freeze
- Place the popsicle sticks into the molds. If your mold doesn’t hold the sticks upright, freeze the mixture for about 30 minutes to slightly firm it, then insert the sticks.
- Freeze the popsicles for at least 4-6 hours or until they are completely set.
Step 7: Unmold the Popsicles
- To easily remove the popsicles, dip the molds into warm water for 10-15 seconds. Avoid using hot water to prevent melting.
- Gently pull the popsicles out of the molds.
Step 8: Serve and Enjoy
- Serve the popsicles immediately for a refreshing treat.
- For a creative touch, consider dipping them in melted chocolate or sprinkling them with shredded coconut before serving.
Orange Popsicles Recipe
Equipment
- Blender or Juicer To extract juice from the oranges and blend the ingredients together. A juicer can quickly extract fresh juice, while a blender will puree the fruit and may require straining.
- Popsicle Molds Molds to shape the popsicles. These can be traditional plastic molds or silicone molds for easy removal. You can also use paper cups or small containers as alternatives.
- Measuring Cups and Spoons: To measure the orange juice, sweeteners, and any optional add-ins like vanilla extract or zest.
- Strainer (Optional): If you prefer a smooth popsicle with no pulp, you’ll need a fine-mesh sieve to strain the juice after blending.
- Popsicle Sticks To insert into the molds. Some molds come with sticks, but if you're using alternative containers, you may need to buy separate sticks.
- Spoon or Small Ladle For pouring the juice mixture into the molds neatly.Freezer-Safe Container (Optional)
- Freezer-Safe Container: (Optional)To store the popsicles once unmolded, ensuring they stay fresh and are easy to access.
Ingredients
- 4-5 medium-sized Fresh Oranges (approximately 2 cups of juice)
Sweetener (Optional)
- 2-3 tablespoons Honey or agave syrup
- 2-3 tablespoons Granulated Sugar
- 2-3 tablespoons Maple Syrup (Adjust to taste depending on desired sweetness)
- 1/4 to 1/2 cup Water or Coconut Water (Coconut water adds a subtle tropical flavor; water works just as well)
- 1 tsp Orange Zest (Optional) (For added citrus flavor)
- 1/2 tsp Vanilla Extract (Optional) (To enhance flavor)
- 1 tbsp Chia Seeds (Optional)(For added texture and nutrition)
Instructions
- Prepare the OrangesPeel and segment 4-5 medium-sized oranges. Remove any seeds and set the segments aside. If desired, zest one orange for extra flavor.
- Blend the IngredientsIn a blender, combine the orange segments, 1/4-1/2 cup of water or coconut water, and sweetener (honey, sugar, or maple syrup). Blend until smooth and creamy. Taste and adjust sweetness if needed. Optionally, add orange zest and vanilla extract for enhanced flavor.
- Pour into MoldsPour the blended mixture into popsicle molds, leaving a little space at the top. If using, sprinkle 1 tablespoon of chia seeds into each mold and stir lightly to distribute them evenly.
- Insert Sticks and FreezePlace popsicle sticks into the molds. Freeze the popsicles for at least 4-6 hours or until completely set and firm.
- Unmold and ServeTo remove the popsicles, run warm water over the outside of the molds for a few seconds. Gently pull the popsicles out of the molds and enjoy!
Notes
-
Adjust Sweetness to Taste
- The natural sweetness of oranges varies, so taste the mixture before freezing and adjust the amount of sweetener to your preference. You can use honey, maple syrup, or granulated sugar, or even skip the sweetener for a more tart flavor.
-
Choose Fresh Oranges
- For the best flavor, use fresh, ripe oranges. If fresh oranges are out of season, you can substitute with high-quality, unsweetened orange juice, but freshly squeezed juice will give you the best results.
-
Strain for Smooth Popsicles
- If you prefer a smoother texture, strain the juice to remove pulp before pouring it into the molds. If you enjoy a bit of texture, feel free to leave the pulp in.
-
Use Proper Popsicle Molds
- Ensure your popsicle molds are freezer-safe and designed for easy removal. Silicone molds work best for easy popsicle release. If using paper cups, cover the tops with foil and insert sticks through it to keep them upright.
-
Chia Seeds Optional
- Adding chia seeds gives the popsicles an extra burst of fiber and texture, but it’s completely optional. If you don’t want the seeds, you can omit them or try other add-ins like chopped fruit or yogurt.
-
Freezing Time
- Allow at least 4-6 hours of freezing time for the popsicles to fully set. For best results, freeze them overnight if you can.
-
Storage
- Store any leftover popsicles in an airtight container or wrap them individually in parchment paper to prevent freezer burn. They will stay fresh in the freezer for up to 2 weeks.
-
Experiment with Flavors
- You can get creative by adding other fruits like strawberries, mangoes, or berries to the mix. Blending a few different fruits together can result in a fun and refreshing twist on the classic orange popsicle.
Tips for Perfect Orange Popsicles
1. Choose the Right Oranges
- Use sweet, juicy oranges like navel, Valencia, or Cara Cara for the best flavor. Avoid using overly tart varieties unless you prefer a tangier taste.
- If fresh oranges aren’t in season, opt for high-quality, unsweetened orange juice.
2. Strain for Smooth Popsicles
- If you prefer a silky texture, strain the orange juice to remove pulp before freezing. For a more rustic feel, leave the pulp in.
3. Adjust Sweetness Naturally
- Taste the juice before freezing and adjust sweetness with honey, sugar, or maple syrup. Sweetness can diminish slightly after freezing, so make it a touch sweeter than you’d drink.
4. Experiment with Add-Ins
- Add a teaspoon of orange zest for a burst of extra citrus flavor.
- Mix in small chunks of fruit like strawberries, kiwi, or pineapple for a fruity surprise in every bite.
- For a creamy twist, swirl in a bit of coconut cream or yogurt.
5. Freeze Properly
- Leave a small amount of space at the top of the molds to allow for expansion as the popsicles freeze.
- If using paper cups, cover the tops with aluminum foil and insert sticks through the foil to keep them upright.
6. Prevent Crystals and Icy Texture
- Adding a small amount of honey, sugar, or coconut water helps create a smoother texture and reduces iciness.
7. Unmold with Ease
- Dip the popsicle mold in warm water for a few seconds to loosen the popsicles without melting them. Gently wiggle the sticks for easy removal.
8. Creative Presentation
- Dip the frozen popsicles into melted chocolate and let it harder for a decadent treat.
- Roll the popsicles in shredded coconut, chopped nuts, or colorful sprinkles for a fun, decorative touch.
9. Store Properly
- Wrap each popsicle in parchment paper or plastic wrap to prevent freezer burn. Store in an airtight container for up to 2 weeks.
10. Involve Kids
- Let kids help with peeling oranges, stirring the mixture, or pouring it into molds. It’s a fun activity and makes the treats even more special!
With these tips, you’ll create perfectly refreshing orange popsicles every time!
Conclusion
Homemade orange popsicles are not only a delicious and refreshing treat but also an easy way to enjoy a healthier alternative to store-bought versions. By using fresh oranges and natural sweeteners, you’re in control of the ingredients, ensuring a wholesome snack that everyone will love. The simple process of blending, pouring, and freezing makes it a fun and accessible recipe for all ages. Whether it’s a summer treat or a year-round indulgence, these popsicles bring a burst of citrus sunshine to your day.
The beauty of this recipe lies in its versatility. You can easily customize the popsicles by adding your favorite fruits, flavorings, or even a creamy twist with coconut or yogurt. The options are endless, allowing you to get creative and make the popsicles fit your personal taste preferences or dietary needs. Plus, the vibrant orange color and refreshing taste are sure to be a hit with both kids and adults alike.
Finally, making your own orange popsicles is an enjoyable, cost-effective way to beat the heat or treat yourself to something sweet without the guilt. It’s a wonderful activity to share with family and friends, and it guarantees a homemade, better-for-you dessert that everyone can savor. So next time you’re craving something sweet and refreshing, skip the store-bought options and make your own delightful batch of orange popsicles!

Hi, I’m Katelyn Williams, the expert behind Ninjacreamiicecream.com. With a deep passion for creating delectable ice cream recipes, I’m here to share my love for all things ice cream. I earned my Bachelor’s degree from Louisiana State University, and since then, I’ve been dedicated to perfecting the art of ice cream making. From classic flavors to innovative creations, my goal is to inspire you to make delicious and creamy treats at home effortlessly. Join me for the best recipes, tips, and techniques to elevate your ice cream game and indulge in delightful frozen desserts!