
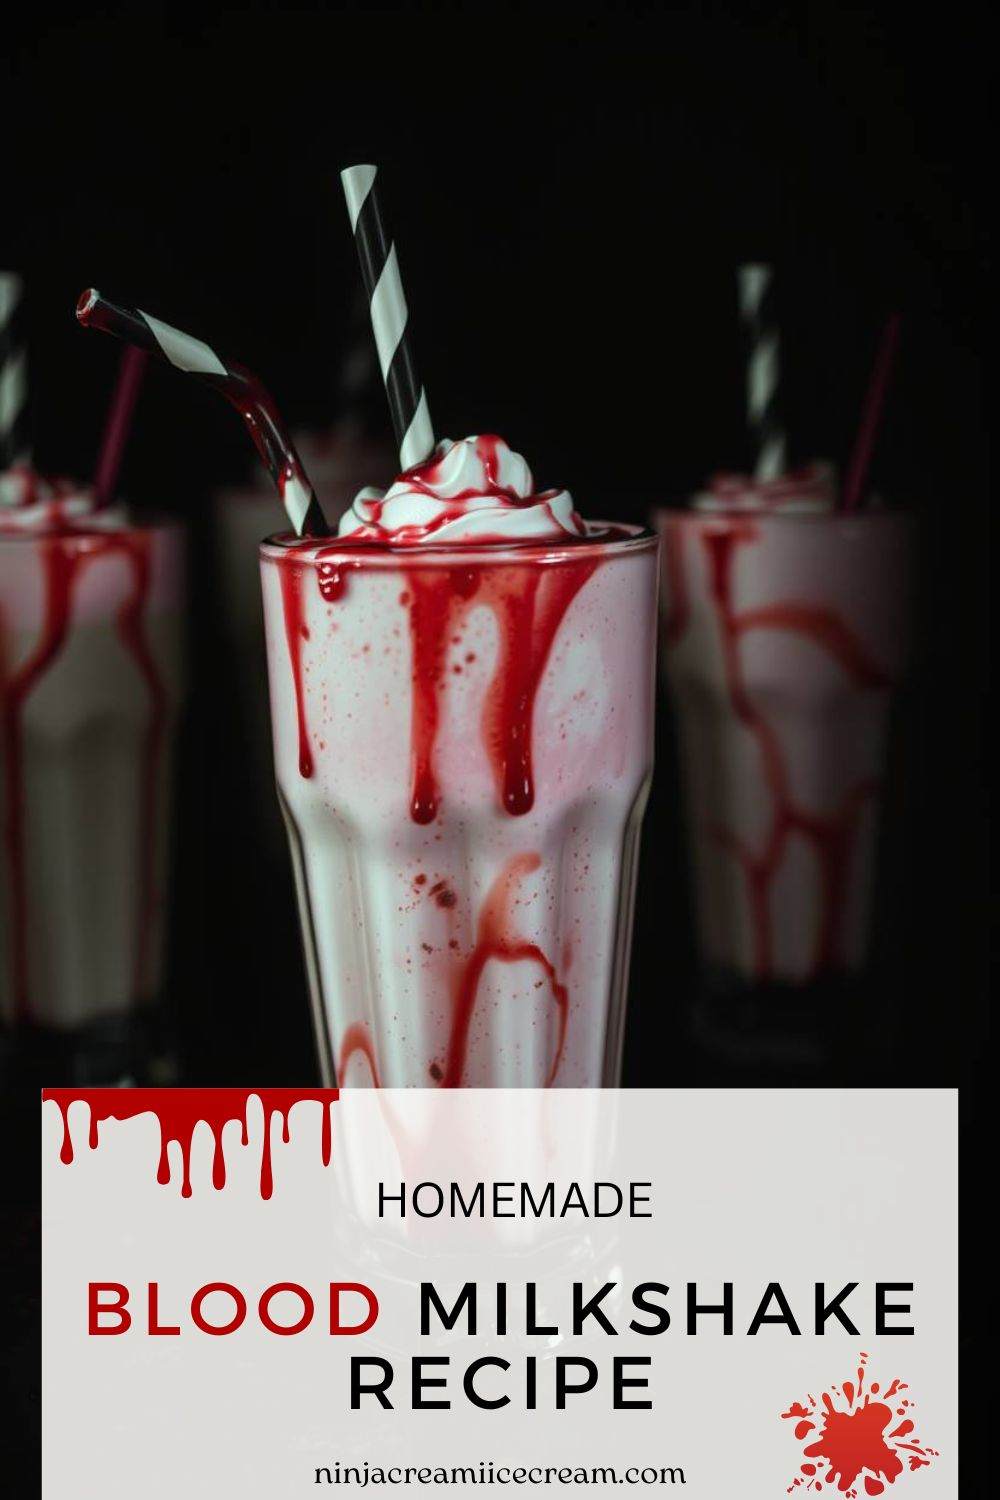
A Blood Milkshake is the ultimate spooky treat, perfect for Halloween, themed parties, or any occasion where you want to add a little eerie fun. This creepy yet delicious milkshake features a rich, creamy base of ice cream and milk, infused with a striking “blood” effect using fruit syrups. It’s a fun and easy-to-make recipe that requires just a few simple ingredients, making it the ideal beverage for Halloween parties or any event that calls for a spooky touch. Whether you’re serving it to friends or just indulging in a creepy delight, this Blood Milkshake is sure to make a memorable impression.
Disclosure: This post may contain affiliate links. As an Amazon Associate, I earn from qualifying purchases. Read more.

Blood Milkshake Recipe
Ingredients for the Blood Milkshake
- Milk
- Type: Whole milk, or any milk alternative (almond, oat, or coconut milk)
- Purpose: Milk forms the creamy base of the milkshake, providing smoothness and richness. The type of milk you choose can alter the flavor slightly, so feel free to adjust according to your preference.
- Ice Cream
- Flavor: Vanilla, strawberry, or red velvet (or any flavor you prefer)
- Purpose: Ice cream gives the milkshake its creamy texture and rich flavor. For a fun twist, you can use a red velvet or strawberry-flavored ice cream to match the “blood” theme, though vanilla works just as well as a neutral base.
- Strawberry or Raspberry Syrup
- Type: Store-bought or homemade syrup
- Purpose: This syrup is the key ingredient for the “blood” effect. It adds sweetness and the deep red color that makes this milkshake look creepy and festive. The tangy flavor of strawberry or raspberry syrup complements the sweetness of the ice cream, enhancing the overall taste.
- Red Food Coloring (Optional)
- Type: Liquid or gel food coloring
- Purpose: For an extra dramatic and vibrant red hue, red food coloring can be added to intensify the “blood” effect. It’s optional, as the syrup already provides a good amount of color, but it can help you achieve the exact shade you’re aiming for.
- Whipped Cream (Optional)
- Type: Fresh or canned whipped cream
- Purpose: Whipped cream serves as a fun topping for your milkshake, adding lightness and a decorative touch. It can also provide a contrast to the deep red color of the milkshake, making it look even more festive and spooky.
- Crushed Ice (Optional)
- Type: Crushed or cubed ice
- Purpose: Crushed ice is optional but can be added if you want a thicker, colder milkshake. It also helps to chill the milkshake faster without diluting the flavor too much.
- Maraschino Cherries (Optional)
- Type: Maraschino cherries with stems
- Purpose: As a fun garnish, maraschino cherries add a pop of color and a slightly tangy, sweet flavor that complements the milkshake’s richness. You can place one on top of the whipped cream for an extra touch of whimsy.
These ingredients come together to create a visually striking, flavorful, and fun Blood Milkshake that’s perfect for your Halloween festivities or any spooky-themed gathering.
Instructions for Making a Blood Milkshake
Step 1: Prepare the Ingredients
- Begin by gathering all the ingredients you’ll need.
- Scoop 2-3 large scoops of ice cream (vanilla, strawberry, or red velvet) into a blender. This will be the creamy base for your milkshake.
- Measure out 1 cup of milk and add it to the blender with the ice cream. If you want a thicker milkshake, you can add a little less milk or opt for crushed ice (about 1/4 cup) to make it extra thick and frosty.
Step 2: Blend the Milkshake
- Secure the lid on the blender and start blending at a low speed to combine the ingredients.
- Gradually increase the speed until the mixture becomes smooth and creamy. This should take about 30 seconds to a minute, depending on your blender’s strength.
- If the milkshake is too thick for your liking, add a bit more milk and blend again until you reach your desired consistency.
Step 3: Add the “Blood” Syrup
- Once the milkshake base is smooth, it’s time to add the “blood” effect.
- Drizzle 1-2 tablespoons of strawberry or raspberry syrup into the blender. You can add more syrup if you want a stronger fruity flavor and red color.
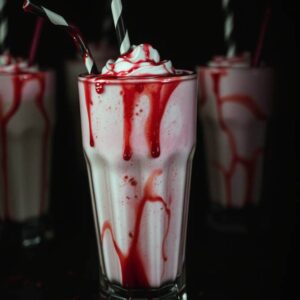
- Optionally, add 1-2 drops of red food coloring to make the milkshake’s color more intense. Blend briefly for a few seconds to incorporate the syrup and food coloring. The syrup will swirl through the milkshake, creating the dramatic “blood” effect.
Step 4: Serve and Garnish
- Pour the blended milkshake into a tall glass, leaving a little space at the top for garnish.
- If you like, top the milkshake with whipped cream for a light and fluffy contrast to the rich milkshake beneath.
- Drizzle a little more strawberry or raspberry syrup over the whipped cream, and for added fun, garnish with a maraschino cherry placed on top.
Optional Touches
- For a creepy visual effect, you can use the syrup to create a bloody handprint on the outside of the glass before pouring in the milkshake.
- Serve the milkshake with a fun straw, and consider adding other spooky garnishes like candy eyeballs, gummy worms, or even a small toy spider for an extra spooky touch!
With these steps, you’ll have a spooky, delicious Blood Milkshake that’s sure to wow your guests and set the perfect mood for Halloween or any themed gathering!
Blood Milkshake Recipe
Equipment
- Blender:
- Measuring Cups and Spoons:
- Tall Glass
- Spoon or Straw
- Whisk or Hand Mixer (Optional)
- Ice Cream Scoop
- Spatula (Optional)
Ingredients
- 1 cup Milk (240 ml)
- 2-3 large scoops Ice Cream (about 1 cup or 240 ml)
- 2 tablespoons Strawberry or Raspberry Syrup (30 ml)
- 1-2 drops Red Food Coloring (Optional)
- 2-3 tablespoons Whipped Cream (Optional)
- ¼ cup Crushed Ice (Optional) (60 ml)
- 1 cherry Maraschino Cherries (Optional)
Instructions
- Blend the BaseAdd 2-3 large scoops of ice cream and 1 cup of milk into a blender. Blend on low to combine, then increase the speed until smooth and creamy.
- Add the "Blood" SyrupDrizzle 2 tablespoons of strawberry or raspberry syrup into the blender. Optionally, add 1-2 drops of red food coloring for an extra intense red color. Blend briefly to incorporate
- Adjust the ConsistencyIf you prefer a thicker milkshake, add 1/4 cup of crushed ice and blend again. If it's too thick, add a little more milk to reach your desired consistency.
- Serve the MilkshakePour the milkshake into a tall glass, leaving room at the top for garnishes
- Garnish and EnjoyTop with whipped cream, drizzle more syrup on top, and garnish with a maraschino cherry. Serve with a straw and enjoy your spooky treat!
Notes
-
Adjust the Sweetness
- The amount of syrup you add can be adjusted based on your personal preference for sweetness. Start with 2 tablespoons, and add more if you like it sweeter. You can also experiment with different syrups, like cherry or even blueberry, for unique flavors.
-
Choosing Ice Cream
- Use a high-quality ice cream for the best flavor and creamy texture. If you're using a non-dairy or vegan ice cream, choose a flavor that complements the "blood" effect, such as coconut milk-based ice cream or almond milk-based options.
-
Make It Thicker or Thinner
- For a thicker milkshake, reduce the milk and add crushed ice. If you prefer a thinner milkshake, increase the amount of milk and skip the ice. You can also adjust the consistency by blending for a few more seconds to break down the ingredients further.
-
Food Coloring
- Red food coloring is optional, but it can enhance the visual effect of the milkshake, especially if you want to achieve a deeper red color. Be careful not to overdo it—just a couple of drops is enough!
-
Dietary Alternatives
- To make the recipe dairy-free or vegan, simply swap out the milk for a plant-based alternative (almond, oat, or coconut milk) and choose a dairy-free ice cream. This makes the milkshake suitable for a wider range of guests.
-
Garnishing
- Garnish the milkshake with whipped cream, but feel free to add extra spooky touches like gummy worms, candy eyeballs, or a plastic spider to make it more festive for Halloween or themed parties.
-
Serve Immediately
- Blood Milkshakes are best enjoyed immediately after preparation while they’re still cold and creamy. If left for too long, the milkshake may separate or lose its thick consistency.
Tips for the Best Blood Milkshake
- Use High-Quality Ice Cream
- For the creamiest texture and best flavor, opt for high-quality ice cream. A premium vanilla or strawberry ice cream will give your milkshake a richer taste and smoother consistency. If you’re using dairy-free alternatives, make sure to choose a flavor that complements the blood effect, like coconut or almond milk-based ice creams.
- Adjust Sweetness to Taste
- Depending on your preference for sweetness, you can adjust the amount of syrup added. If you want a more intense fruity flavor, add more strawberry or raspberry syrup. If you prefer a lighter, less sweet milkshake, start with a small amount and taste-test as you go.
- Chill the Glass
- To keep your Blood Milkshake extra cold and frothy, chill your glass in the freezer for about 10-15 minutes before serving. This keeps the milkshake from melting too quickly and helps maintain a frosty texture.
- Get Creative with the Syrup
- Experiment with different syrups for the “blood” effect. If you want a deeper red color or a different flavor, try using cherry syrup or even a mix of blueberry and strawberry syrups for a unique twist on the classic recipe.
- Make It Vegan or Dairy-Free
- To make this milkshake vegan or dairy-free, simply substitute the regular ice cream with a dairy-free ice cream, and use plant-based milk such as almond, oat, or coconut milk. You can still achieve the same spooky effect with strawberry or raspberry syrups, making it suitable for all guests.
- Add More “Blood” for a Dripping Effect
- For an even more dramatic “bloody” appearance, drizzle extra syrup on the inside of the glass before pouring in the milkshake. As you serve it, the syrup will drip down the sides, giving your milkshake a truly gruesome look.
- Texture Tips
- If you like a thicker milkshake, add a handful of crushed ice or use a bit less milk. For a lighter consistency, use more milk and skip the crushed ice.
- For an extra smooth texture, blend the milkshake for 10-15 seconds longer to break down the ice cream fully.
- Try Fun Garnishes
- Garnish with more than just whipped cream! You can add spooky treats like gummy worms, candy eyeballs, or even a mini plastic spider for a playful touch. These add both visual appeal and a fun twist to the milkshake experience.
- Serve with a Fun Straw
- Make the milkshake even more fun with a colorful or themed straw. You could use a black-and-white striped straw, a red “blood”-splattered straw, or any other fun and festive design that complements the spooky theme of the drink.
By following these tips, you’ll elevate your Blood Milkshake into a show-stopping treat that’s perfect for your next Halloween party or any themed event!
Conclusion
The Blood Milkshake is the perfect treat to add a spooky flair to any Halloween party or themed gathering. With its rich, creamy texture and eerie red color, it’s a fun and easy way to impress your guests. Whether you’re celebrating Halloween, hosting a scary movie marathon, or just indulging in a creepy sweet treat, this milkshake is sure to be a hit. It combines simple ingredients that are easy to find, yet the result is a visually striking and delicious drink.
Not only is this recipe easy to make, but it also offers plenty of room for customization. You can adjust the sweetness with different syrups, make it vegan or dairy-free, and get creative with spooky garnishes and glass decorations. The flexibility of this recipe means you can tailor it to fit your theme or personal taste, making it a versatile option for any occasion.
So, next time you’re looking for a fun and eerie treat to serve at a party, give the Blood Milkshake a try. It’s a guaranteed way to set the mood and keep your guests talking long after the last sip. Enjoy making and sharing this spooky, delicious milkshake—it’s sure to be a memorable addition to your festivities!

Hi, I’m Katelyn Williams, the expert behind Ninjacreamiicecream.com. With a deep passion for creating delectable ice cream recipes, I’m here to share my love for all things ice cream. I earned my Bachelor’s degree from Louisiana State University, and since then, I’ve been dedicated to perfecting the art of ice cream making. From classic flavors to innovative creations, my goal is to inspire you to make delicious and creamy treats at home effortlessly. Join me for the best recipes, tips, and techniques to elevate your ice cream game and indulge in delightful frozen desserts!