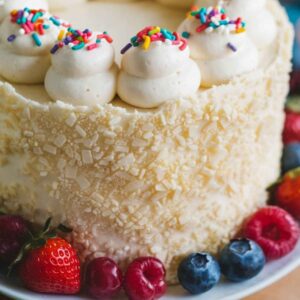
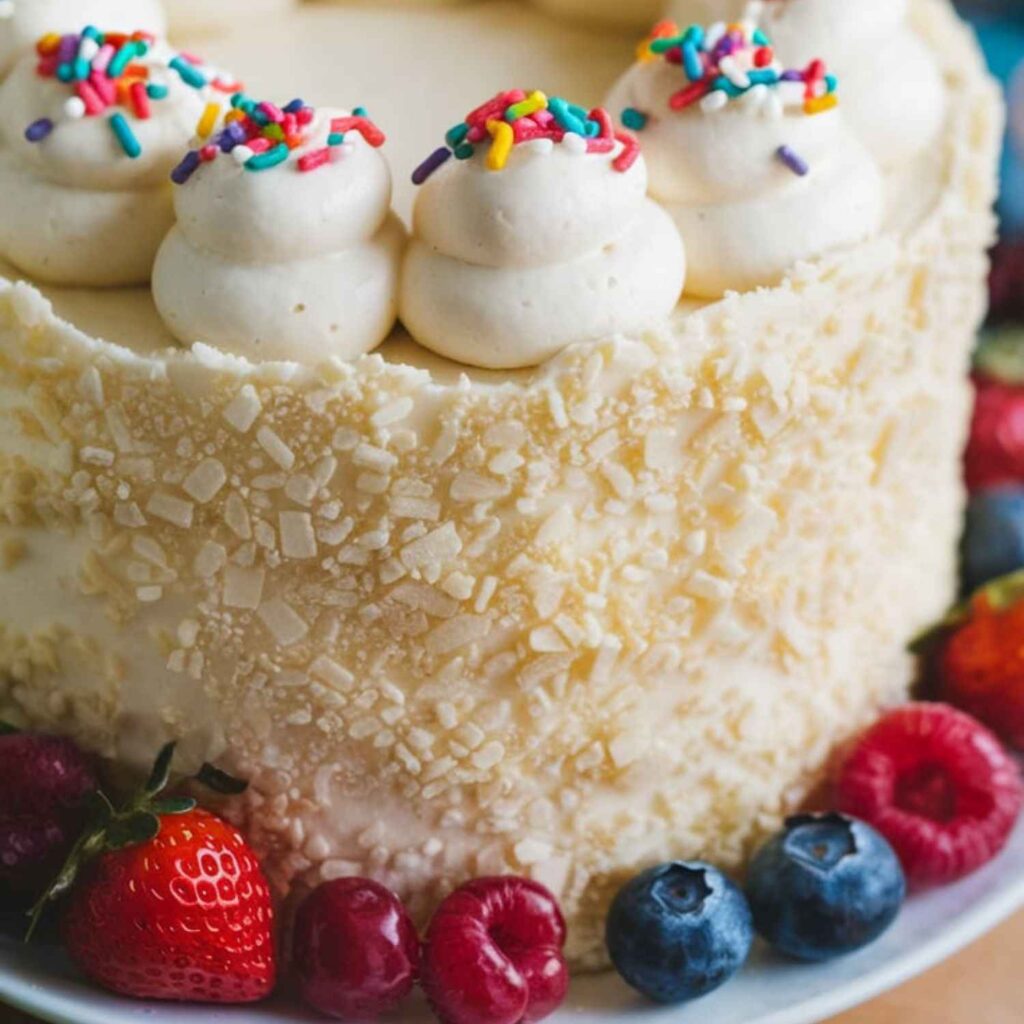
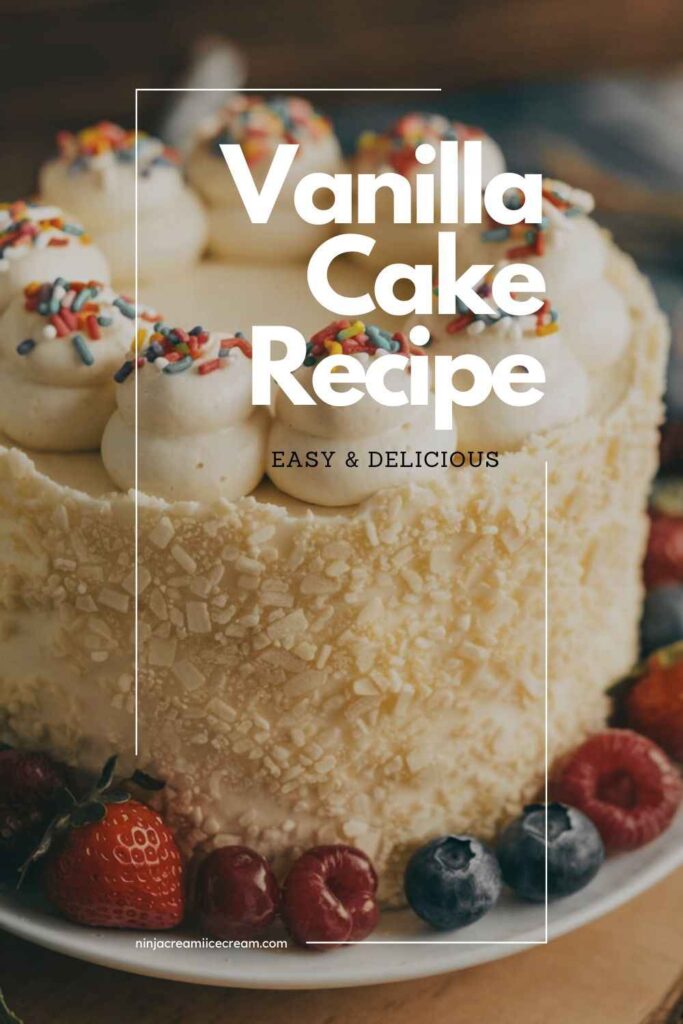
Vanilla Cake is a timeless dessert that has earned its place as a classic choice for celebrations of all kinds. Whether you’re marking a birthday, anniversary, or any special occasion, this soft, light, and fluffy cake is always a crowd-pleaser. Its delicate flavor and tender crumb make it a perfect base for a variety of frosting and filling combinations, offering endless possibilities for customization. From rich buttercream to fruit fillings or even decadent ganache, the versatility of Vanilla Cake allows it to fit perfectly with any theme or personal taste.
Disclosure: This post may contain affiliate links. As an Amazon Associate, I earn from qualifying purchases. Read more.
Vanilla Cake Recipe
Ingredients for Vanilla Cake
For the Cake:
- All-Purpose Flour (2 1/2 cups)
- All-purpose flour is the primary dry ingredient in the cake. It provides structure and helps create a light, airy texture when mixed with the wet ingredients. Make sure to measure it correctly (spoon and level method) to avoid a dense cake.
- Baking Powder (2 1/2 tsp)
- Baking powder is a leavening agent that helps the cake rise, making it fluffy and light. It works by releasing carbon dioxide when combined with moisture and heat, which causes the batter to expand.
- Salt (1/2 tsp)
- A small amount of salt helps balance the sweetness and enhances the flavor of the vanilla cake. It also helps to strengthen the gluten in the flour, contributing to the texture.
- Unsalted Butter (1 cup, room temperature)
- Butter adds richness and moisture to the cake, contributing to its tender crumb. Using unsalted butter allows you to control the amount of salt in the recipe. Be sure to let the butter come to room temperature before creaming it with the sugar to ensure the best texture.
- Granulated Sugar (2 cups)
- Sugar sweetens the cake and also contributes to its texture by helping to create a soft, moist crumb. It helps with the structure and promotes the cake’s lightness.
- Large Eggs (4, room temperature)
- Eggs provide moisture and structure to the cake, helping to bind the ingredients together. They also add richness and help the cake rise. Using room temperature eggs ensures better incorporation into the batter, leading to a smoother texture.
- Vanilla Extract (1 tbsp)
- Vanilla extract is the key flavor in this cake, giving it its characteristic taste. It adds warmth and depth to the cake, enhancing the overall sweetness.
- Whole Milk (1 cup, room temperature)
- Milk adds moisture to the cake and helps dissolve the dry ingredients. The fat content in whole milk ensures the cake remains rich and soft. Using room temperature milk helps to prevent the batter from curdling or separating.
For the Frosting (optional):
- Unsalted Butter (1 cup, room temperature)
- Just like in the cake, butter is used in the frosting to provide richness and a smooth, creamy texture. Using unsalted butter allows you to have full control over the saltiness of the frosting.
- Powdered Sugar (4 cups)
- Powdered sugar (also known as confectioners’ sugar) is used to sweeten and thicken the frosting. It dissolves easily, making it perfect for creating a smooth, fluffy texture in frosting.
- Vanilla Extract (1 tsp)
- This ingredient is added to the frosting to complement the flavor of the cake. Vanilla enhances the overall taste, providing a fragrant and warm undertone to the frosting.
- Heavy Cream or Milk (2-3 tbsp)
- Heavy cream or milk is used to adjust the consistency of the frosting. Heavy cream will create a richer, creamier texture, while milk will keep it lighter. Add a little at a time until you reach your desired frosting consistency.
These ingredients come together to create a delicious, moist, and flavorful vanilla cake that’s perfect for any occasion.
Instructions for Vanilla Cake
1. Prepare the Pans:
- Preheat your oven to 350°F (175°C).
- Grease two 8-inch or 9-inch round cake pans with butter or cooking spray. If you prefer, line the bottom of the pans with parchment paper to ensure easy removal of the cakes after baking. This helps the cakes maintain their shape and prevents sticking.
2. Make the Cake Batter:
Step 1: Combine Dry Ingredients
- In a medium bowl, whisk together the all-purpose flour, baking powder, and salt. This ensures the dry ingredients are evenly distributed and helps prevent lumps in the batter. Set the bowl aside.
Step 2: Cream Butter and Sugar
- In a large bowl, use an electric mixer (or a stand mixer) to cream the unsalted butter and granulated sugar together. Beat them on medium speed for about 3-4 minutes, or until the mixture is light, fluffy, and pale in color. This process incorporates air into the batter, which helps the cake rise during baking.
Step 3: Add Eggs
- Add the eggs, one at a time, to the butter-sugar mixture. Beat well after each addition, making sure the eggs are fully incorporated before adding the next one. This helps create a smooth and consistent batter. If you accidentally add the eggs too quickly, it can cause the batter to curdle.
Step 4: Add Vanilla Extract
- Mix in vanilla extract until well combined. The vanilla will add fragrance and flavor to the cake, enhancing the overall taste.
Step 5: Alternate Adding Dry Ingredients and Milk
- With the mixer on low speed, alternate adding the dry ingredients (flour mixture) and the whole milk to the butter mixture. Start by adding a third of the dry ingredients, then half of the milk, and continue alternating until all the dry ingredients and milk are incorporated into the batter. Be sure to start and end with the dry ingredients.
- Mix until just combined—do not overmix, as this could lead to a dense cake.
3. Bake the Cake:
Step 1: Divide the Batter
- Evenly divide the batter between the prepared cake pans. You can use a spatula or spoon to smooth the top of the batter so it bakes evenly.
Step 2: Bake the Cakes
- Place the pans in the preheated oven and bake for 25-30 minutes, or until a toothpick inserted into the center of the cakes comes out clean or with just a few crumbs. Oven times may vary, so it’s important to check a few minutes before the recommended time.
Step 3: Cool the Cakes
- Remove the pans from the oven and allow the cakes to cool in the pans for about 10 minutes. This gives them time to firm up slightly, making them easier to remove from the pans.
- After 10 minutes, turn the cakes out onto a wire rack to cool completely. Make sure the cakes are fully cooled before frosting them to prevent the frosting from melting.
4. Make the Frosting (Optional):
Step 1: Beat the Butter
- In a large bowl, use an electric mixer to beat the unsalted butter until smooth and creamy. This should take about 2 minutes.
Step 2: Add Powdered Sugar
- Gradually add the powdered sugar, one cup at a time, and continue beating until smooth. Scrape down the sides of the bowl as needed to ensure all the sugar is incorporated.
Step 3: Add Vanilla and Cream
- Once the sugar is fully incorporated, add the vanilla extract and heavy cream or milk. Start with 2 tablespoons of cream or milk and beat until the frosting reaches a smooth, fluffy consistency. If the frosting is too thick, add a little more cream or milk until it reaches your desired texture. If it’s too thin, add a bit more powdered sugar.
5. Assemble the Cake:
Step 1: Frost the First Layer
- Place one cooled cake layer on a serving platter or cake stand. Use a spatula to spread an even layer of frosting on top of the cake. You can also add a filling at this point (such as fruit, jam, or another layer of frosting) if desired.
Step 2: Add the Second Layer
- Carefully place the second cake layer on top of the first. Press gently to ensure it sticks.
Step 3: Frost the Entire Cake
- Use the spatula to cover the entire cake with frosting, smoothing it out evenly around the sides and top. You can create a smooth or textured finish, depending on your preference. If you want a decorative look, feel free to add sprinkles, edible flowers, or other toppings.
6. Serve and enjoy!
- Once the cake is frosted and decorated, it’s ready to be served. Slice it into wedges and enjoy with family and friends. For a special touch, serve it with a scoop of vanilla ice cream or fresh berries.
These detailed instructions will help you make a perfectly fluffy and flavorful Vanilla Cake that’s sure to be a hit at your next celebration!

Vanilla Cake Recipe
Equipment
- Oven –
- Two 8-inch or 9-inch round cake pans
- Mixer (Electric or Stand Mixer)
- Whisk
- Measuring Cups and Spoons:
- Spatula:
- Wire Rack
- Parchment Paper:
- Toothpick or Cake Tester –
- Cooling Rack
Ingredients
- 1½ cups all-purpose flour (190g)
- 1½ tsp baking powder
- ½ tsp salt
- ½ cup unsalted butter, softened (115g)
- 1 cup granulated sugar (200g)
- 2 large eggs
- 2 teaspoons vanilla extract
- ½ cup (120ml) whole milk
Instructions
- Prepare the Cake PansPreheat your oven to 350°F (175°C). Grease two 8-inch or 9-inch round cake pans with butter or cooking spray. Optionally, line the bottoms with parchment paper to prevent sticking.
- Mix Dry IngredientsIn a medium bowl, whisk together the all-purpose flour, baking powder, and salt. Set aside.
- Cream Butter and SugarIn a large bowl, use an electric mixer to beat the unsalted butter and granulated sugar together on medium speed until light and fluffy, about 3-4 minutes. Add the eggs one at a time, mixing well after each addition. Stir in the vanilla extract.
- Combine Wet and Dry IngredientsWith the mixer on low, alternate adding the dry ingredients and whole milk to the butter mixture. Start with the dry ingredients, then add half of the milk, continuing to alternate until both are fully incorporated. Mix until just combined—don’t overmix.
- Bake and CoolDivide the batter evenly between the prepared pans. Bake for 25-30 minutes, or until a toothpick inserted into the center comes out clean. Let the cakes cool in the pans for 10 minutes, then remove them from the pans and cool completely on a wire rack before frosting.
Notes
-
Ingredient Temperature:
Make sure your butter, eggs, and milk are at room temperature before starting. This helps them blend more evenly, resulting in a smoother batter and a fluffier cake. -
Proper Mixing:
Avoid overmixing the batter once the wet and dry ingredients are combined. Overmixing can cause the cake to become dense, so mix just until incorporated. -
Baking Time Variations:
Oven temperatures may vary, so start checking the cake at the 25-minute mark. Use a toothpick inserted into the center of the cake—if it comes out clean, the cake is done. -
Cooling Before Frosting:
Allow the cake layers to cool completely on a wire rack before frosting. Frosting a warm cake can cause the frosting to melt and affect the cake’s texture. -
Customization Options:
This Vanilla Cake can be easily customized with various fillings, such as fruit, jam, or chocolate ganache. You can also add flavor extracts (like almond or lemon) for a unique twist. -
Cake Storage:
Store leftover cake in an airtight container at room temperature for up to 3 days or refrigerate for longer shelf life. If refrigerated, bring the cake to room temperature before serving for the best flavor and texture. -
Frosting Amount:
The frosting amount in this recipe is perfect for a thin layer on top and between the cake layers. If you prefer a thicker coat of frosting, you may want to prepare extra frosting.
Tips for Success with Vanilla Cake
- Use Room Temperature Ingredients:
Ensure that your butter, eggs, and milk are at room temperature before starting. Room temperature ingredients blend more easily, resulting in a smoother batter and a more even texture in the cake. - Measure Flour Correctly:
When measuring flour, avoid scooping directly from the bag or container with your measuring cup, as this can lead to using too much flour. Instead, spoon the flour into the measuring cup and level it off with a flat edge. This prevents the cake from being too dense. - Don’t Overmix the Batter:
Once you combine the wet and dry ingredients, mix until just incorporated. Overmixing can develop the gluten in the flour, leading to a denser, tougher cake. Gently fold the ingredients together to keep the texture light and airy. - Check for Doneness Early:
Ovens can vary in temperature, so start checking the cake a few minutes before the suggested baking time (25-30 minutes). Insert a toothpick into the center of the cake—if it comes out clean or with a few crumbs, it’s done. If it’s still wet, bake for a few more minutes. - Cool the Cakes Completely:
Allow the cakes to cool in the pans for about 10 minutes before removing them. Let them cool completely on a wire rack before frosting. This prevents the frosting from melting and ensures the cake retains its shape. - Customize the Flavor:
While vanilla is classic, feel free to experiment with different flavorings. Add a teaspoon of almond extract for a subtle nutty flavor, or mix in citrus zest for a refreshing twist. - Frosting Consistency:
If the frosting is too thick, add a little heavier cream or milk, one teaspoon at a time. If it’s too thin, add more powdered sugar until it thickens to your desired consistency. - Use Parchment Paper for Easy Removal:
For an easy removal of the cake from the pans, line the bottoms with parchment paper. This ensures the cake doesn’t stick to the pans and allows for a smooth release. - Add Fun Fillings:
Spice up the cake by adding different fillings between the layers. Consider options like fruit preserves, fresh berries, whipped cream, or even chocolate ganache for extra flavor and texture. - Decorate with Style:
Get creative with cake decorations! You can use sprinkles, edible flowers, or a dusting of powdered sugar to give your Vanilla Cake a beautiful, festive touch.
By following these tips, you’ll ensure that your Vanilla Cake is not only delicious but also visually appealing and perfectly textured!
Conclusion
In conclusion, this Vanilla Cake recipe is a simple yet elegant choice for any celebration, from birthdays to weddings or just a special family gathering. Its light, fluffy texture and sweet, comforting flavor make it a crowd favorite every time. The versatility of Vanilla Cake means you can easily customize it to suit any theme or personal preference, from experimenting with different frostings to adding unique fillings between the layers.
Not only is this cake a delicious treat, but it also serves as a perfect canvas for your creativity. Whether you prefer a classic buttercream frosting, a rich ganache, or even fresh fruit fillings, this recipe provides the flexibility to match your tastes and occasion. With just a few simple ingredients and easy-to-follow steps, you’ll be able to create a cake that looks and tastes like it came from a professional bakery.
Whether you’re an experienced baker or a beginner, this Vanilla Cake recipe is approachable and foolproof. It’s an ideal go-to recipe for anyone looking to make a delightful homemade cake that’s sure to impress. So next time you’re preparing for a celebration, consider this Vanilla Cake—it’s guaranteed to bring joy and smiles to everyone who gets a slice.

Hi, I’m Katelyn Williams, the expert behind Ninjacreamiicecream.com. With a deep passion for creating delectable ice cream recipes, I’m here to share my love for all things ice cream. I earned my Bachelor’s degree from Louisiana State University, and since then, I’ve been dedicated to perfecting the art of ice cream making. From classic flavors to innovative creations, my goal is to inspire you to make delicious and creamy treats at home effortlessly. Join me for the best recipes, tips, and techniques to elevate your ice cream game and indulge in delightful frozen desserts!


