
Making Ninja Creami Dairy-Free Vanilla Ice Cream at home is a game-changer for anyone looking for a delicious, creamy dessert without dairy. The Ninja Creami machine is designed to transform frozen mixtures into smooth, scoopable ice cream with the perfect texture. By using this machine, you can easily create a rich and flavorful vanilla treat without the need for traditional dairy ingredients.
Disclosure: This post may contain affiliate links. As an Amazon Associate, I earn from qualifying purchases. Read more.

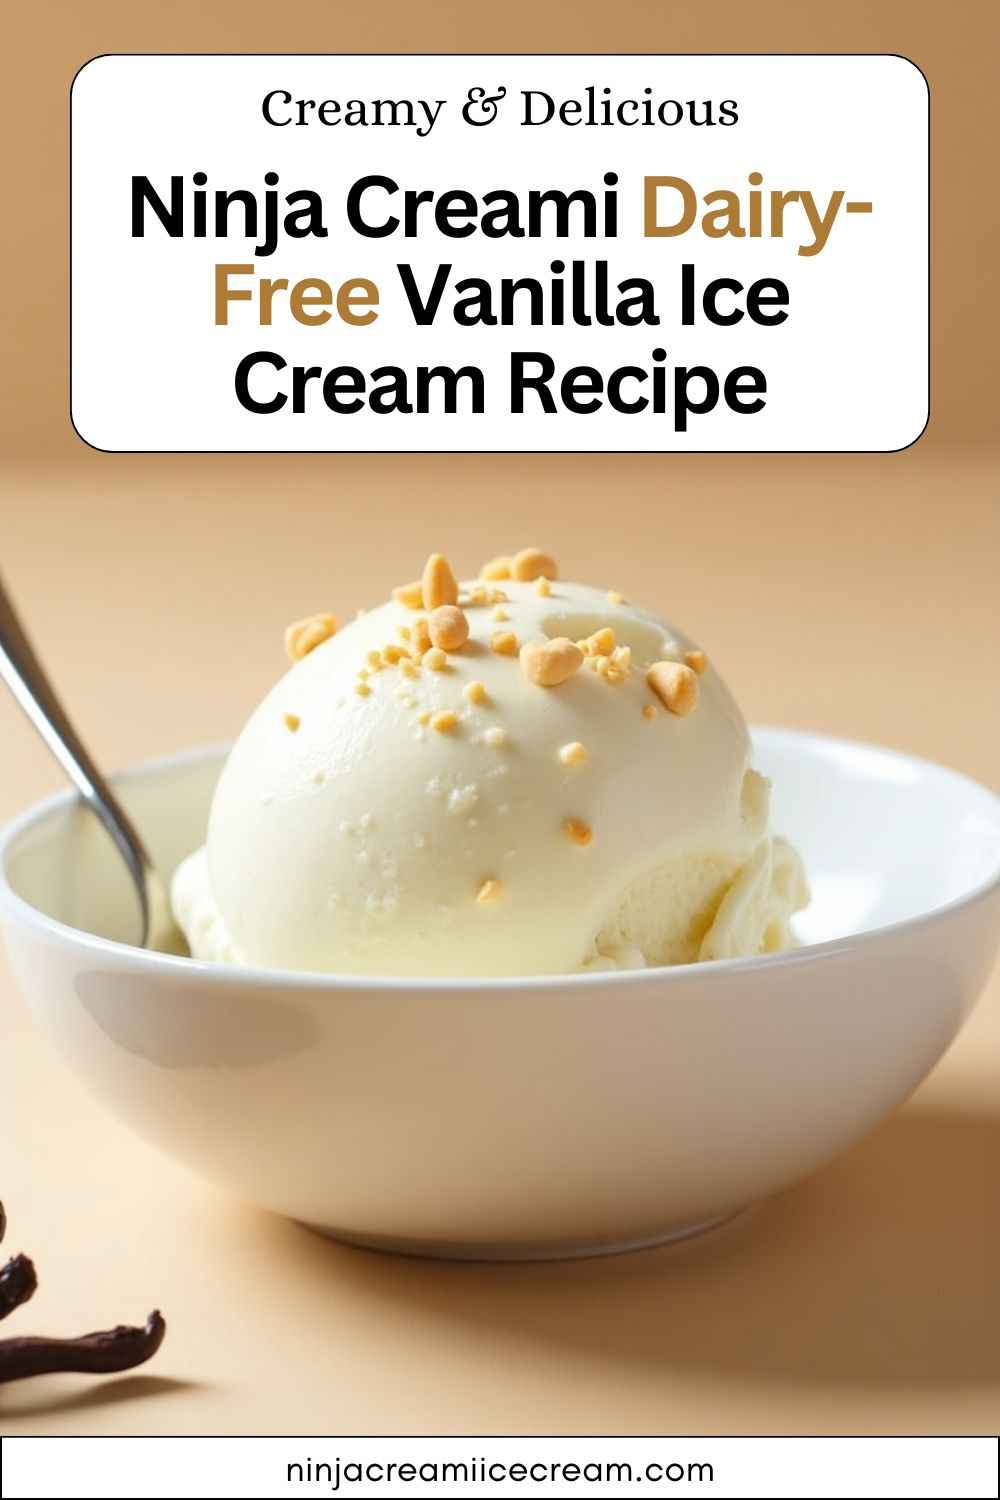
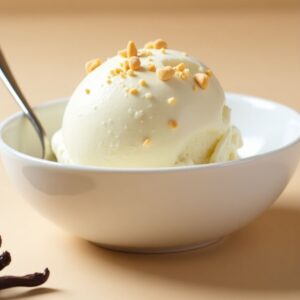
Ninja Creami Dairy-Free Vanilla Ice Cream Recipe
Ingredients for Ninja Creami Dairy-Free Vanilla Ice Cream
To make a smooth and creamy dairy-free vanilla ice cream using the Ninja Creami, you’ll need the following ingredients:
Dairy-Free Milk (Base Ingredient)
Choose one of these plant-based milk options for the creamiest texture:
-
Full-fat coconut milk – Provides a rich and creamy texture due to its high fat content. Best for achieving a traditional ice cream consistency.
-
Almond milk – A lighter option with a mild nutty flavor. Works well but may result in a slightly icier texture.
-
Oat milk – Naturally sweet and creamy, making it a great choice for ice cream.
-
Cashew milk – Ultra-creamy and neutral in taste, making it one of the best options for dairy-free ice cream.
-
Soy milk – A protein-rich alternative that creates a smooth consistency.
Sweetener (Adjustable to Taste)
-
Maple syrup – A natural sweetener that blends well with vanilla.
-
Agave syrup – A mild-flavored, low-glycemic sweetener.
-
Coconut sugar – Adds a slight caramel-like flavor.
-
Monk fruit sweetener or erythritol – A keto-friendly, sugar-free alternative.
-
Granulated or brown sugar – If not avoiding refined sugar, this works well.
Vanilla Flavoring
-
Pure vanilla extract – Enhances the ice cream’s flavor with a classic vanilla taste.
-
Vanilla bean paste – Provides a more intense vanilla flavor with real vanilla bean specks.
-
Vanilla bean pod (optional) – Scrape out the seeds for an authentic, gourmet vanilla taste.
Optional Add-Ins for Creaminess
-
Xanthan gum (¼ teaspoon) – Helps prevent iciness and creates a smoother texture.
-
Guar gum (¼ teaspoon) – Another thickening agent that improves consistency.
-
Coconut cream (2 tablespoons) – Adds extra richness for a creamier result.
-
Nut butter (1 tablespoon, optional) – A small amount of cashew or almond butter can enhance creaminess.
Optional Flavor Enhancements
-
Pinch of salt – Enhances sweetness and balances flavors.
-
Cinnamon (¼ teaspoon, optional) – Adds warmth and depth to the vanilla flavor.
-
Cocoa powder (1 tablespoon, optional) – For a vanilla-chocolate twist.
-
Chopped nuts, chocolate chips, or fruit – Can be added after blending for texture and variety.
By carefully selecting these ingredients, you can create a dairy-free vanilla ice cream that is just as indulgent as traditional ice cream but suitable for lactose-intolerant, vegan, and health-conscious individuals.
Instructions for Making Ninja Creami Dairy-Free Vanilla Ice Cream
Step 1: Prepare the Ice Cream Base
Choose a dairy-free milk such as full-fat coconut milk, oat milk, almond milk, or cashew milk for the best texture. If using canned coconut milk, shake it well before opening to mix the cream and liquid. In a mixing bowl or blender, combine 1 ½ cups of your chosen dairy-free milk, 3-4 tablespoons of sweetener (such as maple syrup, agave syrup, or coconut sugar), 1 ½ teaspoons of pure vanilla extract or 1 teaspoon of vanilla bean paste, a pinch of salt (optional), and ¼ teaspoon of xanthan gum (optional for creaminess). Blend on low speed for 10-15 seconds or whisk vigorously until fully combined.
Step 2: Freeze the Mixture
Pour the blended mixture into a Ninja Creami-compatible pint container, ensuring it doesn’t exceed the max fill line. Secure the lid tightly to prevent freezer burn. Place the container on a level surface in your freezer and freeze for at least 24 hours until completely solid.
Step 3: Process in the Ninja Creami
Remove the frozen pint from the freezer and place it into the Ninja Creami outer bowl. Lock the lid and insert the bowl into the machine. Turn on the Ninja Creami and select the “Ice Cream” mode (or “Lite Ice Cream” if using lower-fat milk alternatives). Allow the machine to fully process the mixture until it transforms into a creamy texture.
Step 4: Adjust Consistency if Needed
If the ice cream appears crumbly or too firm, use the “Re-spin” function to smooth it out. If additional creaminess is desired, add a tablespoon of dairy-free milk and re-spin for better texture.
Step 5: Serve and Enjoy
Scoop the freshly made dairy-free vanilla ice cream into bowls or cones. Add optional toppings such as fresh fruit, nuts, dairy-free chocolate chips, or a drizzle of caramel sauce. Enjoy immediately for the best texture or store leftovers in the freezer with the lid tightly sealed. Let frozen leftovers sit at room temperature for a few minutes before scooping.
Ninja Creami Dairy-Free Vanilla Ice Cream Recipe
Equipment
- Ninja Creami Machine – Essential for transforming the frozen base into smooth, creamy ice cream.
- Ninja Creami Pint Container – Used to freeze the ice cream base before processing.
- Mixing Bowl or Blender – For combining the ingredients into a smooth mixture before freezing.
- Whisk or Spoon – If mixing by hand, a whisk helps blend the ingredients thoroughly.
- Measuring Cups and Spoons – For accurate measurement of ingredients.
- Spatula – Useful for scraping down the blender or mixing bowl.
- Freezer – Required to freeze the ice cream base for at least 24 hours.4o
Ingredients
- 1 ½ cups full-fat coconut milk (or oat, almond, or cashew milk)
- 3-4 tablespoons maple syrup, agave syrup, or coconut sugar (adjust to taste)
- 1 ½ teaspoons pure vanilla extract (or 1 teaspoon vanilla bean paste)
- ¼ teaspoon xanthan gum (optional, for creamier texture)
- A pinch of salt (optional, enhances flavor)
Instructions
- Prepare the Ice Cream BaseIn a mixing bowl or blender, combine 1 ½ cups dairy-free milk, 3-4 tablespoons sweetener, 1 ½ teaspoons vanilla extract, ¼ teaspoon xanthan gum (optional), and a pinch of salt. Blend or whisk until smooth.
- Freeze the MixturePour the mixture into a Ninja Creami pint container, ensuring it does not exceed the max fill line. Secure the lid and freeze for at least 24 hours until completely solid.
- Process in the Ninja CreamiRemove the frozen pint from the freezer and place it into the Ninja Creami outer bowl. Lock the lid, insert the bowl into the machine, and select the "Ice Cream" function. Let the machine fully process the mixture.
- Adjust Consistency if NeededIf the ice cream appears crumbly, use the "Re-Spin" function. For extra creaminess, add 1 tablespoon of dairy-free milk and re-spin.
- Serve and EnjoyScoop into bowls or cones and enjoy immediately. Store leftovers in the freezer in an airtight container, allowing them to soften for 5-10 minutes before serving again.
Notes
- Choose the Right Milk: Full-fat coconut milk creates the creamiest texture, while almond or oat milk may result in a lighter, slightly icier consistency.
- Sweetener Adjustments: Freezing dulls sweetness slightly, so taste the mixture before freezing and adjust as needed.
- Xanthan Gum for Creaminess: Adding xanthan gum helps prevent iciness, but it's optional.
- Freeze for a Full 24 Hours: For the best results, ensure the mixture is frozen solid before processing in the Ninja Creami.
- Use Re-Spin if Needed: If the ice cream appears crumbly, use the “Re-Spin” function or add 1 tablespoon of dairy-free milk for a smoother texture.
- Storage Tip: Store leftovers in an airtight container with parchment paper pressed on top to prevent ice crystals from forming.
- Flavor Variations: Add mix-ins like dairy-free chocolate chips, cinnamon, or fruit puree for a customized flavor.
Tips for Making the Best Ninja Creami Dairy-Free Vanilla Ice Cream
Use Full-Fat Milk for Creaminess – For the richest and creamiest texture, opt for full-fat coconut milk, cashew milk, or oat milk. Low-fat options like almond or soy milk may result in an icier texture.
Add a Thickening Agent – A small amount of xanthan gum or guar gum (¼ teaspoon) helps prevent iciness and improves the smoothness of the ice cream.
Sweeten to Taste – If using a natural sweetener like maple syrup or agave, taste the base before freezing to ensure it’s sweet enough. Remember that freezing dulls sweetness slightly.
Freeze the Mixture Properly – Make sure the ice cream base is frozen for a full 24 hours on a flat surface to ensure even consistency when processing in the Ninja Creami.
Don’t Skip the Re-Spin – If your ice cream turns out crumbly after the first spin, use the “Re-Spin” function to achieve a smoother texture. You can also add a tablespoon of dairy-free milk before re-spinning for extra creaminess.
Customize Your Flavor – Experiment by adding mix-ins like cinnamon, nutmeg, dairy-free chocolate chips, or fresh fruit for a unique twist on vanilla ice cream.
Soften Before Scooping – If storing leftovers in the freezer, let the ice cream sit at room temperature for 5-10 minutes before scooping to make it easier to serve.
Store Properly for Freshness – Keep the ice cream in an airtight container in the freezer to prevent freezer burn. If storing for more than a few days, press a piece of parchment paper onto the surface before sealing.
Conclusion
Making Ninja Creami Dairy-Free Vanilla Ice Cream at home is a simple and rewarding way to enjoy a creamy, delicious frozen treat without dairy. By using plant-based milk, natural sweeteners, and a few optional ingredients to enhance texture, you can create a smooth and satisfying dessert that’s perfect for those who are lactose-intolerant, vegan, or looking for a healthier alternative to traditional ice cream. The Ninja Creami ensures that even dairy-free versions achieve a rich, scoopable consistency with just a few easy steps.
With the flexibility to customize flavors and mix-ins, this recipe allows you to experiment and create your ideal ice cream. Whether you enjoy it plain or topped with fresh fruit, nuts, or chocolate, this homemade dairy-free vanilla ice cream is sure to be a favorite. Plus, by making it yourself, you have full control over the ingredients, ensuring a treat that’s both wholesome and delicious. Enjoy your homemade creation straight from the Ninja Creami and savor every bite!

Hi, I’m Katelyn Williams, the expert behind Ninjacreamiicecream.com. With a deep passion for creating delectable ice cream recipes, I’m here to share my love for all things ice cream. I earned my Bachelor’s degree from Louisiana State University, and since then, I’ve been dedicated to perfecting the art of ice cream making. From classic flavors to innovative creations, my goal is to inspire you to make delicious and creamy treats at home effortlessly. Join me for the best recipes, tips, and techniques to elevate your ice cream game and indulge in delightful frozen desserts!