
Melon Ice Cream is a refreshing and delightful treat that captures the vibrant, natural sweetness of fresh melon. The juicy, flavorful melon serves as the perfect base for a cool, creamy ice cream that’s ideal for hot summer days or when you’re in the mood for something light yet indulgent. With its light texture and refreshing taste, melon ice cream offers a delicious way to enjoy this versatile fruit in a new form. Best of all, making homemade ice cream is easier than you might think—requiring just a few simple ingredients and minimal effort to create a creamy, fruity dessert your whole family will love.
Disclosure: This post may contain affiliate links. As an Amazon Associate, I earn from qualifying purchases. Read more.

Melon Ice Cream Recipe
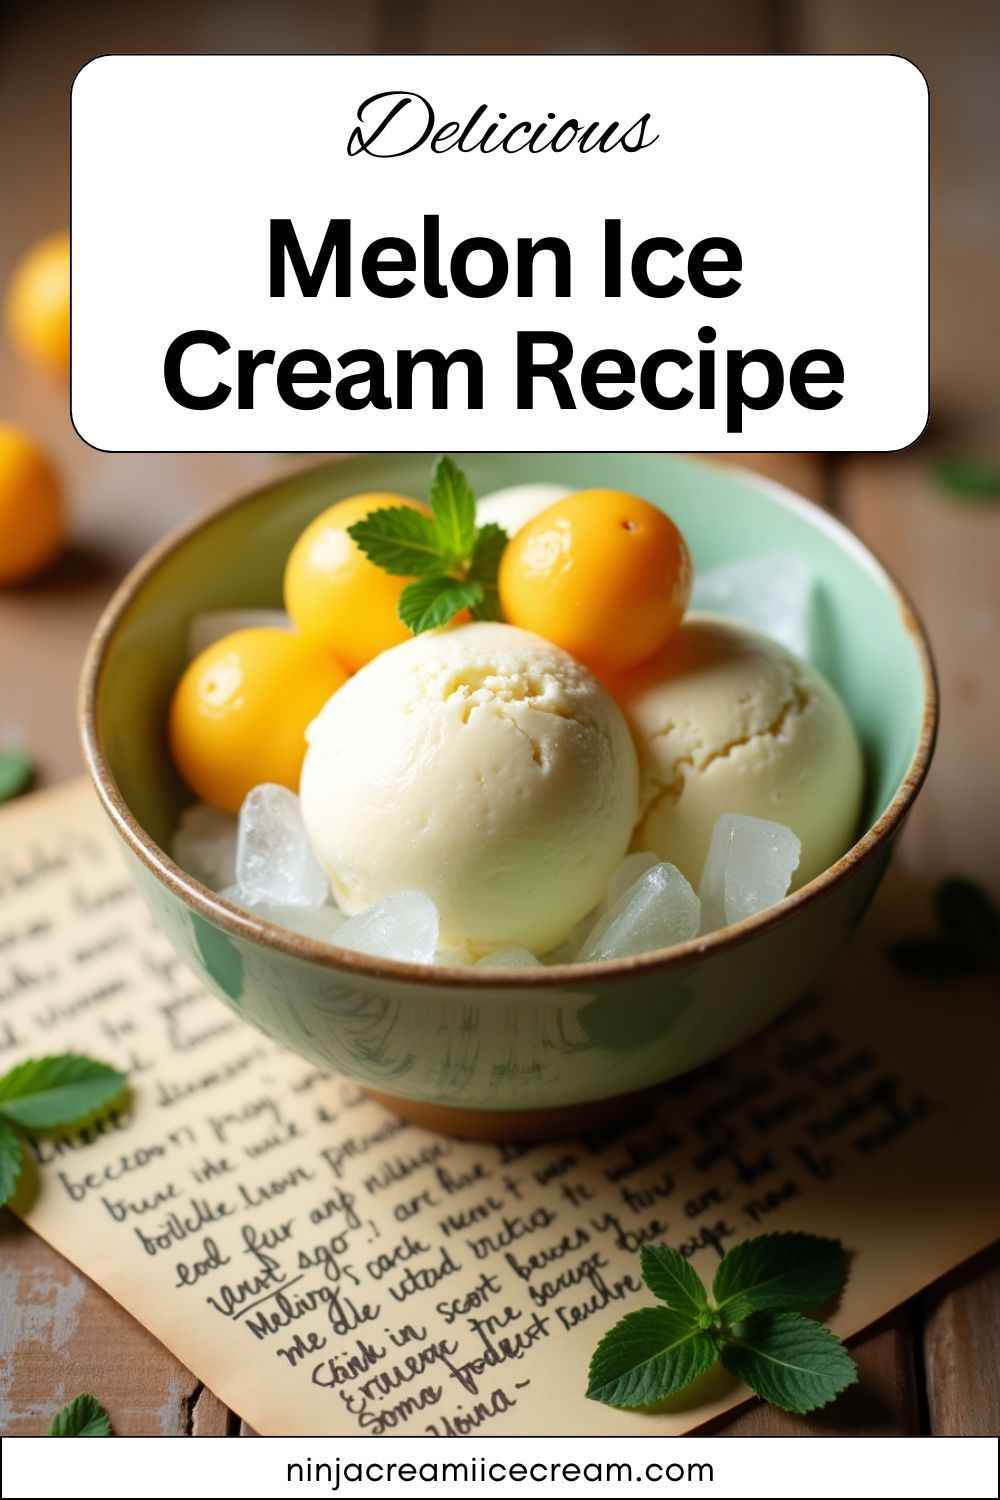
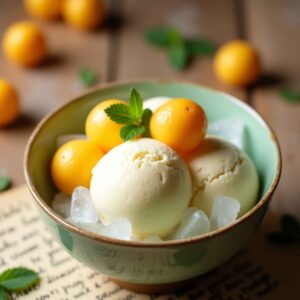
Melon Ice Cream Recipe
Equipment
- Blender or Food Processor:
- Mixing bowl
- Whisk or Spoon -
- Ice Cream Maker (Optional)
- Freezer-Safe Container:
- Spatula:
- Measuring Cups and Spoons:
- Knife and Cutting Board:
Ingredients
- 2 cups melon puree
- 1 cup heavy cream
- 1 cup whole milk
- ½ cup sweetened condensed milk
- ½ cup granulated sugar
- 1 tablespoon fresh lemon juice (optional, for added brightness)
Instructions
- Prepare the Melon:Cut the melon in half, remove the seeds, and peel the skin. Chop the melon into small chunks. Blend the melon pieces in a blender or food processor until smooth, yielding about 2 cups of melon puree.
- Mix the Base:In a large mixing bowl, combine the heavy cream, whole milk, sweetened condensed milk, and sugar. Whisk together until the sugar is dissolved, creating a smooth, creamy base.
- Add the Melon Puree:Pour the melon puree into the cream mixture. Stir gently to combine, adding fresh lemon juice if desired to enhance the flavor.
- Chill the Mixture:Refrigerate the mixture for 1-2 hours to ensure it’s cold before churning.
- Churn and Freeze:Pour the chilled mixture into your ice cream maker and churn according to the manufacturer’s instructions (typically 20-30 minutes). Once churned to a soft-serve consistency, transfer the ice cream to a freezer-safe container. Freeze for 4-6 hours or until firm, then serve and enjoy!
Notes
-
Melon Selection:
- Choose a ripe melon to ensure the best flavor. A sweet, juicy melon will elevate the ice cream's natural taste.
-
Chilling the Mixture:
- For best results, refrigerate the ice cream mixture for at least 1-2 hours before churning. This helps the ice cream maker work more effectively, yielding a smoother texture.
-
Ice Cream Maker Usage:
- If using an ice cream maker, follow the manufacturer’s instructions for churning. Over-churning may lead to a grainy texture, so stop once it reaches a soft-serve consistency.
-
Storage:
- If you don't plan to serve the ice cream right away, transfer it to a freezer-safe container and freeze for at least 4-6 hours until firm. For best texture, allow it to soften slightly at room temperature before scooping.
-
Customization:
- You can mix in small chunks of melon during the churning process for extra texture. If you prefer a less sweet ice cream, reduce the sugar or sweetened condensed milk.
-
No Ice Cream Maker:
- If you don’t have an ice cream maker, pour the mixture into a shallow dish and freeze, stirring every 30 minutes for a smoother consistency. This method will take longer but still yield great results.
Tips for Making the Perfect Melon Ice Cream
-
Use Ripe Melon:
- The flavor of your melon ice cream heavily depends on the ripeness of the melon. A ripe melon will have the sweetest, most intense flavor. Choose a melon that is fragrant, heavy for its size, and yields slightly when pressed.
-
Blend Until Smooth:
- For the best texture, make sure to blend the melon until it is completely smooth. Any chunks left in the puree can create an uneven texture in the final ice cream.
-
Adjust Sweetness:
- The sweetness of melons can vary, so taste the melon puree before mixing it into the base. If your melon is particularly sweet, you can reduce the sugar in the recipe to avoid an overly sweet ice cream. Conversely, if your melon is less sweet, you might want to add a little extra sugar.
-
Chill the Mixture:
- Chilling the ice cream mixture for 1-2 hours before churning helps it freeze more evenly and results in a creamier texture. It also makes the churning process more efficient, especially if you’re using an ice cream maker.
-
Don’t Over-Churn:
- If you’re using an ice cream maker, be sure not to over-churn the mixture. The ice cream should have a soft-serve consistency when it’s ready to transfer to the freezer. Over-churning can lead to a grainy texture.
-
Use Full-Fat Ingredients:
- For the creamiest results, stick to full-fat heavy cream and whole milk. These ingredients help achieve a smooth, velvety texture. You can substitute with lighter versions, but the texture may be less rich.
-
Freezing Tips:
- If you’re not using an ice cream maker, freeze the mixture in a shallow container to ensure it freezes quickly and evenly. Stir every 30 minutes to prevent ice crystals from forming and to maintain a smooth consistency.
-
Add-ins and Mix-ins:
- Feel free to get creative with mix-ins! You can add small chunks of melon to the ice cream during the last few minutes of churning to give it extra texture. You could also mix in chopped nuts, chocolate chips, or even a drizzle of honey for added sweetness.
-
No Ice Cream Maker? No Problem!
- If you don’t have an ice cream maker, simply pour the mixture into a shallow, freezer-safe dish. Stir the ice cream every 30 minutes while it’s freezing to break up any ice crystals and ensure a creamy, smooth texture. This method takes longer but still yields delicious results.
-
Serve with Toppings:
- For a fun twist, serve your melon ice cream with garnishes like chopped fresh melon, crushed cookies, or a sprig of mint. These add both flavor and visual appeal to your dish.
With these tips, you can easily create a perfect batch of melon ice cream every time! Enjoy experimenting and customizing your recipe!
Conclusion
Making your own acai sorbet at home is a simple and rewarding way to enjoy a refreshing, nutrient-packed dessert. With just a few wholesome ingredients, you can create a naturally sweet and creamy sorbet without any artificial additives or preservatives. Plus, the ability to customize the sweetness, texture, and flavors ensures that every batch is perfectly suited to your taste. Whether enjoyed as a light snack, a post-workout treats, or a healthy dessert, this homemade acai sorbet is both delicious and nourishing.
By following this easy recipe and using the right tips, you can achieve a smooth, scoopable texture with a burst of fruity goodness in every bite. The combination of acai’s powerful antioxidants, fiber-rich fruits, and natural sweeteners makes this sorbet not only satisfying but also beneficial for overall health. So, grab your blender, whip up a batch, and indulge in a refreshing, homemade acai sorbet that’s as good for you as it is delicious!

Hi, I’m Katelyn Williams, the expert behind Ninjacreamiicecream.com. With a deep passion for creating delectable ice cream recipes, I’m here to share my love for all things ice cream. I earned my Bachelor’s degree from Louisiana State University, and since then, I’ve been dedicated to perfecting the art of ice cream making. From classic flavors to innovative creations, my goal is to inspire you to make delicious and creamy treats at home effortlessly. Join me for the best recipes, tips, and techniques to elevate your ice cream game and indulge in delightful frozen desserts!