
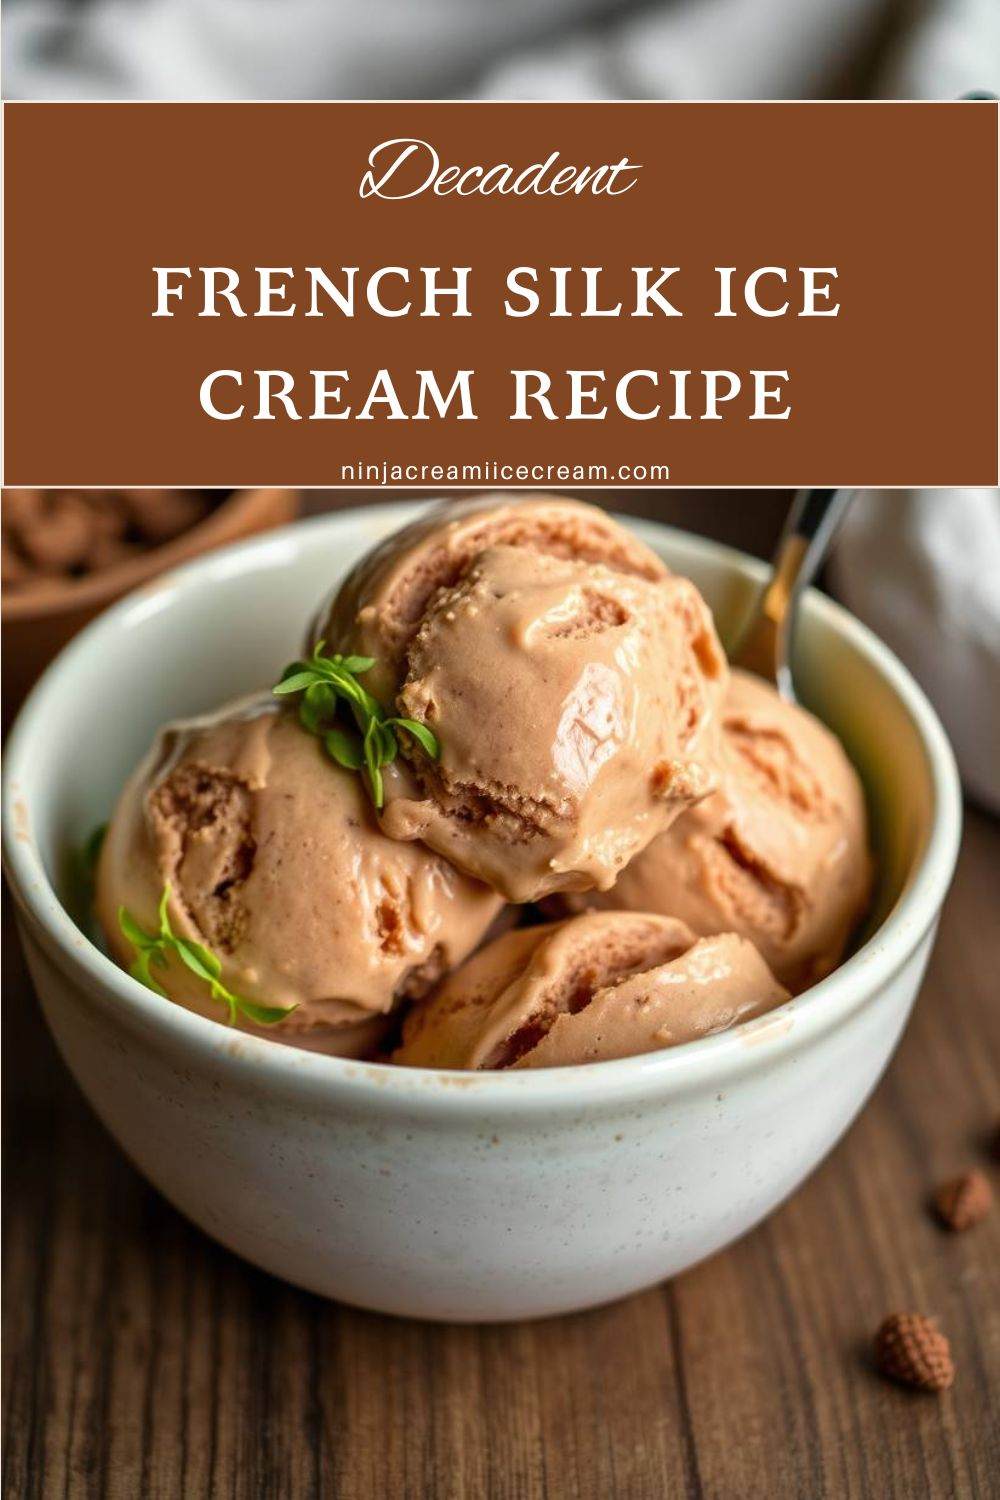
French Silk Ice Cream is a decadent treat that combines the luxurious, creamy texture of traditional ice cream with the deep, indulgent flavor of chocolate. This dessert is inspired by the classic French Silk Pie, known for its rich, velvety chocolate filling. Perfectly balanced between sweetness and chocolatey intensity, French Silk Ice Cream is a favorite among dessert lovers and has become increasingly popular as a homemade delight. Whether served on its own or paired with other desserts, this silky creation is sure to impress.
Disclosure: This post may contain affiliate links. As an Amazon Associate, I earn from qualifying purchases. Read more.

French Silk Ice Cream Recipe
Ingredients for French Silk Ice Cream
Here’s a detailed breakdown of the ingredients needed to create the rich and indulgent French Silk Ice Cream:
- Heavy Cream (2 cups)
- Forms the creamy, luscious base of the ice cream. Its high fat content ensures the final product has a smooth, rich texture.
- Whole Milk (1 cup)
- Balances the richness of the heavy cream while contributing to the overall creaminess of the ice cream.
- Granulated Sugar (¾ cup)
- Adds sweetness and helps enhance the flavor of the chocolate. It also plays a role in achieving the soft, scoopable texture.
- Unsweetened Cocoa Powder (¼ cup)
- Provides a deep, chocolatey flavor and enhances the richness of the ice cream.
- Dark Chocolate or Semi-Sweet Chocolate (4 oz, chopped)
- The star ingredient, melted into the base to create the signature French Silk flavor. Choose high-quality chocolate for the best results.
- Egg Yolks (4 large, optional for custard base)
- Adds richness and creates a velvety texture. Cooking the yolks into a custard ensures the mixture is safe to eat and provides an ultra-creamy finish.
- Vanilla Extract (1 teaspoon)
- Enhances the chocolate flavor and adds a subtle depth to the ice cream.
- Salt (¼ teaspoon)
- Balances the sweetness and intensifies the chocolate notes for a well-rounded flavor.
Optional Additions:
- Chocolate Chips or Shavings (½ cup): For added texture and bursts of chocolate in each bite.
- Whipped Cream (as garnish): To replicate the feel of French Silk Pie when serving.
With these ingredients, you’ll be able to create a homemade ice cream that captures the essence of the beloved French Silk dessert.
Instructions for Making French Silk Ice Cream
Follow these detailed step-by-step instructions to create the rich and creamy French Silk Ice Cream at home:
Step 1: Prepare the Chocolate Base
- In a medium-sized saucepan, combine the unsweetened cocoa powder, chopped dark or semi-sweet chocolate, and ½ cup of heavy cream.
- Heat the mixture over low heat, stirring constantly until the chocolate is fully melted and smooth. Avoid letting it boil to prevent scorching.
- Remove the pan from the heat and set it aside to cool slightly.
Step 2: Make the Custard Base (if using egg yolks)
- In a separate mixing bowl, whisk the egg yolks and granulated sugar together until the mixture becomes pale and slightly thickened. This step ensures the sugar dissolves and creates a creamy custard.
- In another saucepan, heat the remaining heavy cream, whole milk, and salt over medium heat until it begins to steam but does not boil.
- Slowly temper the egg yolks by gradually adding the warm milk mixture to the yolks while whisking constantly. This prevents the eggs from curdling.
- Pour the tempered mixture back into the saucepan and cook over low heat, stirring constantly with a wooden spoon or heatproof spatula, until it thickens enough to coat the back of the spoon (about 170°F or 77°C on a thermometer). Do not let it boil.
Step 3: Combine the Chocolate and Custard
- Add the melted chocolate mixture to the custard base and whisk until fully incorporated.
- Stir in the vanilla extract for added flavor depth.
- Transfer the mixture to a large bowl and let it cool to room temperature. Cover it with plastic wrap, pressing the wrap directly onto the surface to prevent a skin from forming.
- Chill the mixture in the refrigerator for at least 2 hours, or until it is thoroughly cold.
Step 4: Churn the Ice Cream
- Once the mixture is chilled, pour it into your ice cream maker. Follow the manufacturer’s instructions to churn the ice cream until it reaches a soft-serve consistency (usually 20–30 minutes).
- If you don’t have an ice cream maker, pour the mixture into a shallow freezer-safe container. Freeze it for 1–2 hours, then stir it vigorously with a fork or whisk to break up ice crystals. Repeat this every 30 minutes until the mixture is fully frozen.
Step 5: Freeze the Ice Cream
- Transfer the churned ice cream to an airtight container.
- Freeze for at least 4 hours, or until the ice cream is firm enough to scoop.
Step 6: Serve and Enjoy
- Scoop the ice cream into bowls or cones.
- Garnish with whipped cream, chocolate shavings, or a drizzle of chocolate syrup for an extra-special touch.
- Serve immediately and enjoy the rich, chocolatey flavor of your homemade French Silk Ice Cream!
By following these steps, you’ll create a decadent dessert perfect for any occasion!

French Silk Ice Cream Recipe
Equipment
- Medium Saucepan:
- Mixing Bowls:
- Whisk
- Wooden Spoon or Heatproof Spatula
- Fine Mesh Sieve (Optional)
- Ice Cream Maker
- Airtight Freezer-Safe Container
- Plastic Wrap or Parchment Paper
- Measuring Cups and Spoons:
- Instant-Read Thermometer (Optional)
Ingredients
- 4 ounces Dark or Semi-Sweet Chocolate (chopped)
- 2 tablespoons Unsweetened Cocoa Powder
- 2 cups Heavy Cream (480 ml), divided
- 1 cup Whole Milk (240 ml)
- ¾ cup Granulated Sugar(150 grams)
- 4 large Egg Yolks (optional, for a richer texture)
- 1 teaspoon Vanilla Extract
- ¼ teaspoon Salt
Instructions
- Prepare the Chocolate BaseIn a saucepan, combine 2 tablespoons of cocoa powder, 4 oz of chopped dark or semi-sweet chocolate, and ½ cup of heavy cream. Heat over low heat, stirring constantly until the chocolate is melted and smooth. Remove from heat and set aside to cool slightly.
- Make the Custard Base (Optional with Egg Yolks)In a mixing bowl, whisk together 4 egg yolks and ¾ cup of granulated sugar until pale and thick. In a separate saucepan, heat 1 cup of whole milk and 1½ cups of heavy cream over medium heat until steaming (but not boiling). Slowly pour the hot milk mixture into the egg yolks while whisking constantly to temper the eggs. Return the mixture to the saucepan and cook over low heat, stirring constantly, until it thickens enough to coat the back of a spoon (170°F or 77°C). Do not boil.
- Combine the Chocolate and CustardAdd the melted chocolate mixture into the custard base and whisk until fully incorporated. Stir in 1 teaspoon of vanilla extract and ¼ teaspoon of salt. Let the mixture cool to room temperature.
- Chill the MixtureCover the mixture with plastic wrap, pressing the wrap directly onto the surface to prevent a skin from forming. Refrigerate for at least 2 hours, or until completely cold.
- Churn and Freeze the Ice CreamPour the chilled mixture into your ice cream maker and churn according to the manufacturer’s instructions (typically 20–30 minutes). Once the ice cream reaches a soft-serve consistency, transfer it to an airtight container and freeze for at least 4 hours, or until firm.
Notes
-
Egg Yolks Are Optional
- While egg yolks create a richer, smoother custard and contribute to the silky texture, they are optional in this recipe. If you prefer a lighter version, you can skip the eggs and simply make the chocolate base combined with the milk and cream.
-
Chill the Custard Base Thoroughly
- Make sure the custard mixture is completely chilled before churning. This is a crucial step to ensure the ice cream freezes properly and achieves the right creamy texture.
-
Ice Cream Maker is Recommended
- Using an ice cream maker provides the best results by churning the mixture into a smooth, soft-serve consistency. If you don’t have one, you can manually stir the mixture every 30 minutes during the freezing process to prevent ice crystals from forming, though the texture may not be as smooth.
-
Use High-Quality Chocolate
- The flavor of your ice cream depends greatly on the chocolate you use. Opt for high-quality dark or semi-sweet chocolate (at least 60% cocoa) for the best taste. Avoid using chocolate chips, as they contain stabilizers that may affect the texture.
-
Freezing Time
- After churning, be sure to allow the ice cream to freeze for at least 4 hours before serving, or until it is firm enough to scoop. If storing for longer, cover the ice cream surface with plastic wrap or parchment paper to prevent freezer burn.
-
Adjust Sweetness to Taste
- You can adjust the sweetness of the ice cream to your preference by adding more sugar, but remember that it will become less sweet once frozen. Taste the mixture before freezing to ensure it’s to your liking.
-
Serve at the Right Temperature
- For the creamiest texture, let the ice cream sit at room temperature for a few minutes before serving. This will make it easier to scoop.

Hi, I’m Katelyn Williams, the expert behind Ninjacreamiicecream.com. With a deep passion for creating delectable ice cream recipes, I’m here to share my love for all things ice cream. I earned my Bachelor’s degree from Louisiana State University, and since then, I’ve been dedicated to perfecting the art of ice cream making. From classic flavors to innovative creations, my goal is to inspire you to make delicious and creamy treats at home effortlessly. Join me for the best recipes, tips, and techniques to elevate your ice cream game and indulge in delightful frozen desserts!