
Birthday Cake Ice Cream is the ultimate treat that combines the nostalgic flavor of birthday cake with the creamy, indulgent texture of ice cream. This fun and festive dessert is perfect for celebrations, bringing joy to every occasion with its colorful sprinkles and rich, buttery taste. Whether you’re hosting a birthday party, enjoying a family gathering, or simply indulging your sweet tooth, birthday cake ice cream appeals to all age groups and guarantees smiles all around. It’s not just a dessert; it’s a party in every scoop!
Disclosure: This post may contain affiliate links. As an Amazon Associate, I earn from qualifying purchases. Read more.

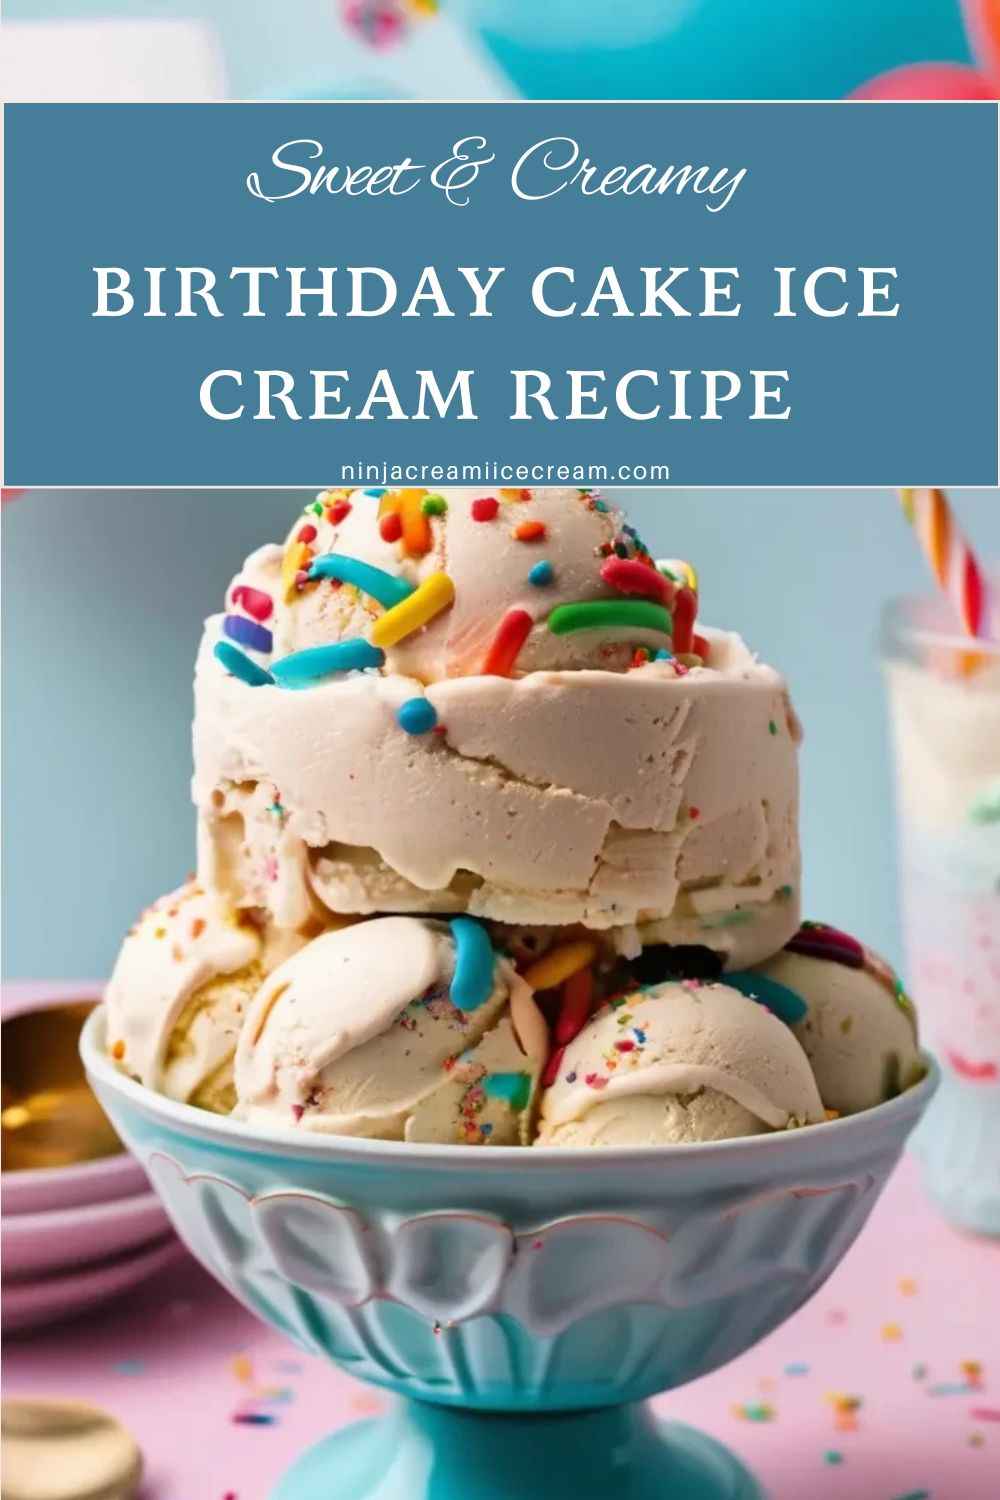
Birthday Cake Ice Cream Recipe
1. Heavy Cream (2 cups)
- Provides a rich, creamy base for the ice cream, ensuring a smooth and indulgent texture.
2. Whole Milk (1 cup)
- Adds a lighter texture to balance the richness of the heavy cream.
3. Granulated Sugar (¾ cup)
- Sweetens the ice cream and enhances the cake-like flavor. Adjust to taste if desired.
4. Vanilla Extract (2 teaspoons)
- A key flavoring that complements the birthday cake mix and sprinkles, adding depth and aroma.
5. Birthday Cake Mix (½ cup)
- Adds the signature “birthday cake” flavor, mimicking the taste of freshly baked cake in ice cream form. Ensure the mix is safe for raw consumption or heat-treated if necessary.
6. Rainbow Sprinkles (¼ cup)
- Optional but highly recommended for that iconic birthday cake look. These colorful sprinkles are mixed in and add a playful crunch to each bite.
7. Pinch of Salt
- Balances the sweetness and enhances the overall flavor of the ice cream.
Optional Add-Ins:
- Cake Chunks: Small pieces of sponge cake for added texture.
- Whipped Cream Topping: For serving and decoration.
- Additional Sprinkles: For garnish or extra bursts of color.
These ingredients come together to create a delightful, festive treat that embodies the joy and celebration of a birthday party in every spoonful!
Instructions for Making Birthday Cake Ice Cream
1. Prepare the Ice Cream Base
- In a large mixing bowl, combine 2 cups of heavy cream, 1 cup of whole milk, and ¾ cup of granulated sugar.
- Whisk the mixture thoroughly until the sugar is completely dissolved. This ensures a smooth, creamy texture in your ice cream.
- Add 2 teaspoons of vanilla extract and a pinch of salt, mixing until fully incorporated.
2. Incorporate the Birthday Cake Flavor
- Gradually add ½ cup of birthday cake mix to the base, whisking continuously to prevent lumps.
- Continue whisking until the cake mix is fully dissolved and the mixture is smooth. This step adds the signature birthday cake flavor to the ice cream.
3. Add the Sprinkles
- Gently fold in ¼ cup of rainbow sprinkles. Be careful not to overmix, as this could cause the colors to bleed into the base.
- If you’d like extra sprinkles for garnish, set some aside for later.
4. Churn the Ice Cream
- Pour the prepared mixture into your ice cream maker and churn according to the manufacturer’s instructions.
- Typically, this process takes about 20-25 minutes, depending on your ice cream maker.
- If using a no-churn method:
- Whip 2 cups of heavy cream until stiff peaks form.
- Fold in the milk, sugar, and birthday cake mixture until fully combined.
- Stir in the sprinkles gently.
5. Freeze the Ice Cream
- Transfer the churned ice cream into a freezer-safe container.
- Smooth the top with a spatula, and if desired, sprinkle extra rainbow sprinkles on top for decoration.
- Cover the container tightly with a lid or plastic wrap to prevent freezer burn.
- Place the container in the freezer and freeze for at least 4 hours or overnight until the ice cream is firm.
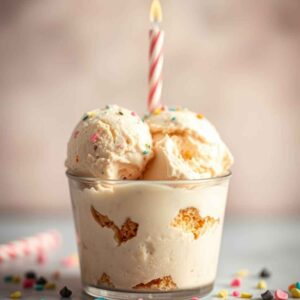
6. Serve and Enjoy
- Once the ice cream is fully frozen, scoop it into bowls or cones.
- For a festive presentation, garnish with whipped cream, more sprinkles, or even small cake chunks.
Tips for Best Results
- Ensure all ingredients are cold before starting for quicker churning and a creamier texture.
- Avoid overchurning, as this can make the ice cream dense instead of creamy.
- Store leftover ice cream in an airtight container to maintain freshness and flavor.
Enjoy your delightful homemade birthday cake ice cream, the perfect treat for any celebration or sweet craving!
Birthday Cake Ice Cream Recipe
Equipment
- Mixing Bowls:
- Whisk or Hand Mixer
- Ice Cream Maker (Optional)
- Freezer-Safe Container:
- Spatula:
- Measuring Cups and Spoons:
- Plastic Wrap or Parchment Paper
Ingredients
- 2 cups Heavy Cream
- 1 cup Whole Milk
- ¾ cup Granulated Sugar
- 2 tsps Vanilla Extract
- ½ cup Birthday Cake Mix
- ¼ cup Rainbow Sprinkles (optional, or more for decoration)
- Pinch of Salt
Optional Add-Ins:
- Cake Chunks – Small pieces of sponge cake (optional)
- Whipped Cream – For topping (optional)
- Additional Sprinkles – For garnish (optional)
Instructions
- Prepare the Ice Cream BaseIn a large mixing bowl, combine 2 cups of heavy cream, 1 cup of whole milk, and ¾ cup of granulated sugar. Whisk until the sugar is dissolved. Add 2 teaspoons of vanilla extract and a pinch of salt, then whisk to incorporate.
- Add the Cake MixSift ½ cup of birthday cake mix into the cream mixture. Whisk gently until the cake mix is fully dissolved, ensuring there are no lumps.
- Incorporate the SprinklesFold in ¼ cup of rainbow sprinkles gently using a spatula. Be careful not to overmix, as the sprinkles may bleed into the mixture.
- Churn the Ice CreamPour the mixture into your ice cream maker and churn according to the manufacturer's instructions, usually for about 20-30 minutes, until it reaches a soft-serve consistency.
- Freeze and ServeTransfer the churned ice cream into a freezer-safe container. Smooth the top with a spatula, then cover tightly and freeze for at least 4 hours or overnight until firm. Serve with extra sprinkles, whipped cream, or cake chunks as desired.
Notes
-
Choose Heat-Treated Cake Mix:
- If you're using a traditional cake mix, make sure it’s heat-treated to eliminate any raw flour risks. Some brands offer “safe-to-eat raw” mixes that are perfect for no-bake recipes. If not, consider lightly baking the cake mix at a low temperature (around 300°F for 5-10 minutes) to ensure safety.
-
Chill the Ice Cream Base:
- For the best texture, refrigerate the prepared ice cream base for 1-2 hours before churning. A colder mixture churns more efficiently, resulting in creamier ice cream.
-
Don’t Overmix the Sprinkles:
- When adding sprinkles, fold them in gently. Overmixing may cause them to dissolve and bleed into the ice cream, affecting the color and texture.
-
Churning Time:
- If you're using an ice cream maker, follow the manufacturer's instructions carefully. Churn until the mixture has a soft-serve consistency. Over-churning can lead to a dense texture, while under-churning results in a softer ice cream.
-
Freezing Time:
- Allow the ice cream to freeze for at least 4 hours or overnight to achieve a firm, scoopable consistency. The freezing time may vary based on the freezer, so check the texture before serving.
-
Customize Your Ice Cream:
- Feel free to add mix-ins like cake chunks, cookie dough pieces, or chocolate chips during the last few minutes of churning to personalize your ice cream.
-
Storage:
- Store any leftover ice cream in an airtight, freezer-safe container to prevent ice crystals from forming. It’s best consumed within 1-2 weeks for the freshest taste.
-
No-Ice Cream-Maker Method:
- If you don’t have an ice cream maker, you can use the no-churn method, which involves folding whipped cream into the cake-mix mixture and freezing it. This method yields a slightly different texture but still delicious!
-
Serving Tip:
- Let the ice cream sit at room temperature for 5–10 minutes before scooping for easier serving. This ensures the ice cream is the perfect consistency.
Tips for Making the Best Birthday Cake Ice Cream
1. Use High-Quality Ingredients
- Opt for fresh heavy cream, whole milk, and vanilla extract for a rich and authentic flavor.
- Choose a trusted brand of birthday cake mix for the signature taste.
2. Chill the Mixture Before Churning
- For the creamiest texture, refrigerate the prepared ice cream base for 1-2 hours before churning. A cold mixture churns faster and prevents ice crystals from forming.
3. Be Gentle with the Sprinkles
- Fold in the rainbow sprinkles gently to avoid the colors bleeding into the mixture. If you’re concerned about this, use non-bleeding sprinkles specifically made for baking.
4. Prevent Ice Crystals
- Cover the surface of the ice cream with a piece of plastic wrap or parchment paper before sealing the container. This minimizes air exposure and prevents ice crystals.
5. Experiment with Add-Ins
- Enhance the texture and flavor by adding cake chunks, cookie dough pieces, or chocolate chips to the ice cream during the last few minutes of churning.
6. No-Churn Option Tips
- If using the no-churn method, make sure the whipped cream is beaten to stiff peaks before folding in the other ingredients. This will ensure a fluffy, airy texture.
7. Don’t Over-Churn
- Follow the manufacturer’s instructions for your ice cream maker. Over-churning can cause the ice cream to become grainy or overly dense.
8. Serve at the Right Temperature
- Let the ice cream sit at room temperature for 5-10 minutes before scooping for easier serving and the perfect creamy consistency.
9. Store Properly
- Keep your ice cream in an airtight, freezer-safe container to preserve its flavor and texture. Consume within 1-2 weeks for the best taste.
10. Customize for the Occasion
- Use themed sprinkles or edible decorations to match holidays, parties, or celebrations. For example, red and green sprinkles for Christmas or heart-shaped sprinkles for Valentine’s Day.
By following these tips, your birthday cake ice cream will turn out creamy, festive, and absolutely irresistible every time!
Conclusion
Birthday cake ice cream is more than just a dessert; it’s a celebration in every scoop. Its rich, creamy texture, coupled with the nostalgic flavor of birthday cake and bursts of colorful sprinkles, makes it a treat that delights kids and adults alike. Whether you’re preparing it for a birthday party, a family gathering, or simply to indulge your sweet tooth, this ice cream brings a sense of fun and festivity to any occasion.
One of the best parts about this recipe is its versatility. You can easily customize it with your favorite add-ins, from chunks of cake to swirls of frosting, or adjust the sprinkle colors to suit a particular theme or holiday. The option to make it with or without an ice cream maker also ensures that anyone can enjoy creating this homemade delight, regardless of the equipment they have on hand.
So, why not give this recipe a try and bring a little extra joy to your celebrations? With its irresistible flavor and eye-catching appearance, birthday cake ice cream is sure to become a favorite in your household. Share it with friends and family, and don’t forget to sprinkle on a little extra love for a dessert that’s as fun to make as it is to eat!

Hi, I’m Katelyn Williams, the expert behind Ninjacreamiicecream.com. With a deep passion for creating delectable ice cream recipes, I’m here to share my love for all things ice cream. I earned my Bachelor’s degree from Louisiana State University, and since then, I’ve been dedicated to perfecting the art of ice cream making. From classic flavors to innovative creations, my goal is to inspire you to make delicious and creamy treats at home effortlessly. Join me for the best recipes, tips, and techniques to elevate your ice cream game and indulge in delightful frozen desserts!