
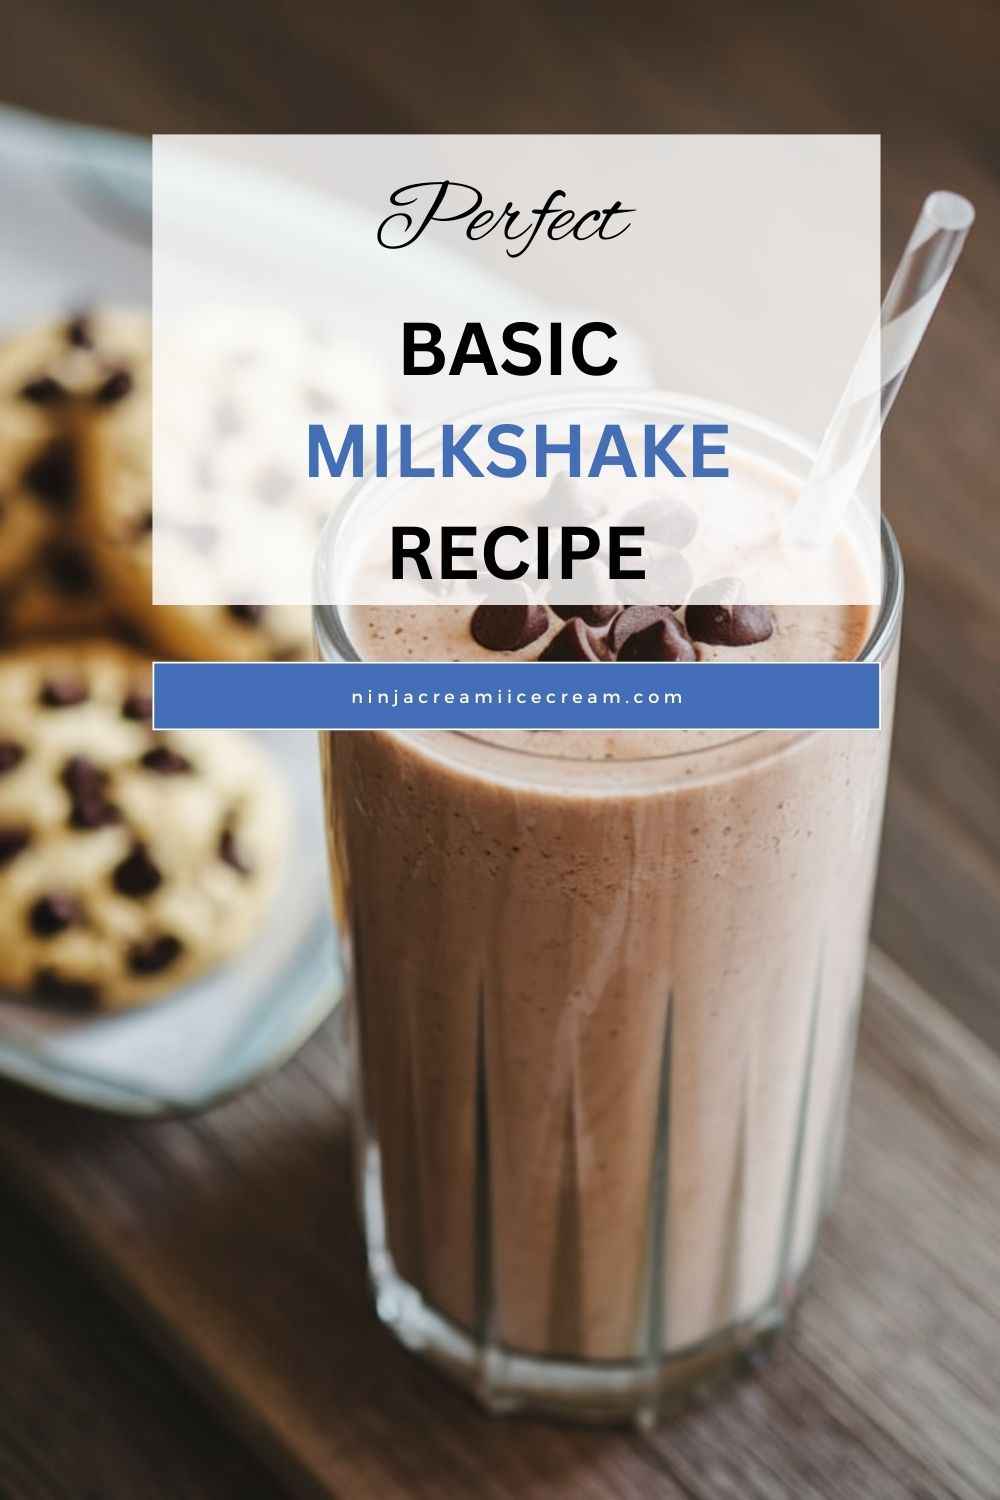
A Basic Milkshake is a delicious, creamy, and refreshing drink made by blending milk, ice cream, and flavorings like chocolate, vanilla, or fruit. It’s a classic treat enjoyed by all ages, perfect for cooling down on a hot day or satisfying a sweet craving.
Disclosure: This post may contain affiliate links. As an Amazon Associate, I earn from qualifying purchases. Read more.
Homemade milkshakes are better than store-bought ones because they allow you to control the ingredients, ensuring a fresher and healthier drink. You can customize flavors, adjust sweetness, and even make dairy-free or low-sugar versions to suit your preferences. Plus, making milkshakes at home is quick, easy, and fun!

Basic Milkshake Recipe
Ingredients for a Basic Milkshake
To make a delicious and creamy Basic Milkshake, you’ll need the following ingredients:
1. Milk (1/2 to 3/4 cup)
- Whole milk is ideal for a rich and creamy texture.
- For a lighter option, use low-fat or skim milk.
- Dairy-free alternatives like almond, soy, or oat milk work well too.
2. Ice Cream (2-3 scoops)
- Vanilla ice cream is the classic base for most milkshakes.
- Chocolate, strawberry, or any flavored ice cream can be used for variety.
- For a healthier twist, try frozen yogurt or banana-based ice cream.
3. Sweetener (Optional, 1-2 teaspoons)
- If your ice cream is not very sweet, you can add sugar, honey, or maple syrup.
- Adjust the sweetness based on personal preference.
4. Flavoring & Mix-ins (Optional, to taste)
- Chocolate Syrup – Adds a rich chocolate flavor.
- Strawberries or Other Fruits – Fresh or frozen for a fruity twist.
- Vanilla Extract (½ teaspoon) – Enhances flavor depth.
- Peanut Butter (1 tablespoon) – For a nutty, protein-packed milkshake.
- Cookies, Candies, or Nuts – Crushed Oreos, M&Ms, or almonds for extra texture.
5. Ice (Optional, 3-4 cubes)
- Helps to make the milkshake colder and slightly thicker.
- Best for lighter, low-fat milkshakes without too much ice cream.
6. Whipped Cream & Toppings (Optional, for garnish)
- A dollop of whipped cream for a classic finishing touch.
- Sprinkles, chocolate shavings, or caramel drizzle for extra appeal.
With these ingredients, you can create a perfect Basic Milkshake that is both creamy and flavorful!
Instructions for Making a Basic Milkshake
Follow these simple steps to create a creamy and delicious Basic Milkshake at home.
Step 1: Gather Your Ingredients
- Measure out ½ to ¾ cup of milk depending on how thick you want your shake.
- Scoop 2-3 generous scoops of ice cream (vanilla, chocolate, or your favorite flavor).
- If using optional ingredients like fruit, syrups, or peanut butter, have them ready.
Step 2: Prepare the Blender
- Use a high-speed blender to ensure a smooth and creamy consistency.
- If using a hand blender, choose a deep container to avoid spills.
Step 3: Add the Ingredients to the Blender
- Pour the milk into the blender first. This helps the blending process.
- Add the ice cream on top of the milk.
- If using sweeteners, vanilla extract, or mix-ins, add them now.
- For an extra frosty texture, you can toss in 3-4 ice cubes (optional).
Step 4: Blend Until Smooth
- Start blending on low speed to break down the ice cream and mix ingredients evenly.
- Gradually increase to high speed and blend for 30-60 seconds or until smooth.
- If the shake is too thick, add a splash of milk and blend again.
- If it’s too thin, add a small scoop of ice cream and blend briefly.
Step 5: Taste and Adjust
- Taste your milkshake to check sweetness and consistency.
- If needed, add a little more sugar, syrup, or vanilla extract, then blend for a few seconds.
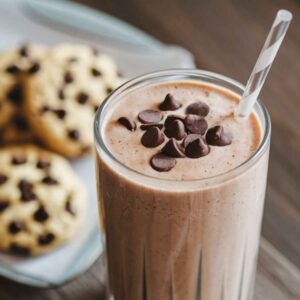
Step 6: Serve the Milkshake
- Pour the milkshake into a tall glass.
- If desired, top with whipped cream, sprinkles, chocolate shavings, or a drizzle of syrup.
- Insert a straw and enjoy immediately for the best flavor and texture.
Step 7: Optional Enhancements
- For a thicker milkshake: Reduce milk or add more ice cream.
- For a fruit milkshake: Blend in fresh or frozen berries, bananas, or mangoes.
- For extra flavor: Experiment with cocoa powder, caramel, or nut butter.
Now, enjoy your homemade Basic Milkshake—creamy, delicious, and made just the way you like it!
Basic Milkshake Recipe
Equipment
- Blender:
- Measuring Cups & Spoons –
- Tall Glass
- Straw & Spoon
- Ice Cream Scoop
- Chilled Serving Glass (Optional)
- Knife & Cutting Board (Optional)
Ingredients
- 2-3 scoops of ice cream (vanilla, chocolate, or your preferred flavor)
- ½ to ¾ cup milk
- 1 teaspoon vanilla extract (optional, for extra flavor)
- 1-2 tablespoons sugar or honey (optional, adjust to taste)
- 3–4 ice cubes (optional, for a frostier texture)
- Whipped cream (optional, for topping)
- Chocolate syrup, caramel drizzle, or sprinkles (optional, for garnish)
Instructions
- Add Ingredients to Blender: Pour ½ to ¾ cup of milk into the blender. Add 2–3 scoops of ice cream and any optional ingredients like vanilla extract, sugar, or honey. Add ice cubes if you want a frostier texture.
- Blend: Start the blender on low speed to combine the ingredients, then increase to high speed. Blend for 30-60 seconds until smooth and creamy.
- Adjust Consistency: If the milkshake is too thick, add a little more milk and blend again. If it's too thin, add another scoop of ice cream and blend.
- Taste and Adjust: Taste your milkshake and add more sweetness or flavor if desired. Blend briefly to mix any additions.
- Serve and Garnish: Pour the milkshake into a chilled glass. Top with whipped cream, chocolate syrup, or sprinkles, and enjoy immediately!
Notes
- Use full-fat milk and premium ice cream for the creamiest texture.
- For a thicker milkshake, reduce the milk or add more ice cream.
- For a lighter version, use low-fat milk or a dairy-free alternative like almond or oat milk.
- Over-blending can make the shake too thin, so blend just until smooth.
- Chill your glass beforehand to keep the milkshake colder for longer.
- Customize with mix-ins like fresh fruit, cocoa powder, peanut butter, or flavored syrups for different variations.
- Serve immediately for the best taste and consistency!
Tips for the Best Basic Milkshake
1. Use High-Quality Ice Cream
- The ice cream is the main ingredient, so choose a rich and creamy brand for the best texture and flavor.
- Avoid ice cream with too much air (cheap brands tend to be fluffier and less creamy).
2. Adjust Milk for Desired Thickness
- Use less milk (½ cup) for a thicker milkshake.
- Use more milk (¾ cup or more) for a thinner, sippable shake.
- If you accidentally add too much milk, just blend in another scoop of ice cream.
3. Chill the Glass Before Serving
- Place your serving glass in the freezer for 10-15 minutes before pouring the milkshake.
- This keeps your milkshake colder for longer and enhances the experience.
4. Blend in Stages for a Smooth Consistency
- Start at low speed to mix the ingredients, then gradually increase to high speed.
- This prevents splashing and ensures an evenly blended, creamy milkshake.
5. Enhance the Flavor
- Add a few drops of vanilla extract for a deeper, more well-rounded taste.
- Sprinkle in a pinch of salt to balance out the sweetness.
6. Experiment with Mix-ins and Toppings
- For a chocolate milkshake, add chocolate syrup or cocoa powder.
- For a fruit milkshake, blend in strawberries, bananas, or mangoes.
- Top with whipped cream, chocolate shavings, sprinkles, or crushed cookies for extra indulgence.
7. Avoid Over-Blending
- Blending too long can make your milkshake too thin and frothy.
- Blend just until smooth (30-60 seconds), then serve immediately.
8. Make It Dairy-Free
- Use almond, oat, coconut, or soy milk instead of regular milk.
- Substitute dairy-free ice cream for a completely lactose-free option.
9. Serve Immediately for Best Texture
- Milkshakes start to melt quickly, so drink it right away for the creamiest texture.
- If needed, pop it in the freezer for 5-10 minutes before serving to thicken it up.
With these tips, your Basic Milkshake will turn out perfectly creamy, flavorful, and refreshing every time!
Conclusion
Making a Basic Milkshake at home is quick, easy, and completely customizable. With just a few simple ingredients—milk, ice cream, and flavorings—you can create a deliciously creamy treat tailored to your taste. Whether you prefer a classic vanilla shake, a rich chocolate blend, or a fruity twist, the possibilities are endless. Plus, homemade milkshakes allow you to control the sweetness, thickness, and ingredients, making them a fresher and healthier option compared to store-bought versions.
So why not get creative and experiment with different flavors and toppings? From whipped cream and sprinkles to cookie crumbles and caramel drizzle, there’s no wrong way to enjoy a milkshake. Serve it in a chilled glass, sip through a straw, and indulge in the perfect homemade treat. Once you try making your own milkshake, you may never want to buy one again!

Hi, I’m Katelyn Williams, the expert behind Ninjacreamiicecream.com. With a deep passion for creating delectable ice cream recipes, I’m here to share my love for all things ice cream. I earned my Bachelor’s degree from Louisiana State University, and since then, I’ve been dedicated to perfecting the art of ice cream making. From classic flavors to innovative creations, my goal is to inspire you to make delicious and creamy treats at home effortlessly. Join me for the best recipes, tips, and techniques to elevate your ice cream game and indulge in delightful frozen desserts!