
Oreo Ice Cream Cake is the ultimate dessert that combines the beloved flavors of creamy ice cream and crunchy Oreo cookies into a show-stopping treat. Perfect for birthdays, summer parties, and celebrations of all kinds, this dessert’s versatility makes it a hit at any gathering. What sets Oreo Ice Cream Cake apart as a crowd favorite is its simplicity in preparation, its indulgent rich flavor, and its stunning visual appeal that always impresses guests. Whether you’re looking to beat the heat with a cool treat or wow your friends and family with a decadent dessert, Oreo Ice Cream Cake is a delightful choice.
Disclosure: This post may contain affiliate links. As an Amazon Associate, I earn from qualifying purchases. Read more.
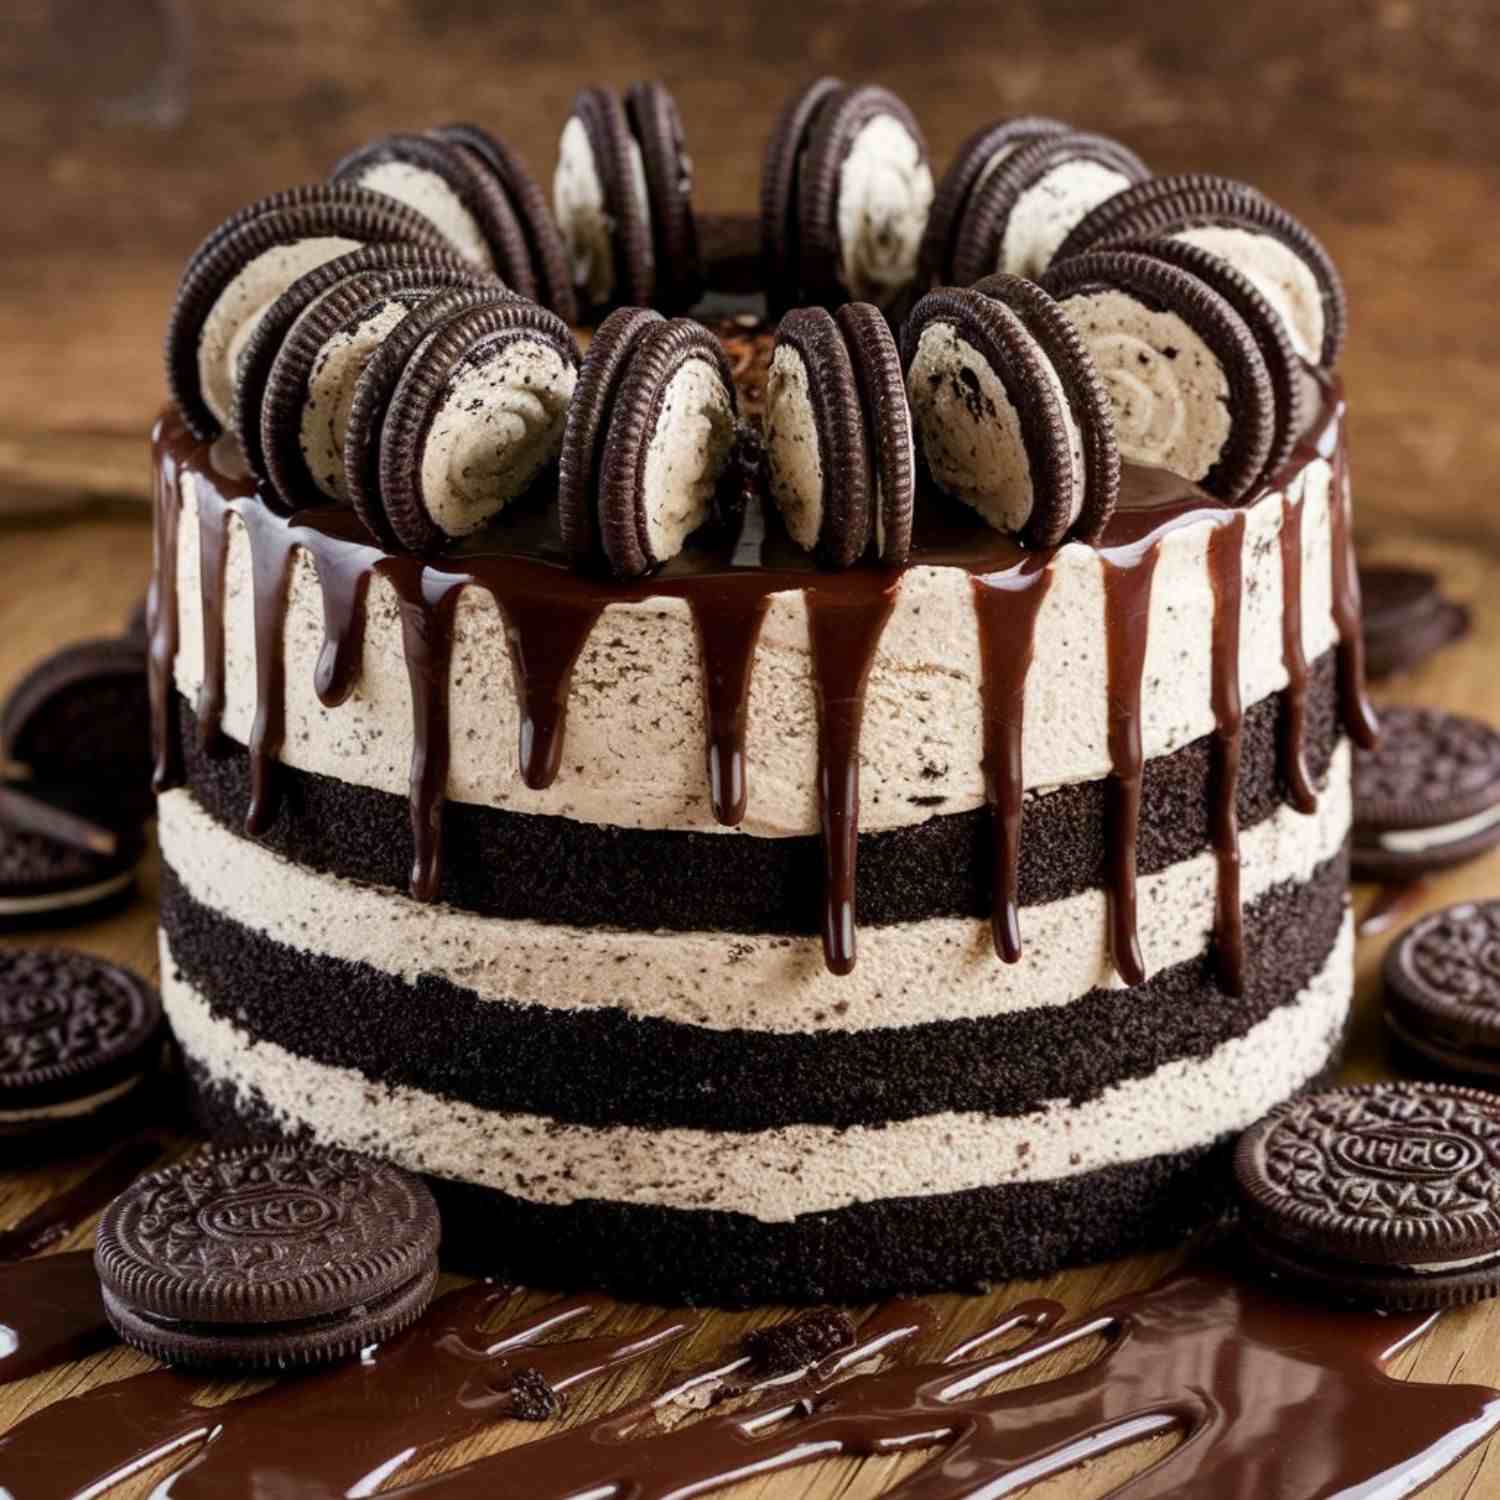
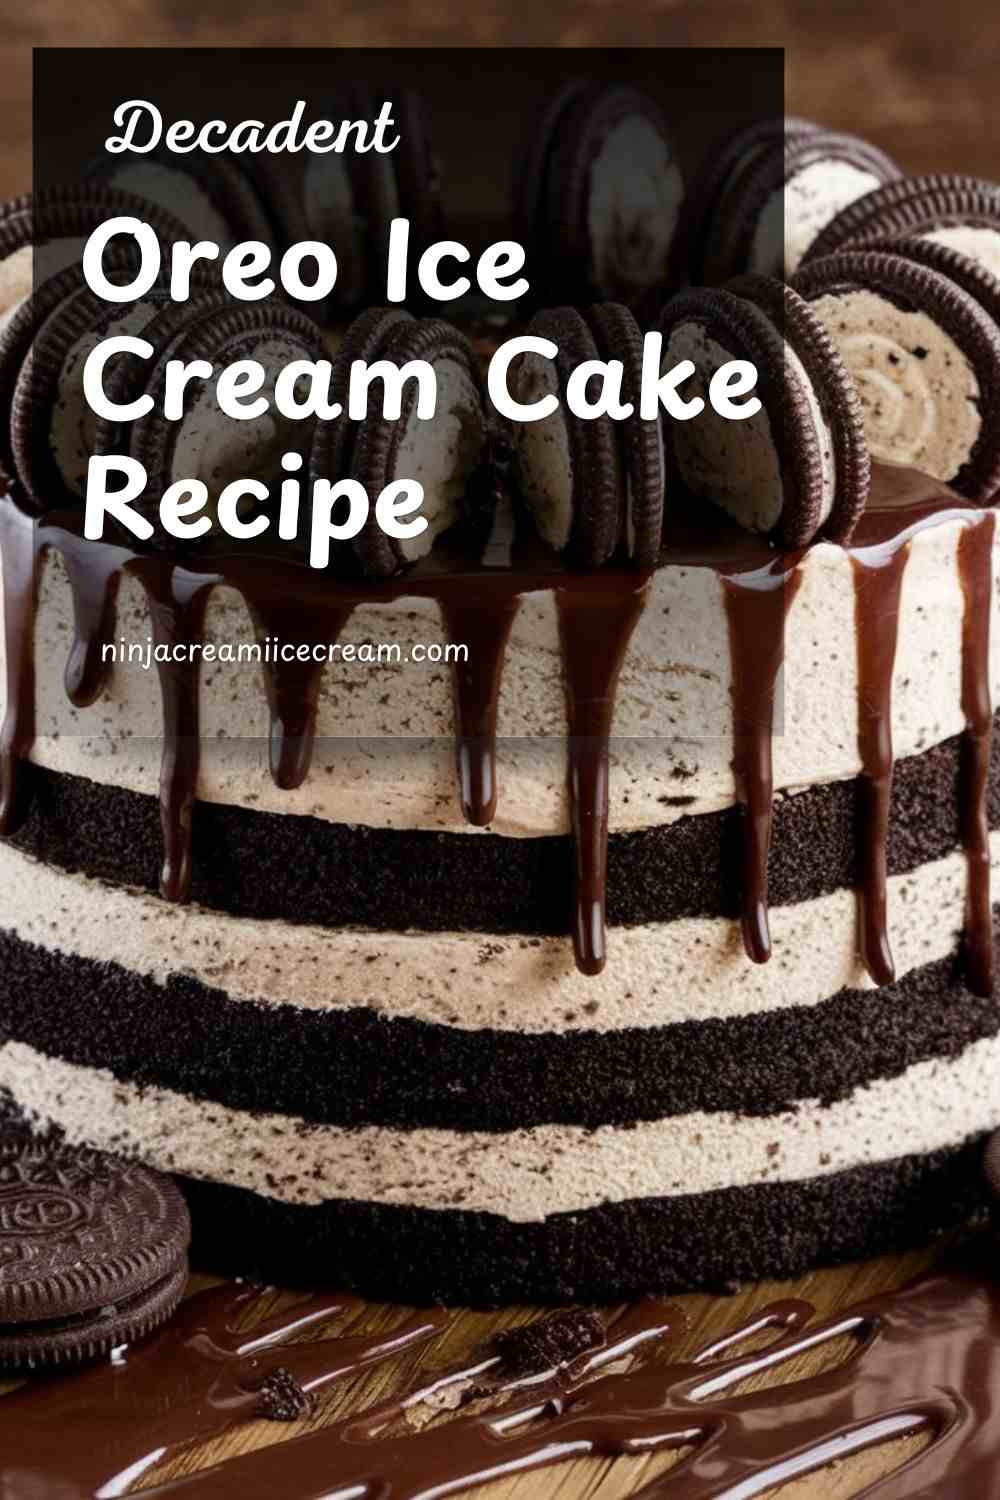
Oreo Ice Cream Cake Recipe
Ingredients
Oreo Cookie Crust:
- Oreo Cookies: About 24–30 cookies, crushed into fine crumbs to create the cake’s sturdy and flavorful base.
- Unsalted Butter (Melted): 6 tablespoons to bind the cookie crumbs into a cohesive crust that holds its shape when frozen.
Ice Cream Layers:
- Vanilla Ice Cream: 1½ quarts (or 6 cups), softened for easy spreading and to provide a creamy, neutral base that complements the Oreo flavor.
- Chocolate Ice Cream (or Flavor of Choice): 1½ quarts (or 6 cups), softened to add a rich and contrasting layer of flavor.
Oreo Layer (Optional):
- Crushed Oreo Cookies: Additional 8–10 cookies to sprinkle between the ice cream layers for added crunch and texture.
Toppings:
- Whipped Cream: 1 cup, either homemade or store-bought, to create a fluffy and decorative top layer.
- Additional Oreo Cookies: Whole or crushed, for garnish and visual appeal.
- Chocolate Syrup or Fudge Sauce (Optional): To drizzle over the top for extra sweetness and a professional finish.
- Sprinkles or Candy Pieces (Optional): To customize the cake for specific occasions like birthdays or themed parties.
Optional Extras:
- Fudge Layer: 1 cup of chocolate fudge sauce spread between ice cream layers for extra indulgence.
- Caramel Sauce: Drizzled over the top for a sweet-salty contrast.
- Mini Chocolate Chips or Crushed Nuts: For added texture and flavor.
These ingredients come together to create a decadent and visually stunning Oreo Ice Cream Cake that’s sure to delight!
Instructions
1. Preparation:
- Gather Ingredients and Tools: Ensure all ingredients are on hand and ready to use. You’ll need a springform pan, mixing bowls, a spatula, and a food processor or a resealable bag and rolling pin for crushing cookies.
- Soften Ice Cream: Remove ice cream from the freezer 10–15 minutes before starting to allow for easy spreading.
2. Make the Oreo Crust:
- Crush the Cookies: Place 24–30 Oreo cookies in a food processor and pulse until fine crumbs form. Alternatively, put the cookies in a resealable bag and crush them with a rolling pin.
- Combine with Butter: In a bowl, mix the crushed cookies with 6 tablespoons of melted butter until the mixture resembles wet sand.
- Form the Crust: Press the mixture evenly into the bottom of a springform pan. Use the back of a spoon or a flat-bottomed glass to pack it firmly.
- Set the Crust: Place the pan in the freezer for 15–20 minutes to harden.
3. Add the First Ice Cream Layer:
- Spread Vanilla Ice Cream: Take the softened vanilla ice cream and spread it evenly over the hardened crust. Smooth the surface with a spatula for an even layer.
- Add Crushed Oreos (Optional): Sprinkle a handful of crushed Oreos over the vanilla ice cream for added crunch.
- Freeze: Return the pan to the freezer for 1–2 hours to firm up the layer.
4. Add the Second Ice Cream Layer:
- Spread Chocolate Ice Cream: Remove the pan from the freezer and spread the softened chocolate ice cream evenly over the first layer. Smooth the top with a spatula.
- Optional Toppings Between Layers: Add another layer of crushed Oreos or drizzle fudge sauce before freezing.
- Freeze Again: Place the cake back in the freezer for at least 4 hours or overnight for the best results.
5. Decorate the Cake:
- Whipped Cream: Spread or pipe whipped cream over the top of the cake. Use a piping bag with a decorative tip for a professional look.
- Garnish: Top with whole or crushed Oreo cookies. Optionally, drizzle chocolate syrup, fudge sauce, or caramel sauce for extra flair.
- Add Sprinkles or Candy (Optional): Customize the cake to suit the occasion, like colorful sprinkles for a birthday or themed candies for a party.
6. Serve the Cake:
- Remove from the Pan: Gently release the springform pan. If it sticks, run a warm, damp cloth around the outside of the pan to loosen it.
- Slice the Cake: Use a warm knife (dip it in hot water and wipe dry) to cut clean slices.
- Serve Immediately: Place slices on plates and serve quickly to prevent melting.
7. Storage Tips:
- Cover and Freeze Leftovers: If you have leftovers, cover the cake tightly with plastic wrap or aluminum foil and store it in the freezer for up to a week.
By following these detailed steps, you’ll create a stunning and delicious Oreo Ice Cream Cake that’s sure to impress!
Oreo Ice Cream Cake Recipe
Equipment
- Springform Pan (9-inch) – For easy removal of the cake after it has set.
- Food Processor or Rolling Pin – To crush Oreo cookies into fine crumbs.
- Mixing Bowls: To combine the Oreo crumbs with melted butter and to mix the ice cream.
- Spatula: For spreading the ice cream layers evenly.
- Whisk or electric mixer If making homemade whipped cream.
- Piping Bag (Optional) – For decorative whipped cream topping, if desired.
- Knife (Warm) – To cut the cake into clean slices.
- Plastic Wrap or Foil – To cover the cake for freezing or storing leftovers.
Ingredients
- 20-30 Oreo Cookies (for the crust and optional layers)
- 6 tablespoons Unsalted Butter (melted)
- 1½ quarts Vanilla Ice Cream
- 1½ quarts Chocolate Ice Cream (or flavor of choice)
- 8-10 Crushed Oreo Cookies (optional for layering)
- 1 cup Whipped Cream (store-bought or homemade)
- 6-8 Whole Oreo Cookies (for garnish)
- ¼ cup Chocolate Syrup or Fudge Sauce (optional) (for drizzling)
- Sprinkles or Candy Pieces (optional)
Instructions
- Make the Oreo Crust:Crush 24–30 Oreo cookies into fine crumbs using a food processor or by placing them in a resealable bag and crushing with a rolling pin. Mix the crumbs with 6 tablespoons of melted butter. Press the mixture evenly into the bottom of a 9-inch springform pan. Freeze for 15–20 minutes to set.
- Add the First Ice Cream Layer:Soften 1½ quarts of vanilla ice cream and spread it evenly over the chilled Oreo crust. Optionally, sprinkle 8–10 crushed Oreos on top of the ice cream layer. Freeze the cake for 1–2 hours to firm up the first layer.
- Add the Second Ice Cream Layer:Soften 1½ quarts of chocolate ice cream and spread it evenly over the vanilla ice cream layer. Optionally, add more crushed Oreos or fudge sauce between the layers. Freeze the cake for at least 4 hours or overnight to allow the layers to firm up completely.
- Decorate the Cake:Spread 1 cup of whipped cream over the top of the cake. Garnish with whole or crushed Oreo cookies and drizzle with chocolate syrup or fudge sauce. Optionally, add sprinkles or candy pieces for extra decoration.
- Serve and Enjoy:Remove the cake from the springform pan carefully. Slice with a warm knife (run it under hot water and wipe dry). Serve immediately and enjoy your Oreo Ice Cream Cake!
Notes
- Freezing Time is Key: Ensure you allow enough time for each ice cream layer to freeze properly before adding the next. This helps keep the layers distinct and prevents them from mixing together. For best results, freeze the cake overnight to ensure it sets completely.
- Adjust to Your Taste: Feel free to customize the ice cream flavors and toppings. You can use any flavor combination of ice cream that you prefer, and experiment with different garnishes like sprinkles, crushed candies, or drizzles of caramel or fudge.
- Make-Ahead Dessert: This cake is perfect for making ahead of time, as it can be stored in the freezer for several days. Just be sure to cover it well with plastic wrap or foil to prevent freezer burn and preserve its freshness.
- Portion Control: Given its rich, creamy texture, this cake is quite indulgent. Consider serving smaller slices, as it’s a filling dessert.
Tips for Making Oreo Ice Cream Cake
Use Quality Ingredients
Choose high-quality ice cream and fresh Oreo cookies to ensure the best flavor and texture. Premium ice cream often has a creamier consistency and fewer air pockets, which makes for a richer cake.
Soften Ice Cream Properly
Allow the ice cream to soften at room temperature for 10–15 minutes. It should be soft enough to spread but not melted, as overly soft ice cream can make the layers messy.
Pack the Crust Firmly
Press the Oreo crumb mixture firmly into the pan to create a solid base. Use a flat-bottomed glass or the back of a spoon to ensure an even and compact crust.
Chill Between Layers
Freeze the cake after each layer to prevent the ice cream from mixing and to maintain distinct layers. Patience is key to achieving a professional look.
Decorate Just Before Serving
Add whipped cream, syrup, and other decorations shortly before serving to keep them fresh and vibrant. This also prevents the whipped cream from absorbing any freezer odors.
Use a Springform Pan
A springform pan makes it easier to remove the cake without damaging the layers. Line the bottom with parchment paper for added convenience.
Cut Slices with a Warm Knife
Run a knife under hot water, wipe it dry, and then slice the cake. This prevents cracking and ensures clean cuts. Reheat the knife as needed between slices.
Customize Flavors
Experiment with different ice cream flavors, such as mint chocolate chip, strawberry, or cookies and cream, to suit your preferences or the occasion.
Make Ahead of Time
Prepare the cake a day in advance to allow enough time for the layers to set. This makes it perfect for stress-free party planning.
Store Leftovers Properly
Wrap any leftover cake tightly in plastic wrap or store in an airtight container to prevent freezer burn. Consume within a week for the best taste and texture.
By following these tips, you can create an Oreo Ice Cream Cake that looks and tastes incredible every time!
Conclusion
Oreo Ice Cream Cake is a delightful treat that combines the classic charm of Oreos with the creamy goodness of ice cream. Its layered simplicity makes it a standout dessert that’s easy to prepare yet stunning enough to impress guests at any celebration. Whether you’re hosting a birthday party, a summer gathering, or simply indulging in a special family dessert, this cake is guaranteed to be a crowd-pleaser.
One of the best things about Oreo Ice Cream Cake is its versatility. You can customize the flavors, add extra layers, or top it with creative garnishes to suit any occasion or preference. Its make-ahead nature means you can focus on other party preparations while knowing a show-stopping dessert is waiting in the freezer. The combination of crunchy cookie crust, velvety ice cream, and decadent toppings ensures every bite is a delightful experience.
In a world of complex recipes, this cake’s simplicity and rich flavors are refreshing. It invites even beginner bakers to create something extraordinary with minimal effort. Whether you’re sharing it with loved ones or savoring a slice on your own, Oreo Ice Cream Cake embodies the joy of good food and great company. So grab your Oreos, pick your favorite ice cream flavors, and get ready to whip up a dessert that will leave everyone smiling!

Hi, I’m Katelyn Williams, the expert behind Ninjacreamiicecream.com. With a deep passion for creating delectable ice cream recipes, I’m here to share my love for all things ice cream. I earned my Bachelor’s degree from Louisiana State University, and since then, I’ve been dedicated to perfecting the art of ice cream making. From classic flavors to innovative creations, my goal is to inspire you to make delicious and creamy treats at home effortlessly. Join me for the best recipes, tips, and techniques to elevate your ice cream game and indulge in delightful frozen desserts!