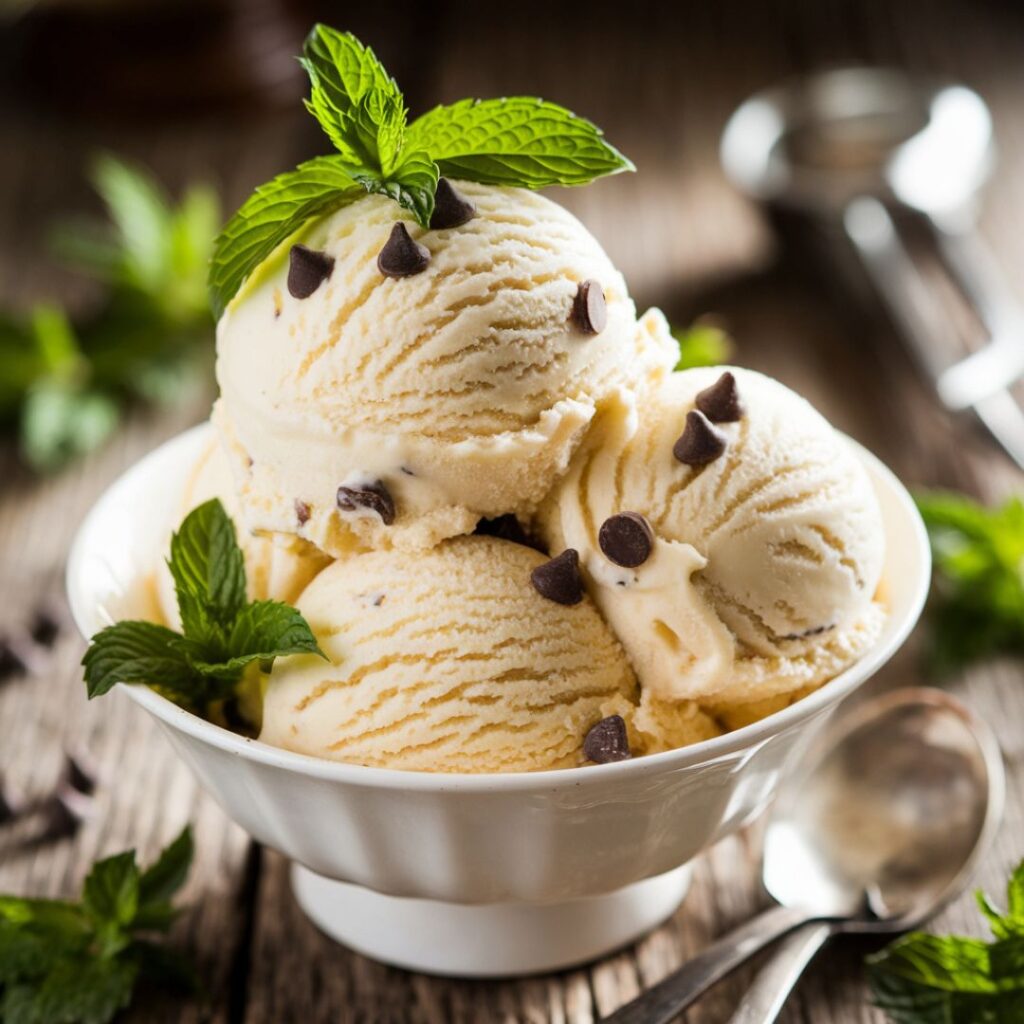
Vanilla Bean Ice Cream is a classic and beloved dessert that holds a special place in the hearts of ice cream lovers around the world. Unlike its more common vanilla-flavored counterparts, vanilla bean ice cream showcases the rich, aromatic essence of real vanilla beans, resulting in a flavor profile that is both indulgent and sophisticated. Each spoonful is a delightful experience, featuring tiny flecks of vanilla bean that add visual appeal and an intense burst of flavor.
Disclosure: This post may contain affiliate links. As an Amazon Associate, I earn from qualifying purchases. Read more.
The creamy texture of homemade vanilla bean ice cream elevates it beyond just a frozen treat; it’s a luxurious experience that complements a variety of desserts or stands beautifully on its own. Whether enjoyed in a cone, alongside a slice of pie, or as a base for your favorite sundae toppings, this ice cream is the perfect way to celebrate any occasion—or simply to indulge in a moment of sweet bliss.
Vanilla Bean Ice Cream Recipe
Ingredients
To make your own delicious vanilla bean ice cream, you’ll need the following ingredients:
- Fresh Vanilla Beans: 2-3 beans, split and scraped to release the seeds.
- Heavy Cream: 2 cups for a rich and creamy base.
- Whole Milk: 1 cup to balance the creaminess.
- Granulated Sugar: 3/4 cup to sweeten the ice cream.
- Egg Yolks: 4 large yolks, which help create a custard base and contribute to the smooth texture.
- Salt: A pinch to enhance the flavors.
- Optional Mix-Ins: Feel free to add chocolate chips, fresh fruits, nuts, or other favorites for a personalized touch!
Directions
- Prepare the Vanilla Base
- Split the fresh vanilla beans lengthwise and scrape out the seeds using the back of a knife. Set the seeds aside and add the empty pods to a saucepan.
- Heat the Mixture
- In a medium saucepan, combine the heavy cream, whole milk, granulated sugar, and the scraped vanilla seeds along with the empty pods. Heat the mixture over medium heat until it’s hot but not boiling, stirring occasionally to dissolve the sugar.
- Whisk the Egg Yolks
- In a separate bowl, whisk together the egg yolks until they are light in color. This will help create a creamy custard texture.
- Temper the Egg Mixture
- Gradually pour about a cup of the hot cream mixture into the bowl with the egg yolks, whisking continuously. This process, known as tempering, prevents the eggs from scrambling.
- Cook the Custard
- Pour the tempered egg yolk mixture back into the saucepan with the remaining cream mixture. Cook over low heat, stirring constantly with a spatula, until the custard thickens enough to coat the back of the spatula (about 5-7 minutes). Do not let it boil.
- Strain the Custard
- Remove the saucepan from heat and strain the custard through a fine-mesh sieve into a clean bowl to remove the vanilla pods and any cooked egg bits.
- Chill the Mixture
- Allow the custard to cool at room temperature for about 15 minutes. Then, cover it and refrigerate for at least 4 hours or overnight until thoroughly chilled.
- Churn the Ice Cream
- Once chilled, pour the custard into your ice cream maker and churn according to the manufacturer’s instructions until it reaches a soft-serve consistency.
- Freeze
- Transfer the churned ice cream to an airtight container, smoothing the top with a spatula. For a firmer texture, freeze the ice cream for at least 4 hours or until solid.
- Serve and Enjoy
- Scoop the vanilla bean ice cream into bowls or cones. Enjoy it plain or with your favorite toppings and mix-ins!
Vanilla Bean Ice Cream Recipe Tips
To ensure your homemade vanilla bean ice cream turns out perfectly creamy and flavorful, consider these helpful tips:
- Choose High-Quality Ingredients:
- Use fresh, high-quality vanilla beans for the best flavor. Look for plump, moist beans with a strong aroma. Opt for organic heavy cream and whole milk for a richer taste.
- Be Patient with the Custard:
- Cooking the custard requires patience. Stir constantly over low heat to prevent the eggs from curdling. The mixture is ready when it thickens enough to coat the back of a spatula.
- Chill Thoroughly:
- Ensure the custard is well-chilled before churning. This helps the ice cream churn better and results in a smoother texture. For best results, chill it overnight.
- Use an Ice Cream Maker:
- An ice cream maker produces the best texture by incorporating air into the mixture while freezing. If you don’t have one, consider using the “no-churn” method (freezing in a container and stirring occasionally), though it may not yield the same creaminess.
- Avoid Over-Churning:
- Monitor the churning process closely. Over-churning can lead to a grainy texture. Stop when it reaches a soft-serve consistency.
- Incorporate Mix-Ins Wisely:
- If adding mix-ins like chocolate chips or fruits, fold them in gently during the last few minutes of churning or after transferring the ice cream to the container. This ensures they’re evenly distributed without breaking down.
- Store Properly:
- Store the ice cream in an airtight container to prevent freezer burn. Place a piece of parchment paper directly on the surface of the ice cream before sealing to help maintain its texture.
- Allow to Soften Before Serving:
- Homemade ice cream can be quite firm when first removed from the freezer. Let it sit at room temperature for 5-10 minutes to soften slightly for easier scooping.
- Experiment with Flavors:
- Feel free to experiment! Try adding different flavors to the base, such as espresso, citrus zest, or spices like cinnamon for a unique twist on classic vanilla bean ice cream.
- Keep it Fresh:
- Homemade ice cream is best enjoyed within a few weeks for optimal flavor and texture. While it can last longer in the freezer, the quality may begin to decline.

Vanilla Bean Ice Cream Recipe
Equipment
- Ice Cream Maker Essential for churning the custard mixture into creamy ice cream
- Mixing Bowls: At least two bowls—one for mixing the egg yolks and another for the custard
- Whisk For whisking the egg yolks and sugar together
- Saucepan A medium-sized saucepan to heat the cream, milk, and sugar mixture
- Spatula: A heat-resistant spatula for stirring the custard and scraping down the sides of bowls
- Fine-Mesh Sieve To strain the custard and remove the vanilla pods and any cooked egg bits
Ingredients
- 3 beans Fresh Vanilla Beans
- 2 cups Heavy Cream
- 1 cups Whole Milk
- 4 cups Granulated Sugar
- 4 large Egg Yolks
Instructions
- Split vanilla beans, scrape seeds, and combine with heavy cream, milk, and sugar in a saucepan; heat until hot but not boiling.
- Whisk egg yolks in a separate bowl, then temper by slowly adding hot cream mixture.
- Return the tempered mixture to the saucepan and cook over low heat until thickened, stirring constantly.
- Strain the custard into a bowl, let cool, then refrigerate for at least 4 hours or overnight.
- Churn in an ice cream maker, freeze until solid, and enjoy in bowls or cones!
Notes
- Freshness of Ingredients: Use fresh vanilla beans for the best flavor. Avoid using vanilla extract as a substitute if you want the true essence of vanilla bean ice cream.
- Cooking Temperature: Be cautious not to let the custard mixture boil while cooking, as this can curdle the eggs. Keep the heat low and stir constantly.
- Chilling Time: Allow adequate chilling time for the custard; overnight chilling is recommended for optimal results. This ensures a smoother texture when churning.
- Ice Cream Maker: For the best texture, use an ice cream maker. If you don’t have one, you can make a "no-churn" version by freezing and stirring the mixture every 30 minutes for a few hours.
- Storage: Store the ice cream in an airtight container to prevent freezer burn. Consider placing a piece of parchment paper on the surface before sealing for extra protection.
- Mix-Ins: If adding mix-ins, do so towards the end of the churning process to maintain their texture. Fold them in gently to avoid breaking them apart.
- Serving Temperature: Homemade ice cream can be firm when first removed from the freezer. Let it sit at room temperature for 5-10 minutes before serving for easier scooping.
- Variations: Feel free to experiment with flavors and mix-ins! Consider adding crushed cookies, fruits, or chocolate for unique variations on classic vanilla bean ice cream.
Conclusion
In conclusion, homemade vanilla bean ice cream is not only a delicious treat but also a rewarding culinary experience. With its rich flavor and creamy texture, this classic dessert can elevate any occasion, from summer barbecues to cozy family gatherings. By following the steps and tips outlined in this recipe, you can create a delightful frozen dessert that showcases the true essence of vanilla.
Don’t hesitate to experiment with mix-ins and variations to make this recipe your own. Whether you enjoy it in a cone, alongside a warm slice of pie, or as a base for a sundae, your homemade vanilla bean ice cream is sure to impress. So gather your ingredients, unleash your inner ice cream maker, and indulge in the sweet satisfaction of creating this timeless dessert from scratch!

Hi, I’m Katelyn Williams, the expert behind Ninjacreamiicecream.com. With a deep passion for creating delectable ice cream recipes, I’m here to share my love for all things ice cream. I earned my Bachelor’s degree from Louisiana State University, and since then, I’ve been dedicated to perfecting the art of ice cream making. From classic flavors to innovative creations, my goal is to inspire you to make delicious and creamy treats at home effortlessly. Join me for the best recipes, tips, and techniques to elevate your ice cream game and indulge in delightful frozen desserts!


