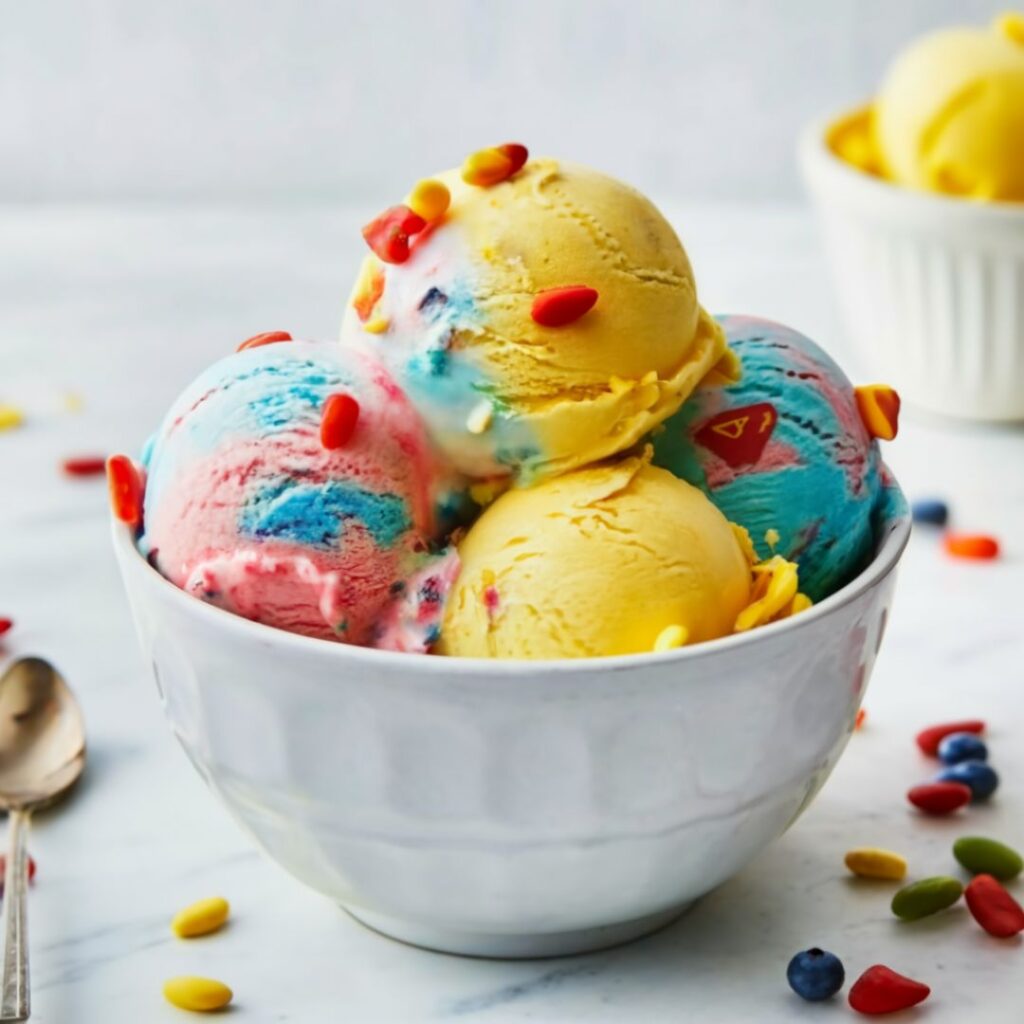
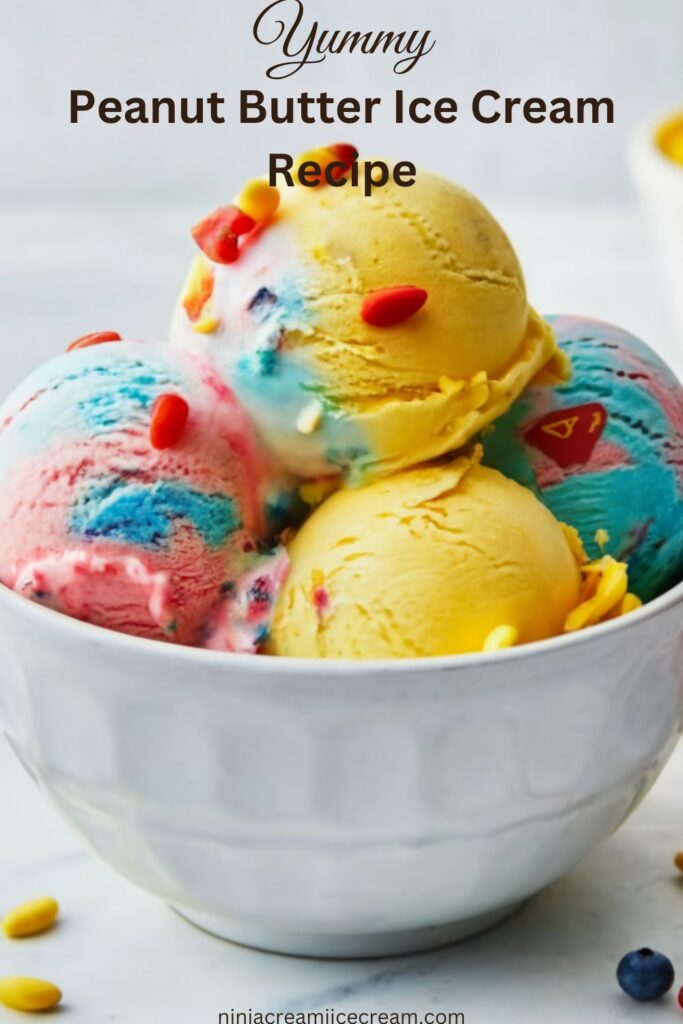
Superman Ice Cream is a delightful and colorful treat that has captured the hearts of ice cream lovers everywhere. Characterized by its vibrant swirls of red, blue, and yellow, this iconic ice cream flavor is not only a feast for the eyes but also a nostalgic nod to childhood memories spent at local ice cream shops. Each scoop offers a unique combination of sweet, fruity flavors that make it a fun favorite among kids and adults alike.
Disclosure: This post may contain affiliate links. As an Amazon Associate, I earn from qualifying purchases. Read more.
Making Superman Ice Cream at home is a great way to bring the joy of this beloved dessert into your kitchen. It allows you to customize the flavors and colors to your liking while enjoying the fun of creating a visually stunning treat. Plus, it’s an exciting activity for families, offering a chance to bond over mixing colors and flavors. So, let’s dive into this yummy Superman Ice Cream recipe and relive those sweet memories together!
Superman Ice Cream Recipe
Ingridents
To make your delicious Superman Ice Cream, gather the following ingredients:
- 2 cups whole milk
- 1 cup heavy cream
- 3/4 cup granulated sugar
- 1 teaspoon vanilla extract
- Red food coloring
- Blue food coloring
- Yellow food coloring
- Optional mix-ins (for added fun):
- Sprinkles
- Chopped candies (like gummy bears or M&M’s)
- Chocolate chips
These ingredients will help you create a creamy, colorful ice cream that’s sure to be a hit with everyone!
Directions
- Prepare the Base:
- In a mixing bowl, combine 2 cups of whole milk, 1 cup of heavy cream, 3/4 cup of granulated sugar, and 1 teaspoon of vanilla extract.
- Whisk the mixture thoroughly until the sugar is completely dissolved.
- Divide the Base:
- Pour the milk mixture evenly into three separate bowls. This will allow you to create the three vibrant colors of your Superman Ice Cream.
- Add Food Coloring:
- In the first bowl, add red food coloring until you achieve your desired shade.
- In the second bowl, add blue food coloring to reach your preferred hue.
- In the third bowl, mix in yellow food coloring to create a bright, cheerful color.
- Stir each bowl well to ensure the colors are fully incorporated.
- Churn the Ice Cream:
- Pour each colored mixture into your ice cream maker.
- Follow the manufacturer’s instructions to churn the ice cream until it reaches a soft-serve consistency. This typically takes about 20-30 minutes.
- Layer the Colors:
- Once the ice cream is churned, take a freezer-safe container and start layering the colors.
- Alternate spoonfuls of each color, creating distinct layers.
- Use a knife or skewer to swirl the colors together gently if desired, but be careful not to mix them completely.
- Freeze:
- Cover the container with a lid or plastic wrap and place it in the freezer.
- Allow the ice cream to freeze for at least 4-6 hours, or until it is firm.
- Serve:
- Once the ice cream is fully set, scoop out portions into bowls or cones.
- If you want to add some extra fun, top your servings with optional mix-ins like sprinkles or chopped candies!
Enjoy your homemade Superman Ice Cream, a colorful treat that’s perfect for any occasion
Superman Ice Cream Recipe Tips
- Use Quality Ingredients:
- Opt for high-quality milk and cream for a richer flavor and creamier texture. Full-fat products will yield the best results.
- Chill Your Base:
- For a smoother texture, chill the milk mixture in the refrigerator for at least 30 minutes before churning. This helps the ice cream freeze more quickly.
- Adjust Sweetness:
- If you prefer a less sweet ice cream, reduce the sugar to suit your taste. You can always taste the base before adding food coloring to adjust the sweetness as needed.
- Experiment with Flavors:
- Feel free to experiment with different flavored extracts, like almond or coconut, to give each color a unique taste. Just a few drops can make a big difference!
- Layer Creatively:
- When layering the colors, try alternating the order or adding dollops of each color rather than spooning them in. This can create a fun marbled effect.
- Swirl with Care:
- If you choose to swirl the colors, do so gently. Too much mixing can lead to a muddy color rather than distinct layers.
- Add Mix-Ins:
- Customize your Superman Ice Cream by adding mix-ins like sprinkles, crushed cookies, or candy pieces. Just be sure to add them before the ice cream freezes completely for even distribution.
- Storing Leftovers:
- Store any leftover ice cream in an airtight container to prevent ice crystals from forming. To make scooping easier later, let the ice cream sit at room temperature for a few minutes before serving.
- Use Food Coloring Sparingly:
- Start with a small amount of food coloring and gradually add more until you reach your desired shade. This helps avoid overly vibrant colors that may be off-putting.
- Have Fun:
- Making Superman Ice Cream should be a fun experience! Involve family or friends in the process, and don’t be afraid to get creative with colors and flavors.
By following these tips, you’ll ensure your Superman Ice Cream is not only delicious but also a colorful and delightful addition to any dessert table!

Superman Ice Cream Recipe
Equipment
- Mixing Bowls: For combining the ice cream base and dividing it into different colors.
- Whisk To mix the ingredients thoroughly until the sugar is dissolved.
- Measuring Cups and Spoons: For accurate measurements of ingredients.
- Ice Cream Maker Essential for churning the ice cream to achieve a creamy texture. Make sure to follow your specific model's instructions for best results.
- Spatula: For transferring the ice cream mixture into the ice cream maker and later layering it into a container.
Ingredients
- 2 cups whole milk
- 1 cups heavy cream
- 3/4 cups granulated sugar
- 1 teaspoon vanilla extract
Instructions
- In a bowl, whisk together 2 cups of whole milk, 1 cup of heavy cream, 3/4 cup of sugar, and 1 teaspoon of vanilla extract until the sugar dissolves.
- Divide the mixture into three bowls and add red, blue, and yellow food coloring to each, mixing until desired colors are achieved.
- Pour each colored mixture into an ice cream maker and churn according to the manufacturer's instructions until soft-serve consistency is reached.
- Layer the colored ice creams in a freezer-safe container, swirling gently to create a marbled effect if desired.
- Cover and freeze for 4-6 hours, then scoop and enjoy your homemade Superman Ice Cream!
Notes
- Chilling the Base: For a smoother texture, chill the milk and cream mixture in the refrigerator for at least 30 minutes before churning. This helps it freeze faster and improves the overall consistency.
- Color Adjustments: Start with a small amount of food coloring and gradually add more until you achieve the desired vibrancy. This helps prevent overly bright colors that may be unappealing.
- Mixing and Layering: When layering the colored ice cream in the container, be gentle to maintain distinct colors. Swirl lightly if you want a marbled effect, but avoid over-mixing.
- Freezing Time: Allow the ice cream to freeze for a minimum of 4 hours after churning to achieve the right firmness. For best results, freeze it overnight.
- Serving Tips: Let the ice cream sit at room temperature for about 5-10 minutes before scooping to make it easier to serve. This helps soften it slightly for smoother scoops.
- Storage: Store leftover ice cream in an airtight container to prevent ice crystals from forming. It can last in the freezer for up to two weeks, but for best quality, consume it sooner.
- Customization: Feel free to get creative with flavors and mix-ins! Try adding different extracts, fruits, or candies to make the recipe your own.
- Ice Cream Maker: Follow the specific instructions for your ice cream maker, as churning times may vary by model. Ensure that the ice cream maker's bowl is properly frozen if required.
- Safety with Food Coloring: If using liquid food coloring, use sparingly to avoid staining surfaces or hands. Consider wearing gloves when handling it, especially with children involved.
Conclusion
In conclusion, making your own Superman Ice Cream at home is not only a delightful culinary adventure but also a fantastic way to create lasting memories with family and friends. The vibrant colors and playful flavors of this iconic treat can transport you back to carefree summer days, and there’s something incredibly rewarding about crafting a delicious dessert from scratch. Whether you’re enjoying it on a sunny afternoon, celebrating a special occasion, or simply indulging in a sweet treat after dinner, your homemade Superman Ice Cream is sure to bring smiles and joy to those who taste it.
One of the best parts about creating your own Superman Ice Cream is the opportunity to customize it to your liking. Feel free to experiment with different flavors, colors, and mix-ins. Want to add a twist with some chocolate chips or fruity candy? Go for it! Have a favorite flavor extract you’d like to incorporate? Don’t hesitate! The beauty of making ice cream at home is that you can tailor it to suit your tastes, making each batch uniquely yours.
We encourage you to share your Superman Ice Cream creations on social media. Snap a few photos of your vibrant ice cream, and don’t forget to show off those beautiful layers! Use hashtags like #SupermanIceCream and #HomemadeIceCream so others can find your delicious creations. Your unique twists and variations might inspire others to try their hand at this fun recipe.
Additionally, consider sharing your experiences and tips with friends and family. Did you find a perfect mix of colors that turned out especially vibrant? Did you try a new mix-in that surprised you? The joy of cooking is often amplified when shared, and you might just spark someone else’s creativity in the kitchen.
Lastly, don’t forget to savor the moment! Enjoy each scoop of your homemade Superman Ice Cream, taking the time to appreciate the flavors and the effort you put into making it. As you indulge in this colorful treat, remember the fun you had in the kitchen, the laughter shared, and the memories created. So grab your ice cream scoop and dig in—you’ve earned it!

Hi, I’m Katelyn Williams, the expert behind Ninjacreamiicecream.com. With a deep passion for creating delectable ice cream recipes, I’m here to share my love for all things ice cream. I earned my Bachelor’s degree from Louisiana State University, and since then, I’ve been dedicated to perfecting the art of ice cream making. From classic flavors to innovative creations, my goal is to inspire you to make delicious and creamy treats at home effortlessly. Join me for the best recipes, tips, and techniques to elevate your ice cream game and indulge in delightful frozen desserts!


