
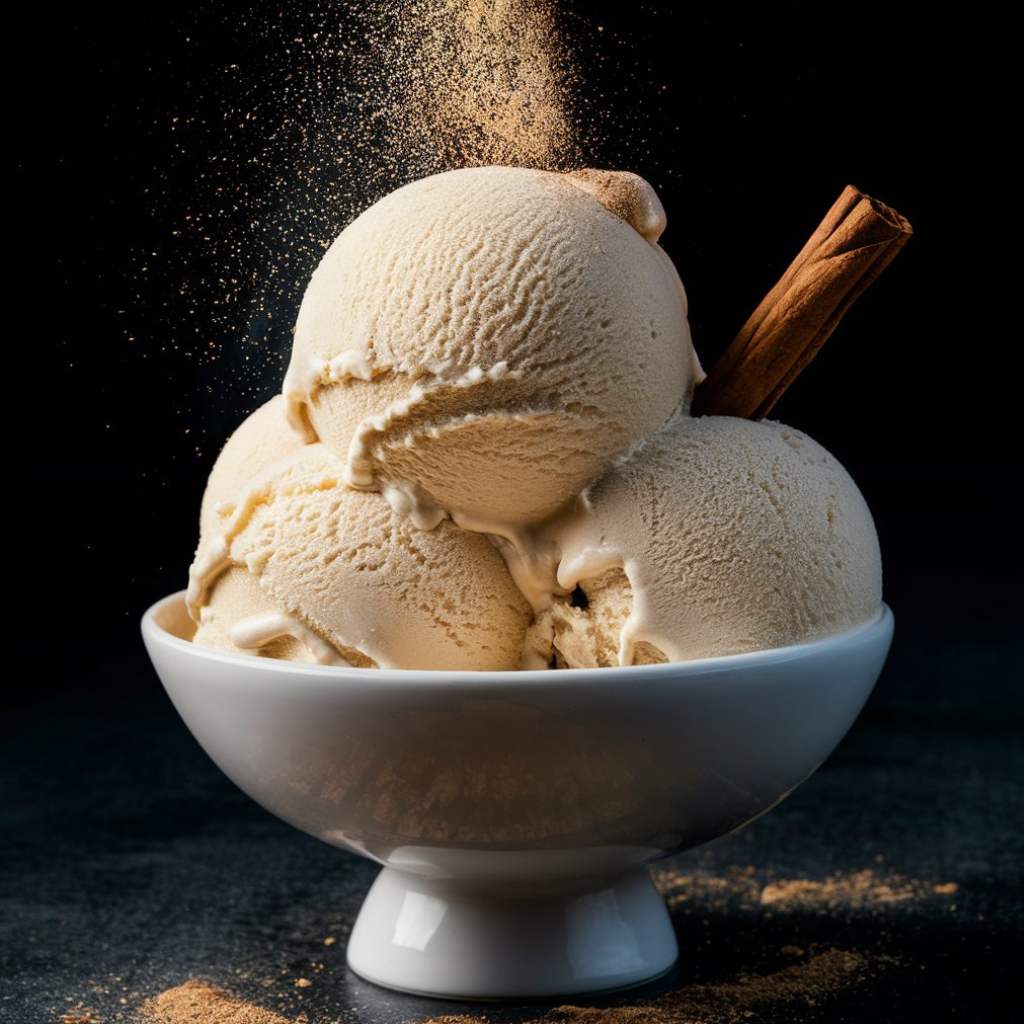
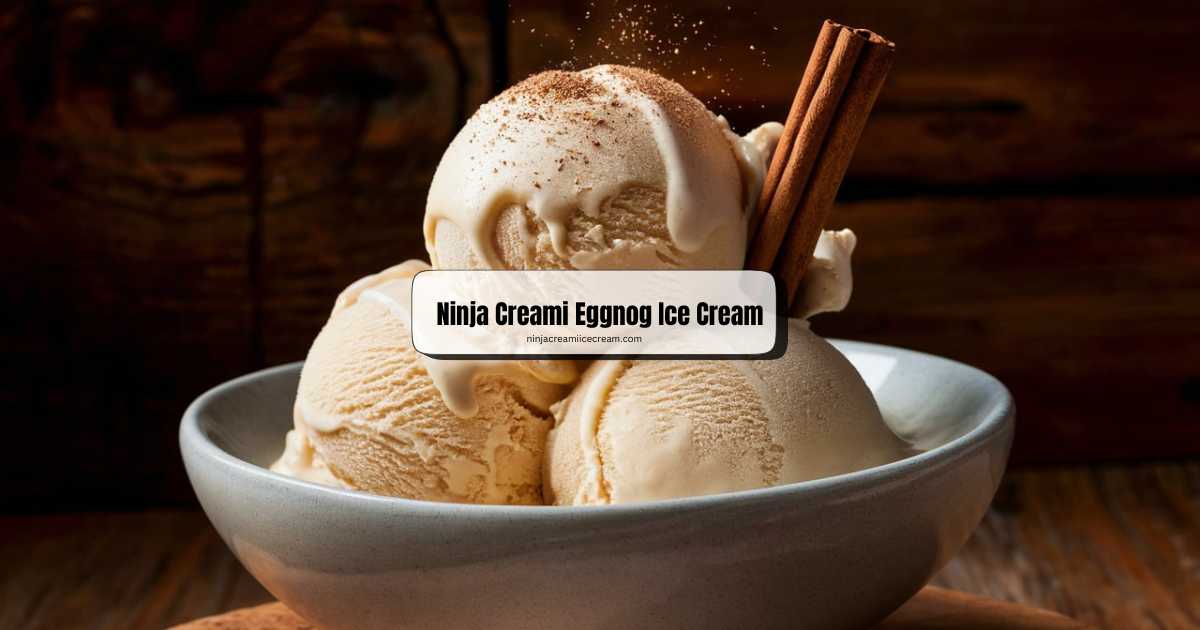
Indulge in the nostalgic flavors of the holiday season with Ninja Creami Eggnog Ice Cream. This recipe combines rich eggnog with a touch of vanilla, nutmeg, and optional rum extract, creating a luscious frozen treat that captures the essence of traditional eggnog in every spoonful. Perfect for festive gatherings or a cozy night in, this homemade ice cream is made effortlessly in the Ninja Creami, ensuring a smooth and creamy texture that rivals store-bought varieties.
Disclosure: This post may contain affiliate links. As an Amazon Associate, I earn from qualifying purchases. Read more.
The Ninja Creami is a versatile appliance designed to transform simple ingredients into creamy frozen desserts with ease. Featuring a powerful motor and advanced freezing technology, it allows users to create a variety of frozen treats, from ice creams to sorbets, in a matter of minutes. Its compact size and user-friendly interface make it a popular choice for home kitchens, offering a convenient way to enjoy homemade frozen delights without the need for pre-freezing bowls or lengthy preparation times.
By following simple steps and utilizing the Ninja Creami’s freezing capabilities, you can enjoy a decadent dessert that celebrates the warmth and flavor of eggnog, making it a delightful addition to your seasonal menu.
Ninja Creami Eggnog Ice Cream Recipe
Ingredients
- Eggnog: 2 cups – Provides the rich, creamy base and traditional eggnog flavor.
- Heavy Cream: 1 cup – Adds extra creaminess and smooth texture to the ice cream.
- Granulated Sugar: 1/2 cup – Sweetens the ice cream mixture. Adjust amount based on desired sweetness.
- Vanilla Extract: 1 teaspoon – Enhances the flavor profile with a hint of vanilla.
- Ground Nutmeg: 1/2 teaspoon – Provides the signature nutty and warm flavor of eggnog.
- Optional:
- Rum or Rum Extract: 1-2 tablespoons – Adds a traditional eggnog flavor reminiscent of holiday cheer (adjust to taste).
These ingredients combine to create a deliciously creamy and flavorful eggnog ice cream that can be made easily with the Ninja Creami machine. Adjustments can be made to suit personal preferences and dietary needs, ensuring a delightful homemade treat for any occasion.
Instructions
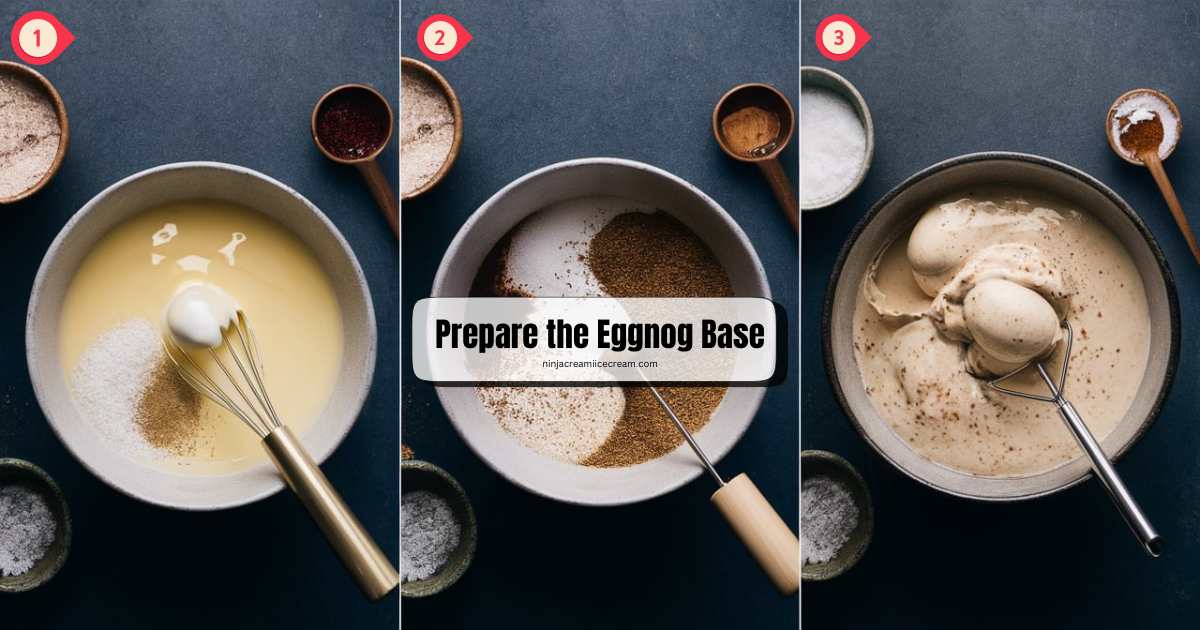
1. Prepare the Eggnog Base:
-
- In a mixing bowl, combine 2 cups of eggnog, 1 cup of heavy cream, and 1/2 cup of granulated sugar.
- Add 1 teaspoon of vanilla extract and 1/2 teaspoon of ground nutmeg. Optionally, add 1-2 tablespoons of rum or rum extract for flavor.
- Whisk or blend the mixture until the sugar is fully dissolved and all ingredients are well combined.
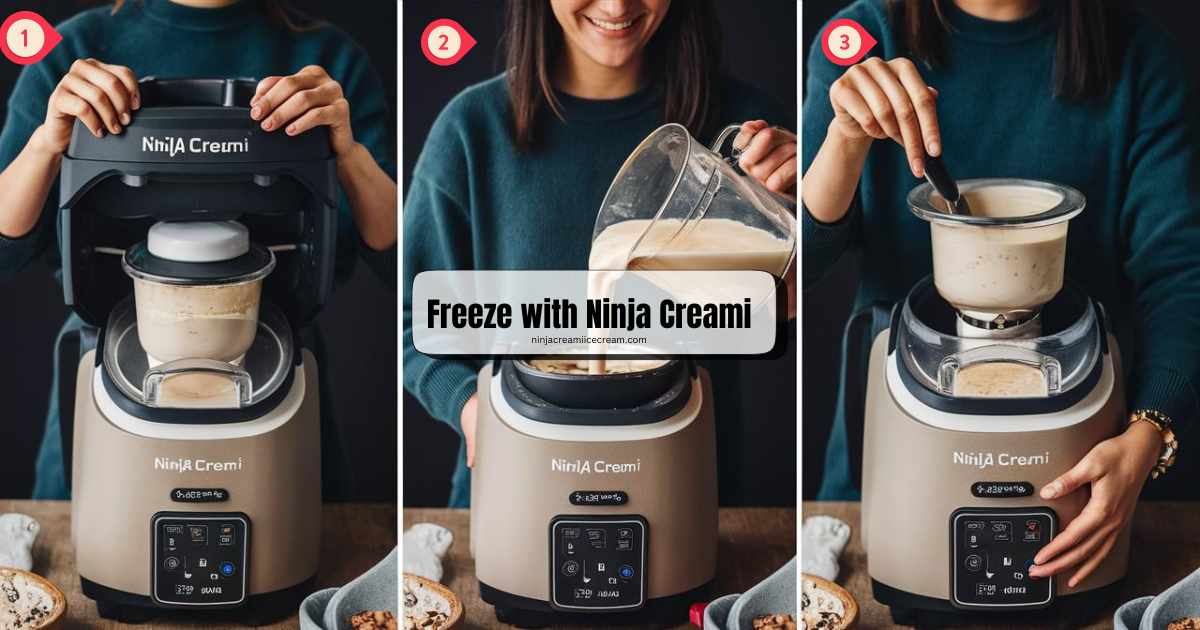
2. Freeze with Ninja Creami:
-
- Assemble your Ninja Creami machine according to the manufacturer’s instructions.
- Pour the prepared eggnog mixture into the Ninja Creami’s freezing bowl.
- Follow the machine’s instructions for freezing the mixture. Typically, this involves pressing a button to start the freezing and churning process.
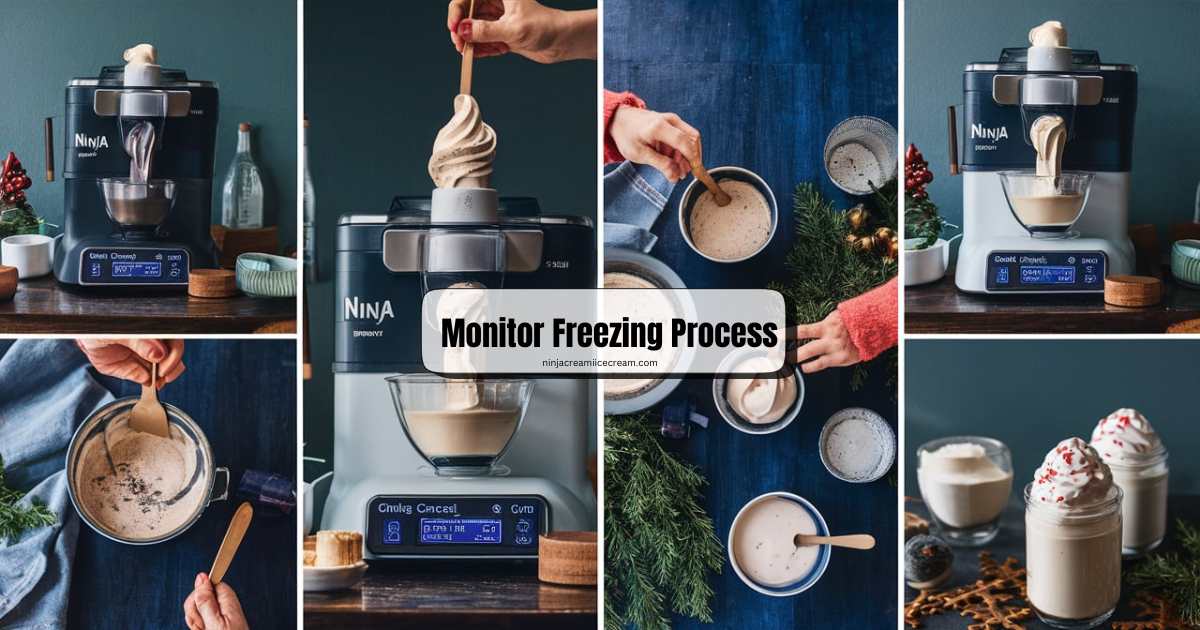
3. Monitor Freezing Process:
-
- Allow the Ninja Creami to freeze and churn the eggnog mixture until it reaches a soft-serve consistency. This usually takes about 20-25 minutes, depending on the machine.
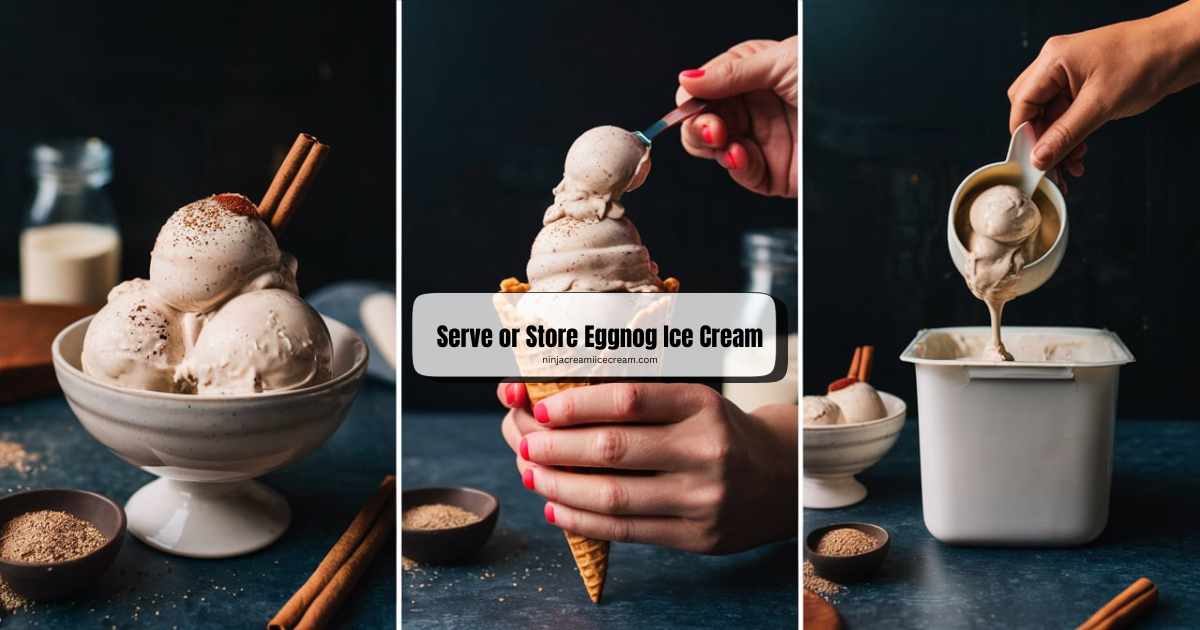
4. Serve or Store Eggnog Ice Cream:
-
- Once the eggnog ice cream reaches your desired consistency, scoop it into serving bowls or cones.
- Optionally, garnish with a sprinkle of ground nutmeg or a cinnamon stick.
- Serve immediately for a soft-serve texture, or transfer any leftovers to a freezer-safe container and freeze for a firmer texture.
These instructions guide you through creating Ninja Creami Eggnog Ice Cream, a delightful frozen dessert perfect for holiday celebrations or cozy nights in. By blending creamy eggnog with heavy cream, sugar, vanilla extract, and a touch of nutmeg, you’ll capture the classic flavors of traditional eggnog in every scoop. Optional rum extract adds an extra layer of warmth and nostalgia. Freeze the mixture in your Ninja Creami until it reaches a smooth, soft-serve consistency, then serve immediately for a creamy treat, or freeze further for a firmer texture. Enjoy the festive flavors of homemade eggnog ice cream with friends and family!
Ninja Creami Eggnog Ice Cream offers a delightful twist on the beloved holiday beverage, transforming rich eggnog into a creamy frozen treat. This recipe combines the indulgent flavors of eggnog with heavy cream, sugar, vanilla extract, and a hint of nutmeg, creating a smooth and luxurious ice cream perfect for festive occasions. The optional addition of rum extract adds a traditional touch, enhancing the nostalgic appeal of this seasonal dessert.
Prepared using the Ninja Creami machine, this recipe ensures a quick and straightforward process from mixing to freezing. Within minutes, you can enjoy velvety-smooth eggnog ice cream that rivals store-bought varieties in both flavor and texture. Whether served as a standalone dessert or alongside holiday treats, Ninja Creami Eggnog Ice Cream promises to be a delightful addition to your winter celebrations, capturing the essence of holiday cheer in every spoonful.
Ninja Creami Eggnog Ice Cream Nutrition Info
Here’s an estimated nutrition table for Ninja Creami Eggnog Ice Cream per serving (assuming 4 servings):
| Nutrient |
Amount per Serving
|
| Calories |
Approximately 410
|
| Total Fat | 29g |
| – Saturated Fat | 18g |
| Cholesterol | 125mg |
| Sodium | 80mg |
| Total Carbohydrates | 33g |
| – Sugars | 31g |
| Protein | 4g |
These values are approximate and can vary based on specific ingredients used and any variations in portion sizes. Adjustments may be necessary based on personal dietary needs and ingredient choices.
Here’s a combined nutrition table for all ingredients used in Ninja Creami Eggnog Ice Cream per serving (assuming 4 servings):
| Ingredient | Amount | Calories | Total Fat (g) | Saturated Fat (g) | Cholesterol (mg) | Sodium (mg) | Total Carbohydrates (g) | Sugars (g) | Protein (g) |
|---|---|---|---|---|---|---|---|---|---|
| Eggnog | 2 cups | 440 | 20 | 12 | 220 | 200 | 44 | 44 | 12 |
| Heavy Cream | 1 cup | 800 | 88 | 55 | 330 | 80 | 6 | 6 | 4 |
| Granulated Sugar | 1/2 cup | 200 | 0 | 0 | 0 | 0 | 50 | 50 | 0 |
| Vanilla Extract | 1 tsp | 12 | 0 | 0 | 0 | 0 | 0.6 | 0.6 | 0 |
| Ground Nutmeg | 1/2 tsp | 6 | 0.4 | 0.2 | 0 | 0 | 0.6 | 0 | 0.1 |
These values are approximate and based on standard nutritional information for each ingredient. Actual values may vary based on specific brands and measurements used.
Tips for Best Results
Here are some tips for achieving the best results when making Ninja Creami Eggnog Ice Cream:
- Use Quality Ingredients: Opt for high-quality eggnog and heavy cream to ensure a rich and creamy texture in your ice cream.
- Chill Ingredients: For quicker freezing and smoother texture, chill the eggnog and heavy cream in the refrigerator before mixing them together.
- Adjust Sweetness: Taste the eggnog mixture before freezing and adjust the amount of sugar according to your preference for sweetness.
- Optional Rum Flavor: If using rum or rum extract, add it gradually and taste as you go to achieve the desired level of flavor without overpowering the eggnog taste.
- Follow Ninja Creami Instructions: Follow the manufacturer’s instructions for your Ninja Creami machine to freeze and churn the mixture properly. This ensures a smooth and creamy consistency.
- Freezing Time: Monitor the freezing process closely. Aim for a soft-serve consistency before serving immediately for a creamy treat or freeze further for a firmer texture.
- Serve Fresh: Enjoy your Ninja Creami Eggnog Ice Cream immediately for the best texture and flavor. If storing leftovers, allow the ice cream to soften slightly at room temperature before serving again.
By following these tips, you can create delicious homemade eggnog ice cream that captures the essence of the holiday season with every spoonful.

Ninja Creami Eggnog Ice Cream Recipe
Equipment
- Ninja Creami Machine This is the main equipment used to freeze and churn the ice cream mixture.
- Mixing bowl For combining the ingredients and preparing the eggnog base.
- Whisk or Blender To mix and blend the eggnog ingredients thoroughly.
- Measuring Cups and Spoons: For accurate measurement of ingredients.
- Saucepan If heating the eggnog mixture on the stove.
- Stove or Microwave: To heat the eggnog base if required.
- Freezer-Safe Container: For storing any leftover ice cream.
- Ice Cream Scoop For serving the finished Ninja Creami Eggnog Ice Cream.
Ingredients
- 2 Cups Eggnog
- 1 Cup Heavy cream
- 1/2 Cup Granulated Sugar
- 1 Teaspoon Vanilla Extract
- 1/2 Teaspoon Ground nutmeg
Optional:
- 2 Tablespoons Rum or Rum Extract (adjust to taste)
Instructions
- Mix Ingredients: Combine 2 cups eggnog, 1 cup heavy cream, 1/2 cup sugar, 1 tsp vanilla extract, and 1/2 tsp nutmeg. Optionally, add 1-2 tbsp rum extract.
- Prepare Ninja Creami: Assemble the machine and pour in the eggnog mixture.
- Freeze: Follow Ninja Creami's instructions to freeze and churn for about 20-25 minutes until creamy.
- Serve: Scoop into bowls, optionally garnish with nutmeg, and enjoy immediately or freeze for a firmer texture later.
Notes
- Eggnog Consistency: Use a thick and creamy eggnog for best results. If your eggnog is thin, consider reducing the amount of heavy cream slightly to maintain a creamy texture.
- Chilling Ingredients: For quicker freezing, chill the eggnog and heavy cream in the refrigerator before mixing them together.
- Adjusting Sweetness: Taste the eggnog mixture before freezing and adjust the amount of sugar according to your preference for sweetness.
- Ninja Creami Settings: Follow the specific instructions for your Ninja Creami machine for optimal freezing and churning. Monitor closely to achieve the desired texture.
- Optional Rum Flavor: The addition of rum or rum extract is optional but adds traditional eggnog flavor. Adjust the amount to suit your taste.
- Freezing Time: Freezing time can vary depending on the Ninja Creami model and room temperature. Aim for a soft-serve consistency before serving immediately or firming up in the freezer.
- Storage: Store any leftover ice cream in a sealed container in the freezer. Let it sit at room temperature for a few minutes before scooping if it becomes too firm.
- Garnishing: Sprinkle with ground nutmeg or cinnamon just before serving for a festive touch.

Hi, I’m Katelyn Williams, the expert behind Ninjacreamiicecream.com. With a deep passion for creating delectable ice cream recipes, I’m here to share my love for all things ice cream. I earned my Bachelor’s degree from Louisiana State University, and since then, I’ve been dedicated to perfecting the art of ice cream making. From classic flavors to innovative creations, my goal is to inspire you to make delicious and creamy treats at home effortlessly. Join me for the best recipes, tips, and techniques to elevate your ice cream game and indulge in delightful frozen desserts!