
If you’re looking for an ultra-creamy and indulgent frozen treat, Ninja Creami Chocolate Pudding Ice Cream is the perfect recipe to try. This rich and smooth chocolate ice cream gets its luxurious texture from instant pudding mix, which helps create a thick and velvety consistency without the need for eggs or complicated custard-making techniques. With just a few simple ingredients and the magic of the Ninja Creami, you can enjoy homemade chocolate ice cream that rivals any store-bought version.
Disclosure: This post may contain affiliate links. As an Amazon Associate, I earn from qualifying purchases. Read more.
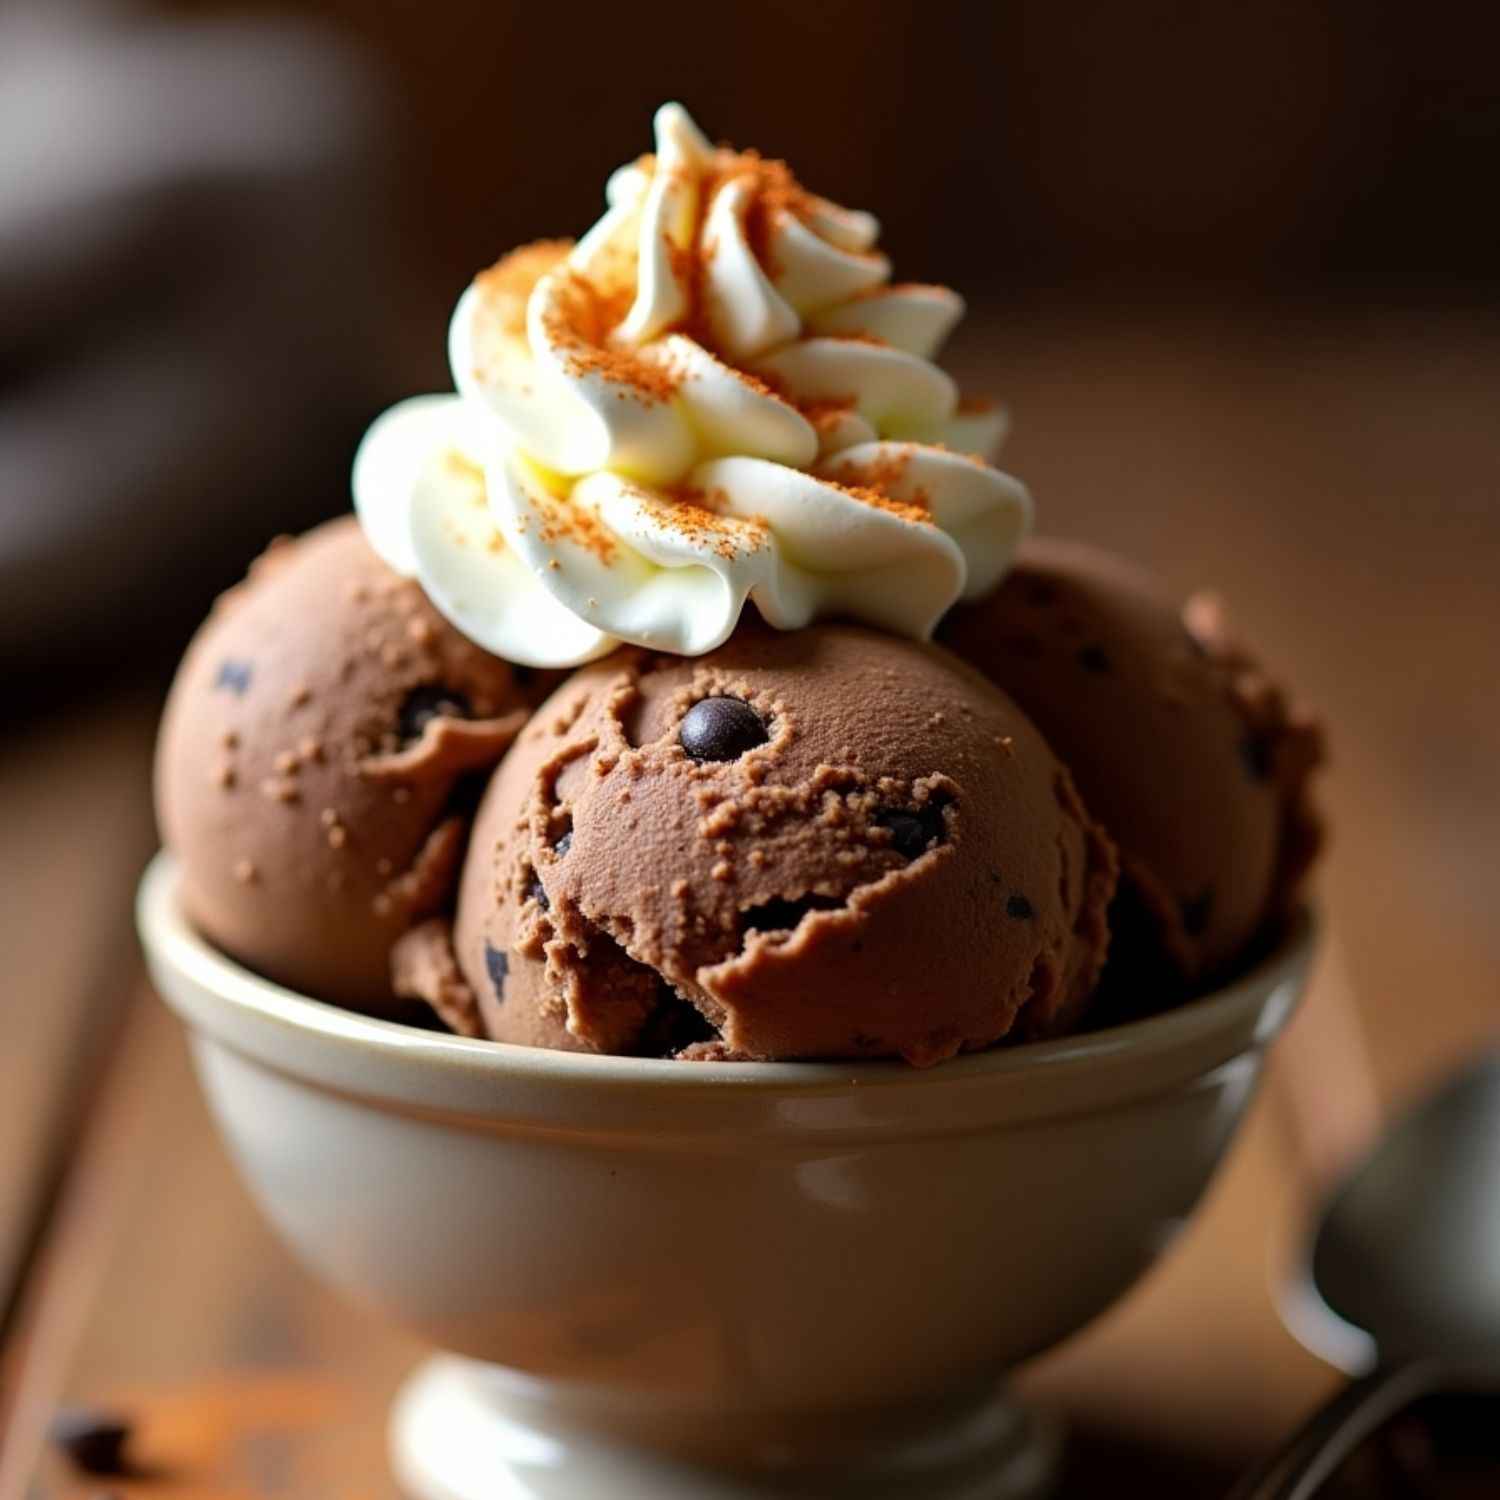
Ninja Creami Chocolate Pudding Ice Cream Recipe
Ingredients for Ninja Creami Chocolate Pudding Ice Cream
Here’s a detailed breakdown of the ingredients used in this rich and creamy chocolate ice cream:
1. Instant Chocolate Pudding Mix (3.9 oz / 110g box)
-
The key ingredient that gives the ice cream its thick, smooth, and creamy texture.
-
Contains thickeners and stabilizers that prevent ice crystals from forming, making the ice cream ultra-soft and scoopable.
-
Choose a high-quality instant pudding mix for the best flavor.
2. Whole Milk (1 cup / 240ml)
-
Provides a smooth base for the ice cream and helps dissolve the pudding mix.
-
Whole milk ensures a creamier texture, but you can use 2% milk or a non-dairy alternative like almond, oat, or coconut milk.
3. Heavy Cream (1 cup / 240ml)
-
Adds richness and a velvety mouthfeel to the ice cream.
-
If you prefer a dairy-free option, substitute with full-fat coconut cream.
4. Sugar or Sweetener (2-3 tablespoons, optional)
-
Enhances the sweetness, depending on your preference and the pudding mix’s sugar content.
-
Use granulated sugar, honey, maple syrup, or a sugar substitute like erythritol for a low-carb version.
5. Vanilla Extract (1 teaspoon)
-
Enhances the overall chocolate flavor and adds depth to the ice cream.
-
Opt for pure vanilla extract for the best taste.
6. Cocoa Powder (1 tablespoon, optional)
-
Intensifies the chocolate flavor, making the ice cream even richer.
-
Choose unsweetened cocoa powder for a deep, authentic chocolate taste.
7. Mix-Ins (Optional, ½ cup total)
-
Add texture and extra flavor to your ice cream with fun mix-ins:
-
Mini chocolate chips
-
Crushed cookies (Oreos, graham crackers, etc.)
-
Chopped nuts (almonds, walnuts, pecans)
-
Swirls of peanut butter, caramel, or marshmallow fluff
-
Instructions for Ninja Creami Chocolate Pudding Ice Cream
Follow these detailed steps to make rich, creamy, and indulgent Ninja Creami Chocolate Pudding Ice Cream at home.
1. Prepare the Ice Cream Mixture
Step 1: Combine Dry Ingredients
-
In a medium mixing bowl, add instant chocolate pudding mix (3.9 oz / 110g box) and cocoa powder (1 tablespoon, if using).
-
Whisk the dry ingredients together to ensure an even mixture.
Step 2: Add Milk and Heavy Cream
-
Slowly pour in 1 cup (240ml) whole milk while whisking continuously to dissolve the pudding mix.
-
Add 1 cup (240ml) heavy cream and continue to whisk until the mixture becomes smooth and thick.
-
If the mixture is too thick, add a splash of milk to loosen it slightly.
Step 3: Add Flavor Enhancements
-
Stir in 1 teaspoon vanilla extract for a richer flavor.
-
If the pudding mix isn’t sweet enough for your taste, add 2-3 tablespoons of sugar or sweetener and whisk until fully dissolved.
Step 4: Let the Mixture Rest (Optional but Recommended)
-
Let the mixture sit for 5-10 minutes to allow the pudding mix to fully hydrate, ensuring a smoother texture.
2. Freeze the Mixture
Step 5: Transfer to Ninja Creami Pint Container
-
Pour the prepared chocolate pudding mixture into a Ninja Creami pint container, ensuring it stays below the max fill line.
-
Tap the container gently on the counter to remove air bubbles.
Step 6: Freeze for 24 Hours
-
Secure the lid on the pint container and place it in a level position in the freezer.
-
Freeze for at least 24 hours to ensure the mixture is solid and ready for processing.
3. Process the Ice Cream in Ninja Creami
Step 7: Insert Pint into Ninja Creami
-
Remove the frozen pint from the freezer and take off the lid.
-
Place the pint into the Ninja Creami outer bowl and secure it with the lid.
-
Lock the bowl assembly into the machine.
Step 8: Select the Ice Cream Function
-
Press the “Ice Cream” button on the Ninja Creami and allow it to complete the cycle.
-
Once done, check the texture. If the ice cream looks crumbly or dry, proceed to the next step.
Step 9: Re-Spin for Creamier Texture (If Needed)
-
If the ice cream is not smooth enough, add 1-2 tablespoons of milk or heavy cream to the pint.
-
Select the “Re-Spin” function and let the machine process it again.
-
Repeat if necessary until you achieve a soft and creamy consistency.
4. Add Mix-Ins (Optional)
Step 10: Customize Your Ice Cream
-
If you want to add mix-ins like chocolate chips, nuts, or cookie crumbles, create a small well in the center of the ice cream.
-
Add up to ½ cup of mix-ins into the well.
Step 11: Use the Mix-In Function
-
Select the “Mix-In” button on the Ninja Creami to evenly distribute your mix-ins without over-processing the ice cream.
5. Serve and Store
Step 12: Serve Immediately
-
Scoop the ice cream into bowls or cones and enjoy!
-
Top with whipped cream, chocolate syrup, sprinkles, or any of your favorite toppings.
Step 13: Storing Leftovers
-
If you have leftover ice cream, smooth the surface and cover the pint with its lid.
-
Store in the freezer for up to 1-2 weeks.
-
Before serving again, you may need to reprocess it using the Re-Spin function to restore the creamy texture.

Ninja Creami Chocolate Pudding Ice Cream Recipe
Equipment
- Ninja Creami Machine – Essential for processing and creating the smooth ice cream texture.
- Ninja Creami Pint Container with Lid – Used for freezing the ice cream mixture.
- Mixing Bowl – To combine and whisk the ingredients before freezing.
- Whisk or Spoon – For mixing the pudding mix, milk, and cream until smooth.
- Measuring Cups and Spoons – To accurately measure the ingredients.
- Spatula (Optional) – Helps scrape down the sides of the bowl for an even mix.
Ingredients
- 1 cup (240ml) whole milk – For a creamy base.
- ¾ cup (180ml) heavy cream – Adds richness and smooth texture.
- 1 package (3.9 oz or 110g) instant chocolate pudding mix – Ensures a thick, creamy consistency
- 1 teaspoon vanilla extract – Enhances the chocolate flavor.
- 2 tablespoons (30g) sugar (optional) – For added sweetness, if desired.
- Pinch of salt – Balances and enhances the flavors.
Instructions
- Mix the IngredientsIn a mixing bowl, whisk together whole milk, heavy cream, instant chocolate pudding mix, vanilla extract, sugar (if using), and a pinch of salt until smooth and well combined.
- Transfer to Pint ContainerPour the mixture into the Ninja Creami pint container, making sure not to exceed the max fill line. Secure the lid tightly.
- Freeze for 24 HoursPlace the container in the freezer on a level surface and freeze for at least 24 hours until completely solid.
- Process in the Ninja CreamiRemove the frozen pint from the freezer and place it in the Ninja Creami machine. Select the Ice Cream function and process until smooth. If the texture appears crumbly, add 1-2 tablespoons of milk and use the Re-Spin function for extra creaminess.
- Serve and EnjoyScoop into bowls and enjoy immediately! For extra flavor, mix in chocolate chips, crushed cookies, or nuts using the Mix-In function. Store any leftovers in the freezer and re-spin before serving.
Notes
Tips for the Best Ninja Creami Chocolate Pudding Ice Cream
1. Use Instant Pudding Mix for the Best Texture
-
Always use instant chocolate pudding mix, not cook-and-serve pudding.
-
Instant pudding contains thickeners that prevent ice crystals and create a smooth, scoopable consistency.
2. Don’t Overfill the Pint Container
-
Keep the mixture below the max fill line to ensure proper freezing and blending.
-
Overfilling can cause the machine to struggle while processing.
3. Freeze for a Full 24 Hours
-
The ice cream mixture must be completely solid before processing.
-
Freezing for at least 24 hours ensures the best results in the Ninja Creami.
4. Re-Spin for Extra Creaminess
-
If the ice cream looks crumbly after the first spin, don’t worry!
-
Add 1-2 tablespoons of milk or cream, then use the Re-Spin function for a softer, smoother texture.
5. Enhance the Chocolate Flavor
-
Add 1 tablespoon of cocoa powder to intensify the chocolate richness.
-
A pinch of salt also enhances the depth of flavor.
6. Make It Dairy-Free
-
Substitute whole milk and heavy cream with full-fat coconut milk or almond milk.
-
Use a dairy-free chocolate pudding mix for a completely lactose-free version.
7. Get Creative with Mix-Ins
-
Stir in crushed cookies, mini chocolate chips, or peanut butter swirls.
-
Use the Mix-In function to evenly distribute add-ins without over-blending.
8. Store Properly for Freshness
-
Smooth the surface of the ice cream before sealing the lid to minimize freezer burn.
-
If stored for more than a few days, use the Re-Spin function to refresh the texture before serving.
9. Experiment with Flavors
-
Swap out chocolate pudding mix for vanilla, caramel, or butterscotch to create different variations.
-
Add a teaspoon of espresso powder for a mocha twist.
10. Serve Immediately for the Best Texture
-
Ninja Creami ice cream is best enjoyed fresh after spinning.
-
If freezing leftovers, let the pint sit at room temperature for 5-10 minutes before serving or reprocess with the Re-Spin function.
Conclusion
Ninja Creami Chocolate Pudding Ice Cream is the perfect homemade treat for chocolate lovers who crave a rich, creamy, and smooth texture. By using instant chocolate pudding mix, this recipe ensures a velvety consistency without the need for eggs or an ice cream maker. The Ninja Creami effortlessly transforms the frozen mixture into a decadent dessert, making it a quick and foolproof way to enjoy homemade ice cream. Whether you stick to the classic recipe or customize it with mix-ins like chocolate chips, nuts, or cookie crumbles, every scoop is packed with indulgent chocolate flavor.
This easy-to-make ice cream is perfect for any occasion—whether you’re hosting a summer gathering, celebrating a special event, or just treating yourself to a cozy dessert night. The ability to personalize the ingredients also makes it a great option for those with dietary preferences, from dairy-free to keto-friendly variations. With just a few simple ingredients and the magic of the Ninja Creami, you can enjoy a luscious, homemade chocolate ice cream that rivals any store-bought version. So, grab your pint container, freeze your mix, and get ready to enjoy a deliciously creamy, chocolatey delight!

Hi, I’m Katelyn Williams, the expert behind Ninjacreamiicecream.com. With a deep passion for creating delectable ice cream recipes, I’m here to share my love for all things ice cream. I earned my Bachelor’s degree from Louisiana State University, and since then, I’ve been dedicated to perfecting the art of ice cream making. From classic flavors to innovative creations, my goal is to inspire you to make delicious and creamy treats at home effortlessly. Join me for the best recipes, tips, and techniques to elevate your ice cream game and indulge in delightful frozen desserts!