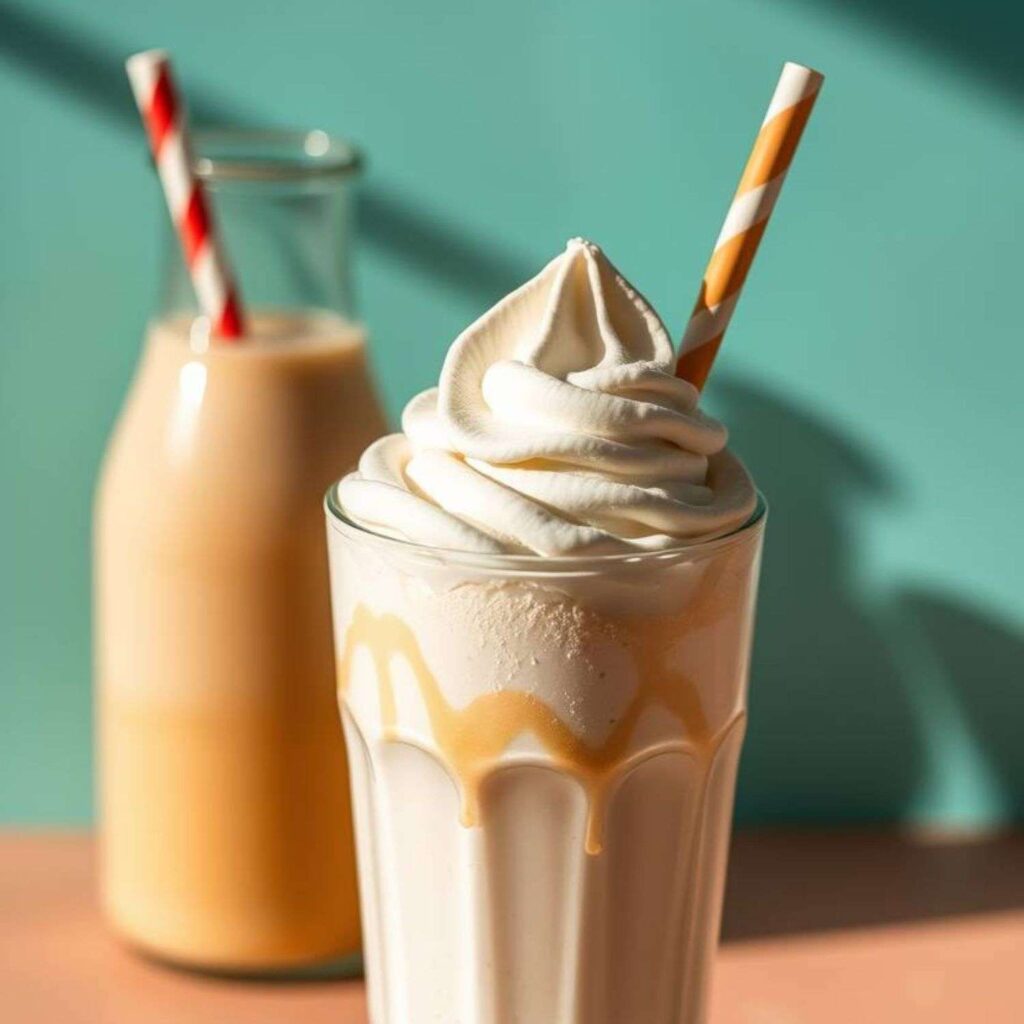
An Ice Cream Milkshake is a timeless and indulgent treat that combines the rich creaminess of ice cream with the smoothness of milk, creating a delightful beverage perfect for any occasion. Whether it’s a hot summer day, a cozy dessert, or a special treat, an ice cream milkshake is always a crowd-pleaser for all ages. The beauty of this dessert lies in its versatility—there are endless flavor combinations to experiment with, from classic vanilla and chocolate to exciting options like fruity, nutty, or even decadent indulgent blends. With just a few simple ingredients, you can enjoy a milkshake that’s tailored to your taste buds.
Disclosure: This post may contain affiliate links. As an Amazon Associate, I earn from qualifying purchases. Read more.
Ice Cream Milkshake Recipe
Ingredients for Ice Cream Milkshake
- Ice Cream
- Type of Ice Cream: The base of every milkshake, ice cream adds the creamy texture and flavor. You can choose from various flavors such as:
- Vanilla: Classic and versatile, perfect for mixing with syrups, fruits, or toppings.
- Chocolate: Rich and indulgent, great for chocolate lovers.
- Strawberry: A fruity option that brings a fresh taste to the shake.
- Other Flavors: Coffee, cookies and cream, mint chocolate chip, or any favorite flavor you desire.
- Frozen Yogurt: For a lighter, tangier twist, you can substitute traditional ice cream with frozen yogurt.
- Non-Dairy Options: For a dairy-free or vegan milkshake, use non-dairy ice cream made from coconut, almond, or soy milk.
- Type of Ice Cream: The base of every milkshake, ice cream adds the creamy texture and flavor. You can choose from various flavors such as:
- Milk
- Whole Milk: The standard milk option, offering a rich, creamy texture. It’s perfect for creating thick and satisfying shakes.
- Skim Milk: A lighter alternative for those who prefer fewer calories and less fat while still maintaining a smooth texture.
- Non-Dairy Milk: If you’re lactose intolerant or following a plant-based diet, you can use almond, oat, soy, or coconut milk to make a vegan milkshake.
- Heavy Cream: For a super thick and indulgent milkshake, you can add a bit of heavy cream along with or instead of milk.
- Sweeteners (Optional)
- Sugar: A traditional option to sweeten your milkshake. Depending on your sweetness preference, you can adjust the amount of sugar.
- Honey: A natural sweetener that adds a mild, floral taste.
- Maple Syrup: Adds a unique flavor, perfect for vanilla or cinnamon milkshakes.
- Stevia or Other Sugar Substitutes: For a low-calorie or sugar-free version of your milkshake, you can use stevia, monk fruit, or any other sugar alternative.
- Flavorings and Add-ins (Optional)
- Chocolate Syrup: Adds a rich chocolate flavor, perfect for chocolate milkshakes or as a topping.
- Vanilla Extract: Enhances the vanilla ice cream flavor and gives the milkshake a subtle, aromatic sweetness.
- Fruits: Fresh fruits like strawberries, bananas, mangoes, or blueberries can be blended into the milkshake for a fruity twist. You can also use frozen fruits to make the shake thicker.
- Nut Butters: Peanut butter, almond butter, or cashew butter can add creaminess and a nutty flavor to your milkshake, making it more decadent.
- Chocolate Chips or Crushed Cookies: For a crunchy texture, add some chocolate chips, crushed Oreos, or cookies into the milkshake.
- Toppings
- Whipped Cream: A fluffy, light topping that adds extra creaminess and a finishing touch to your milkshake.
- Cherries: A classic milkshake garnish, adding a pop of color and a sweet bite on top.
- Sprinkles: For a fun, colorful appearance, especially for kids’ milkshakes.
- Chocolate Shavings or Chips: A garnish that adds an extra chocolatey flavor, perfect for chocolate milkshakes.
- Syrups: Top with additional syrups like caramel, chocolate, or strawberry to enhance flavor and appearance.
- Crushed Nuts: Almonds, pistachios, or hazelnuts can add texture and a nutty contrast.
- Ice (Optional)
- Adding ice cubes is optional but helps thicken the milkshake and keep it cool if you prefer a colder, firmer texture.
These ingredients come together to create a smooth, indulgent ice cream milkshake that can be easily customized based on your preferences or dietary needs. Whether you like it classic or with exciting new flavor combinations, the possibilities are endless!
Instructions for Making an Ice Cream Milkshake
-
Prepare Your Ingredients:
- Ice Cream: If your ice cream is frozen solid, allow it to soften slightly for easier blending (about 5-10 minutes at room temperature). This ensures a smoother consistency when mixed with milk.
- Milk: Measure out your milk according to the desired thickness of your milkshake. Typically, 1 cup of milk works well for one serving, but you can adjust depending on whether you want a thicker or thinner shake.
- Toppings: Have your whipped cream, cherries, and other garnishes ready for serving.
-
Add Ice Cream and Milk to the Blender:
- Scoop 2-3 large scoops of your preferred ice cream into the blender. This should be about 1 to 1.5 cups of ice cream, depending on how creamy you want your shake.
- Pour in 1 cup of milk (or your preferred milk alternative) into the blender with the ice cream. If you want a thicker shake, use less milk; for a thinner shake, add more milk.
-
Add Flavorings and Mix-ins (Optional):
- If you’re adding flavorings such as chocolate syrup, vanilla extract, or fruit, now is the time. For a chocolate milkshake, add 2-3 tablespoons of chocolate syrup or melted chocolate. For fruity shakes, add fresh or frozen fruits, like ½ cup of strawberries or 1 ripe banana.
- You can also add a spoonful of peanut butter, a drizzle of honey, or some crushed cookies for extra flavor and texture.
-
Blend the Ingredients:
- Place the lid on your blender securely. Blend the mixture on a low to medium speed for 30 seconds, then increase to high speed for another 30-45 seconds until everything is smooth and creamy.
- If the shake is too thick, add a bit more milk and blend again until the desired consistency is reached. If it’s too thin, add a bit more ice cream to thicken it up.
- Scrape the sides of the blender with a spatula to ensure all the ice cream and mix-ins are fully blended.
-
Taste and Adjust Sweetness (Optional):
- Once blended, taste the milkshake to see if it needs more sweetness. If you prefer a sweeter shake, add a little sugar, honey, or maple syrup, and blend again briefly to mix it in.
-
Serve the Milkshake:
- Pour the milkshake into a chilled glass. If you like, tilt the glass while pouring to create a fun effect.
- Add a generous swirl of whipped cream on top for a fluffy and creamy finish.
-
Add Toppings:
- Top your milkshake with your favorite garnishes like a cherry, sprinkles, chocolate shavings, or even crushed cookies.
- For an extra touch, drizzle some syrup over the whipped cream or on the sides of the glass.
-
Serve Immediately:
- Add a straw, place the milkshake in front of your guests, and enjoy! The milkshake is best served right away while it’s cold and fresh.
This easy-to-follow method gives you a creamy, flavorful ice cream milkshake every time. Feel free to experiment with flavors and add-ins to create your own unique version!

Ice Cream Milkshake Recipe
Equipment
- Blender:
- Measuring Cups:
- Spoons –
- Glass or Cup
- Straw
- Spatula:
- Whisk or Electric Mixer (Optional)
Ingredients
- 2-3 large Ice Cream scoops (about 1 to 1.5 cups) of your favorite ice cream
- 1 cup Milk
Flavorings (optional)
- 2-3 tablespoons chocolate syrup, vanilla extract, or fruit puree
Toppings (optional):
- Whipped cream (for topping)
- 1 cherry (for garnish)
- Sprinkles, chocolate shavings, or crushed cookies (optional for garnish)
Instructions
- Prepare the Ingredients: Soften the ice cream slightly if it's frozen solid for easier blending. Measure out 1 cup of milk and gather any optional flavorings or toppings.
- Blend Ice Cream and Milk: Scoop 2-3 large scoops of ice cream into a blender. Add 1 cup of milk. Blend on low to medium speed until the ice cream and milk are combined.
- Add Flavorings (Optional): If desired, add 2-3 tablespoons of chocolate syrup, vanilla extract, or fruit puree. Blend again until smooth and well-mixed.
- Adjust Consistency: If the milkshake is too thick, add more milk; if it's too thin, add more ice cream. Blend until the desired consistency is reached.
- Serve and Garnish: Pour the milkshake into a glass. Top with whipped cream, sprinkles, and a cherry. Serve immediately with a straw and enjoy!
Notes
- Softened Ice Cream Works Best: Allow the ice cream to soften slightly for smoother blending. Avoid using overly melted ice cream, as it may affect the texture.
- Choose High-Quality Ingredients: For the best flavor, use high-quality ice cream and fresh milk. If adding syrups or fruits, ensure they complement the ice cream flavor.
- Blend in Stages: Start blending at a low speed to break up the ingredients, then increase to high speed for a creamy texture. This prevents the blender from overworking.
-
Consistency Adjustments:
- To make the milkshake thicker, add more ice cream or reduce the milk.
- For a thinner milkshake, add a bit more milk in small increments.
- Experiment with Flavors: Don’t hesitate to get creative by mixing ice cream flavors or adding unique ingredients like peanut butter, crushed cookies, or fresh fruits.
- Serve Immediately: Milkshakes are best enjoyed fresh. If left to sit, they can separate or lose their frothy texture.
- Chill the Glass: For a more refreshing experience, chill your serving glasses in the freezer for 5-10 minutes before pouring the milkshake.
- Dairy-Free Option: Substitute regular milk with almond, soy, oat, or coconut milk and use dairy-free ice cream for a lactose-free version.
- Blender Maintenance: After blending, rinse the blender immediately to prevent leftover milkshake from sticking and hardening, making cleanup easier.
- Portion Sizes: This recipe makes enough for 2 servings. Adjust ingredient quantities based on the number of people or serving sizes needed.
Tips for Making the Perfect Ice Cream Milkshake
- Use Softened Ice Cream:
- Let the ice cream soften for 5-10 minutes before blending. This makes it easier to scoop and blend, ensuring a smoother texture without overworking your blender.
- Adjust the Consistency:
- For a thick milkshake, use less milk and more ice cream. This creates a more indulgent, dessert-like shake that’s almost spoonable.
- For a thinner milkshake, add a bit more milk to achieve a drinkable consistency.
- Blend in Stages:
- Start by blending the ice cream and milk on low speed to break up the larger chunks, then increase to high speed for a smooth, creamy texture. If needed, stop the blender halfway through and scrape down the sides to incorporate any ice cream stuck to the sides.
- Experiment with Flavor Combinations:
- Don’t be afraid to try new flavors! Mix and match different ice cream flavors, syrups, and add-ins. For example, vanilla ice cream pairs well with caramel syrup, while chocolate ice cream is perfect with peanut butter or marshmallow fluff.
- Frozen Fruit for a Thicker Shake:
- Use frozen fruits like strawberries, bananas, or mango to add natural sweetness and thickness to your milkshake without watering it down with extra ice. They also keep the shake nice and cold.
- Add Mix-ins for Texture:
- For a fun twist, blend in small chunks of chocolate, cookies, or candy to create a chunky milkshake. Add these ingredients after blending the ice cream and milk to prevent them from being overly broken down.
- Use the Right Milk:
- The type of milk you use can significantly affect the texture and flavor. Whole milk gives the creamiest results, but you can use almond, soy, or oat milk for a dairy-free version.
- If you’re looking for extra richness, try adding a splash of heavy cream to make the shake extra creamy.
- Garnish for Extra Fun:
- Top your milkshake with whipped cream, sprinkles, chocolate shavings, or a cherry to give it an extra touch of flair and flavor. These little details can elevate the overall presentation and taste.
- Make It a Dessert!
- Turn your milkshake into a full-blown dessert by adding extra toppings like crushed cookies, brownies, or a drizzle of hot fudge. You can even make milkshake floats by adding a scoop of ice cream to your milkshake and topping it with soda.
- Chill Your Glass:
- For a cooler, more refreshing milkshake, chill your glass in the freezer before serving. This helps keep the milkshake colder for longer, ensuring it stays delicious as you sip.
- Healthier Options:
- If you’re looking to cut down on calories, consider using low-fat ice cream or frozen yogurt, and substitute milk with a non-dairy alternative.
- You can also sweeten your milkshake with natural sweeteners like stevia or honey for a lighter option.
By following these tips, you can create a milkshake that’s perfectly suited to your taste and texture preferences, ensuring a delightful treat every time!
Conclusion
In conclusion, an Ice Cream Milkshake is a simple yet delicious treat that brings joy to all ages. With just a few basic ingredients—ice cream, milk, and optional add-ins—you can craft a creamy, flavorful milkshake that’s perfect for any occasion. Whether it’s a hot summer day or you’re looking to indulge in a sweet dessert, this milkshake is a satisfying choice that’s easy to prepare and customize.
The beauty of an ice cream milkshake lies in its versatility. From experimenting with different flavors and fruits to adding fun toppings and mix-ins, there’s no limit to the combinations you can try. Whether you enjoy classic chocolate or vanilla, or prefer unique blends like mint chocolate chip or salted caramel, your milkshake can be as creative as you want it to be.
So, next time you’re craving something sweet and refreshing, grab your favorite ice cream, a splash of milk, and blend away! With a little creativity and a few simple ingredients, you can enjoy the perfect milkshake that will delight your taste buds and satisfy your sweet cravings.

Hi, I’m Katelyn Williams, the expert behind Ninjacreamiicecream.com. With a deep passion for creating delectable ice cream recipes, I’m here to share my love for all things ice cream. I earned my Bachelor’s degree from Louisiana State University, and since then, I’ve been dedicated to perfecting the art of ice cream making. From classic flavors to innovative creations, my goal is to inspire you to make delicious and creamy treats at home effortlessly. Join me for the best recipes, tips, and techniques to elevate your ice cream game and indulge in delightful frozen desserts!


