
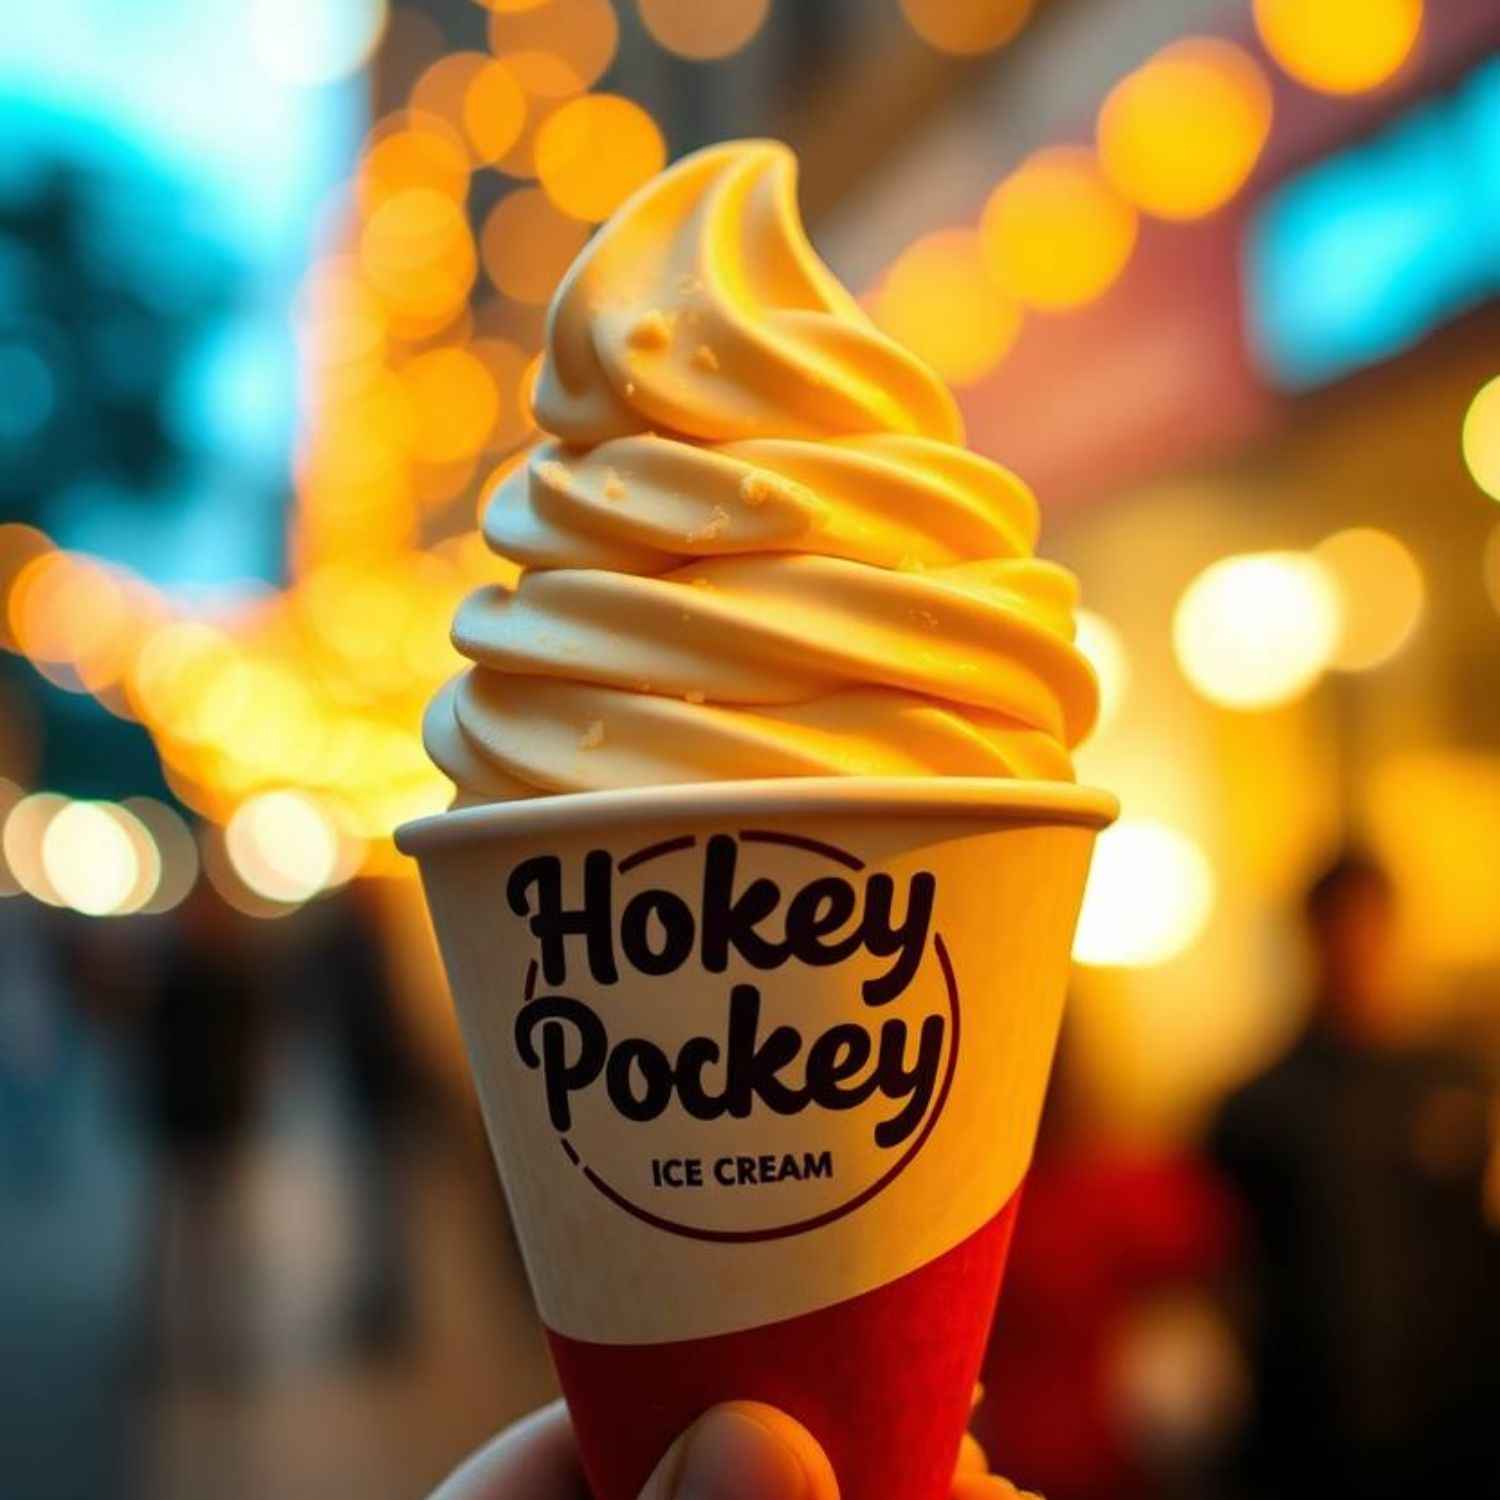
Hokey Pokey Ice Cream is a delightful treat that perfectly blends creamy, smooth ice cream with the irresistible crunch of honeycomb toffee pieces. This unique dessert has its origins in New Zealand, where it is a beloved favorite, but it is also popular in the UK. The combination of velvety ice cream and the sweet, crunchy texture of Hokey Pokey (the honeycomb toffee) creates a delicious contrast that makes every bite a mouthwatering experience. Whether enjoyed on a hot summer day or as a special dessert, Hokey Pokey Ice Cream offers a simple yet decadent indulgence that will have you coming back for more.
Disclosure: This post may contain affiliate links. As an Amazon Associate, I earn from qualifying purchases. Read more.
Hokey Pokey Ice Cream Recipe
Ingredients
For Hokey Pokey Ice Cream, you’ll need two key components: the ice cream base and the Hokey Pokey honeycomb pieces. Here’s a breakdown of each ingredient used in the recipe:
For the Ice Cream Base:
- Heavy Cream (2 cups)
- Provides the rich and creamy texture essential for a smooth ice cream. The high-fat content of heavy cream gives the ice cream its indulgent and luxurious mouthfeel.
- Whole Milk (1 cup)
- Balances the richness of the cream while keeping the ice cream base smooth and not too heavy. Whole milk is the best option for a creamy texture without being overly rich.
- Sugar (3/4 cup)
- Sweetens the ice cream base. The amount of sugar can be adjusted to taste, but it’s crucial for the balance of flavors and achieving the correct sweetness in the final ice cream.
- Egg Yolks (optional, 4-5 yolks)
- Used if making a custard-style ice cream. The yolks help to thicken the base and give it a creamy consistency. They also help emulsify the cream and milk, resulting in a smooth texture. If you prefer a quicker no-cook method, you can skip the egg yolks and use a simpler method.
- Vanilla Extract (1 teaspoon)
- Adds a fragrant, warm note to the ice cream base. Vanilla pairs wonderfully with the sweet crunch of the honeycomb, complementing the overall flavor profile.
For the Hokey Pokey Honeycomb:
- Sugar (1 cup)
- The base of the honeycomb toffee. As it melts and caramelizes, it turns into a golden syrup that gives the honeycomb its flavor and color.
- Golden Syrup (2 tablespoons)
- A thick, amber-colored syrup that adds both sweetness and a slight toffee flavor. It’s commonly used in honeycomb recipes, as it helps prevent the sugar from crystallizing and gives the honeycomb its smooth texture. If golden syrup is not available, you can substitute it with honey or corn syrup, though the flavor may slightly vary.
- Baking Soda (1 teaspoon)
- Reacts with the hot syrup mixture, causing it to bubble up and form air pockets, which give the honeycomb its light and crunchy texture. Be sure to add it quickly after removing the mixture from the heat, as it can start to harden fast.
Optional Toppings and Add-ins:
- Additional Honeycomb Pieces (for garnish or extra crunch)
- Crushed or whole pieces of honeycomb can be added to the top of your ice cream as a garnish or stirred in for extra texture.
- Chocolate Sauce (for drizzling)
- If you want to add an extra indulgent touch, drizzle chocolate sauce over the ice cream before serving. It pairs beautifully with the honeycomb’s sweetness.
These ingredients work together to create the iconic Hokey Pokey Ice Cream, where the creamy base is perfectly complemented by the crunchy, sweet honeycomb toffee.
Instructions
Making Hokey Pokey Ice Cream involves two main steps: preparing the ice cream base and creating the Hokey Pokey honeycomb pieces. Below are the detailed instructions for both components, followed by the final steps for combining everything into delicious ice cream.
Step 1: Make the Ice Cream Base
- Combine the Dairy Ingredients:
- In a medium-sized saucepan, pour in 2 cups of heavy cream and 1 cup of whole milk. Add 3/4 cup of sugar and place the saucepan over medium heat.
- Stir occasionally until the sugar is fully dissolved and the mixture is warm, but not boiling. You’ll know it’s ready when you see steam rising from the surface, but avoid letting it come to a simmer.
- Prepare the Custard (optional):
- If you’re making a custard-style ice cream (which gives a richer texture), whisk 4-5 egg yolks in a separate bowl.
- Slowly pour some of the warm cream mixture into the egg yolks while whisking constantly. This step is called “tempering,” and it helps prevent the yolks from curdling. Gradually add the rest of the warm mixture into the yolks, whisking the entire time.
- Cook the Custard:
- Pour the egg and cream mixture back into the saucepan and return it to the stove over low to medium heat. Cook while stirring constantly for about 5-8 minutes, or until the custard thickens slightly and coats the back of a spoon.
- Be careful not to let the mixture boil, as it could cause the eggs to scramble.
- Cool the Ice Cream Base:
- Once the custard is thickened, remove the saucepan from the heat. Stir in 1 teaspoon of vanilla extract for flavor.
- Let the mixture cool to room temperature, then cover it and place it in the fridge to chill for several hours or overnight. The base should be completely cold before churning.
Step 2: Make the Hokey Pokey Honeycomb
- Melt the Sugar and Golden Syrup:
- In a medium saucepan, add 1 cup of sugar and 2 tablespoons of golden syrup. Stir them together over medium heat.
- Allow the sugar to dissolve completely and the syrup to come to a boil. Keep an eye on it and stir occasionally to prevent burning. Once the mixture reaches a rich amber color (about 5-7 minutes), remove it from the heat immediately.
- Add the Baking Soda:
- Quickly add 1 teaspoon of baking soda to the hot syrup mixture. It will bubble up dramatically, so be cautious. Stir it in quickly, making sure the baking soda is fully incorporated.
- Cool and Break the Honeycomb:
- Pour the bubbly honeycomb mixture onto a parchment-lined baking sheet. Spread it out slightly, but don’t worry about getting it perfectly smooth—it will expand as it cools.
- Let the honeycomb cool completely at room temperature (about 20-30 minutes) until it hardens.
- Once cooled, break the honeycomb into small, bite-sized pieces. You can crush it into smaller bits or leave it in larger chunks, depending on your preference.
Step 3: Churn the Ice Cream
- Churn the Ice Cream Base:
- Once the ice cream base is fully chilled, pour it into an ice cream maker. Follow the manufacturer’s instructions for your specific model.
- Churn the mixture for about 20-25 minutes, or until it thickens to a soft-serve consistency. The ice cream will become cold, creamy, and slightly firm during this process.
Step 4: Fold in the Hokey Pokey Pieces
- Incorporate the Honeycomb:
- Once the ice cream is churned, gently fold in the prepared Hokey Pokey honeycomb pieces. Be careful not to overmix; you want to preserve the crunchy texture of the honeycomb pieces throughout the ice cream.
Step 5: Freeze the Ice Cream
- Transfer to a Container:
- Transfer the ice cream into a freezer-safe container, smoothing the top with a spatula. If you have any leftover honeycomb pieces, you can sprinkle them on top for added texture.
- Freeze Until Firm:
- Place the container in the freezer and freeze for at least 4-6 hours, or until the ice cream is firm enough to scoop. For the best texture, allow it to freeze overnight.
Step 6: Serve and Enjoy
- Serve:
- Once your Hokey Pokey Ice Cream has frozen to your desired consistency, scoop it into bowls or cones. If you like, you can drizzle some extra honey or chocolate sauce over the top for added sweetness.
- Enjoy:
- Enjoy your homemade Hokey Pokey Ice Cream! The creamy base combined with the crunchy honeycomb pieces creates a delightful dessert that’s perfect for any occasion.
By following these steps, you’ll create a homemade ice cream that brings together the best of both worlds—rich, smooth creaminess and the satisfying crunch of honeycomb.

Hokey Pokey Ice Cream Recipe
Equipment
- Saucepan
- Whisk
- Mixing Bowls:
- Ice Cream Maker
- Spatula:
- Baking Sheet:
- Parchment Paper:
- Freezer-Safe Container:
- Measuring Cups and Spoons:
- Knife or Mallet
Ingredients
For the Ice Cream Base:
- 1 cup heavy cream
- 1 cup whole milk
- ¾ cup granulated sugar
- 4-5 egg yolks (for a custard-style base)
- 1 teaspoon vanilla extract
For the Hokey Pokey Honeycomb:
- 1 cup granulated sugar
- 2 tablespoons golden syrup
- 1 teaspoon baking soda
Instructions
- Prepare the Ice Cream Base:In a saucepan, combine 2 cups of heavy cream, 1 cup of whole milk, and 3/4 cup of sugar. Heat over medium heat, stirring occasionally, until the sugar dissolves and the mixture is warm (not boiling). If making a custard, whisk 4-5 egg yolks in a bowl, then gradually add the warm cream mixture to temper the eggs. Return the mixture to the saucepan and cook over low heat until it thickens slightly. Remove from heat and stir in 1 teaspoon of vanilla extract. Let the mixture cool to room temperature, then refrigerate for several hours or overnight.
- Make the Hokey Pokey Honeycomb:In a saucepan, melt 1 cup of sugar and 2 tablespoons of golden syrup over medium heat, stirring occasionally. Once the sugar dissolves and the mixture turns amber, remove from heat and immediately stir in 1 teaspoon of baking soda. The mixture will bubble up, so stir quickly. Pour the mixture onto a parchment-lined baking sheet and allow it to cool and harden completely, about 20-30 minutes.
- Churn the Ice Cream:Once the ice cream base is fully chilled, pour it into an ice cream maker and churn according to the manufacturer’s instructions, typically for 20-25 minutes, until the mixture reaches a soft-serve consistency.
- Incorporate the Hokey Pokey Pieces:Break the cooled honeycomb into small chunks. Gently fold the honeycomb pieces into the churned ice cream, being careful not to break the honeycomb into too fine of pieces.
- Freeze and Serve:Transfer the ice cream into a freezer-safe container, smoothing the top with a spatula. Freeze for at least 4-6 hours, or until firm. Once ready, scoop and enjoy your homemade Hokey Pokey Ice Cream!
Notes
- Chilling Time: Be sure to allow sufficient time for chilling the ice cream base before churning. The longer it chills, the creamier the texture will be.
- Honeycomb Hardening: Make sure the honeycomb mixture cools completely before breaking it into pieces. If it's too warm, it may not harden properly and could remain sticky.
- Ice Cream Consistency: If you don’t have an ice cream maker, you can still make this ice cream by manually stirring the mixture every 30 minutes while freezing to achieve a smooth consistency.
- Customizing the Crunch: Adjust the size of the honeycomb pieces based on your preference. Larger chunks will give you a more dramatic crunch, while smaller bits will mix more evenly into the ice cream.
- Storage: Store the ice cream in an airtight container to prevent freezer burn. It will stay fresh for about 1-2 weeks if kept properly frozen.
- Serving Tip: Let the ice cream sit out for a few minutes before serving to make scooping easier and to enhance its creamy texture.
- Dietary Adjustments: For a lighter version, you can try substituting some of the heavy cream with a lower-fat cream or use a dairy-free alternative like coconut milk, though the texture and flavor may slightly change.
Tips & Tricks for Perfect Hokey Pokey Ice Cream
- Make the Honeycomb in Advance:
- The Hokey Pokey honeycomb can be made a day or two ahead of time. Store it in an airtight container at room temperature to keep it crispy. This will save time on the day you’re making the ice cream.
- Chill the Ice Cream Base Thoroughly:
- For the best texture, ensure your ice cream base is completely chilled before churning. A cold base allows the ice cream maker to freeze the mixture more effectively, resulting in a smoother and creamier consistency.
- Use a High-Quality Vanilla Extract:
- Since vanilla is one of the key flavors in the ice cream, using a high-quality vanilla extract will enhance the overall taste. It adds a warm, aromatic depth that pairs perfectly with the honeycomb.
- Don’t Overmix the Honeycomb:
- When folding the Hokey Pokey pieces into the ice cream, do so gently to maintain the crunchy texture. Overmixing can cause the honeycomb to break down, losing its delightful crunch.
- Customize the Crunch:
- You can adjust the size of the Hokey Pokey pieces based on personal preference. If you like bigger chunks of honeycomb, leave them larger; for a finer, more consistent crunch, break them into smaller bits.
- No Ice Cream Maker? No Problem!
- If you don’t have an ice cream maker, you can still make Hokey Pokey Ice Cream. After preparing the ice cream base, pour it into a shallow container and freeze it. Every 30 minutes, use a fork to scrape and mix the ice cream until it becomes smooth and creamy (this will help prevent ice crystals from forming). After 4-6 hours, fold in the honeycomb pieces and freeze again until firm.
- Serve at the Right Temperature:
- For the best scoopable texture, let your Hokey Pokey Ice Cream sit at room temperature for a few minutes before serving. This will make it easier to scoop without the ice cream being too hard.
- Store Properly:
- To keep your ice cream fresh and prevent ice crystals from forming, cover it tightly with plastic wrap before sealing the container. This will create an airtight barrier to keep the texture smooth.
- Experiment with Flavor Variations:
- While Hokey Pokey Ice Cream is delicious as is, feel free to experiment with different add-ins. A bit of chocolate chips, crushed nuts, or even a drizzle of caramel can elevate the flavor even further.
- Double the Batch:
- If you’re serving a crowd, consider doubling the recipe. Hokey Pokey Ice Cream is always a hit, and having extra on hand for guests will ensure there’s plenty to go around!
These tips will help you achieve a smoother, richer texture and ensure that your Hokey Pokey Ice Cream is a delightful treat every time!
Conclusion
Hokey Pokey Ice Cream is a timeless and delicious dessert that combines the best of creamy indulgence and satisfying crunch. With its origins in New Zealand, this ice cream captures the essence of comfort and joy, making it a perfect treat for any occasion. The rich vanilla ice cream base paired with the sweet, crunchy honeycomb pieces creates a mouthwatering contrast that will have you coming back for more.
Whether you’re enjoying it on a hot summer day or serving it as a special dessert at a celebration, making Hokey Pokey Ice Cream at home allows you to enjoy this iconic flavor in its freshest, most decadent form. With just a few simple ingredients and the right techniques, you can easily create an ice cream that’s both delightful and unforgettable. Enjoy the process and the sweet rewards that come with it!

Hi, I’m Katelyn Williams, the expert behind Ninjacreamiicecream.com. With a deep passion for creating delectable ice cream recipes, I’m here to share my love for all things ice cream. I earned my Bachelor’s degree from Louisiana State University, and since then, I’ve been dedicated to perfecting the art of ice cream making. From classic flavors to innovative creations, my goal is to inspire you to make delicious and creamy treats at home effortlessly. Join me for the best recipes, tips, and techniques to elevate your ice cream game and indulge in delightful frozen desserts!