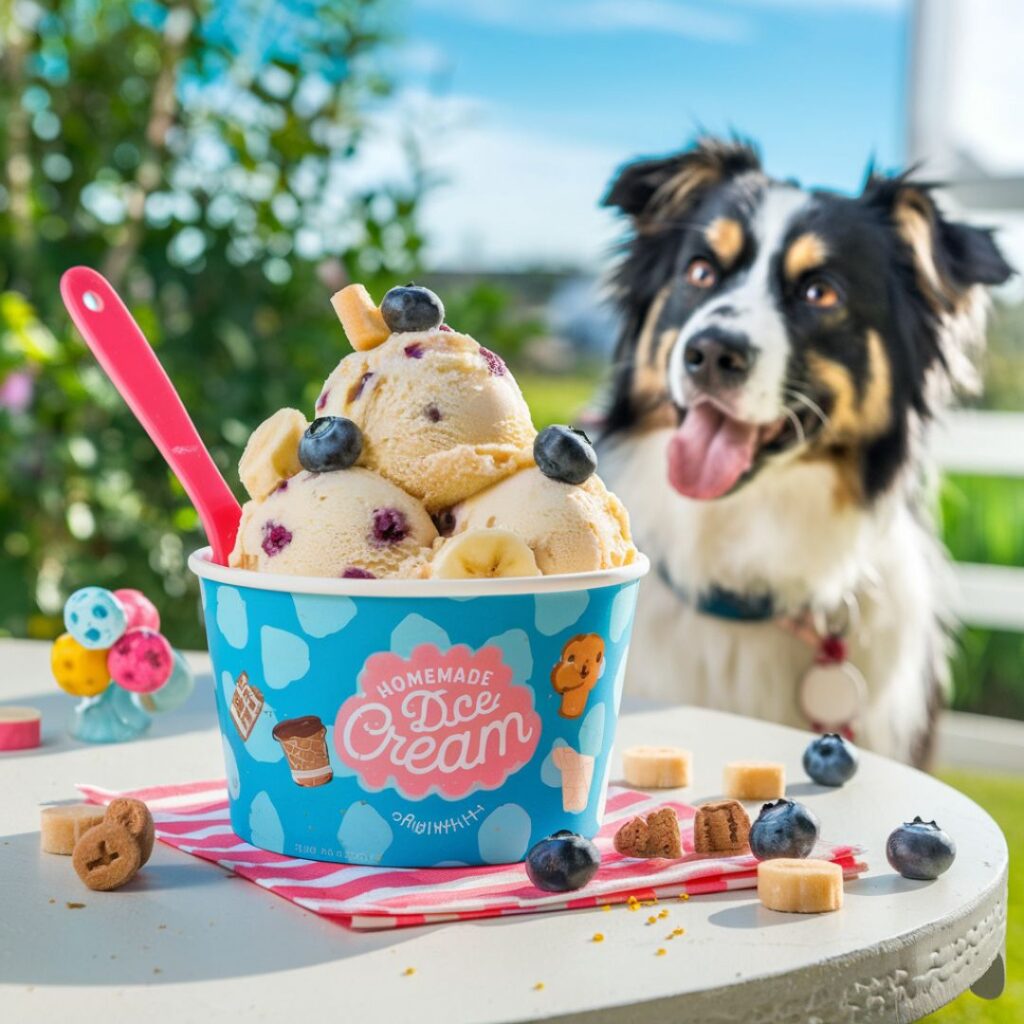
Dog Ice Cream has become a delightful trend among pet owners, offering a fun and tasty way to keep our furry friends cool during the hot summer months. As temperatures rise, many pet owners are turning to this delicious treat as an alternative to traditional ice cream, ensuring their pets can indulge in a special snack without any harmful ingredients.
Disclosure: This post may contain affiliate links. As an Amazon Associate, I earn from qualifying purchases. Read more.
Making homemade dog ice cream comes with numerous benefits. First and foremost, it allows you to use natural, dog-safe ingredients that are free from artificial flavors, sugars, and preservatives commonly found in store-bought options. This means you can tailor flavors to suit your dog’s preferences, whether they love creamy peanut butter, refreshing fruit, or savory broth. Plus, creating your own dog ice cream can be a fun bonding activity, letting you experiment with different combinations while providing a nutritious and enjoyable treat for your beloved pet.
Dog Ice Cream Recipe
Ingredients
To make a simple and delicious dog ice cream, you’ll need the following common ingredients:
- Yogurt: Use unsweetened and plain yogurt, which is a great source of calcium and probiotics that can aid in digestion.
- Peanut Butter: Choose natural peanut butter that is free from xylitol, as this sweetener is toxic to dogs. Peanut butter adds flavor and healthy fats.
- Bananas: These are a dog-friendly fruit that adds natural sweetness and creaminess. You can also substitute bananas with other dog-safe fruits, such as blueberries, strawberries, or pumpkin.
- Optional Add-Ins:
- Pumpkin Puree: A great source of fiber and can be beneficial for your dog’s digestive health.
- Chicken Broth: Use low-sodium chicken broth (without onions or garlic) for a savory flavor twist that many dogs love.
These ingredients can be mixed and matched to create a variety of flavors tailored to your dog’s taste preferences!
Directions
- Prepare Your Ingredients: Gather all your ingredients—unsweetened plain yogurt, peanut butter, bananas (or other dog-safe fruits), and any optional add-ins you choose.
- Blend the Mixture:
- In a mixing bowl or blender, combine 1 cup of yogurt, 1 ripe banana (mashed), and 1/4 cup of peanut butter. If using optional add-ins like pumpkin puree or chicken broth, add them in now.
- Blend the mixture until smooth and creamy, ensuring all ingredients are well incorporated.
- Taste Test (Optional): If you want to ensure it’s dog-approved, you can taste a small spoonful yourself! Just remember, it’s meant for your pup.
- Pour into Molds:
- Pour the mixture into silicone molds, ice cube trays, or paper cups. If you’re using cups, you can insert a dog-friendly treat stick for a fun pop.
- Freeze: Place the molds or trays in the freezer. Allow the dog ice cream to freeze for at least 4-6 hours, or until solid.
- Serve: Once frozen, remove the dog ice cream from the molds. If you’re using a tray, you can run warm water over the bottom for a few seconds to help release the ice cream. Serve it to your dog in small portions, and watch them enjoy!
- Storage: Store any leftovers in an airtight container in the freezer for up to 2 weeks. Just be sure to give your pup a small portion at a time to avoid any tummy upset.
Enjoy this refreshing treat with your furry friend!
Dog Ice Cream Recipe Tips
To ensure your homemade dog ice cream turns out perfectly and is safe for your furry friend, consider the following tips:
- Choose Dog-Safe Ingredients: Always verify that the ingredients you’re using are safe for dogs. Avoid items that can be harmful, such as chocolate, grapes, raisins, and anything containing xylitol.
- Check for Allergies: If your dog has never tried a specific ingredient before, introduce it slowly and monitor for any signs of allergies or intolerance.
- Adjust Sweetness: Dogs have different taste preferences than humans. You may want to limit sweet fruits like bananas or berries if your dog doesn’t enjoy them. You can also add a bit of water or broth to adjust the consistency if the mixture is too thick.
- Experiment with Flavors: Don’t hesitate to mix and match different ingredients to find your dog’s favorite flavor combination. Try adding pureed sweet potatoes, applesauce, or even pureed carrots for a nutritious twist.
- Use Silicone Molds: Silicone molds are easy to work with and make for fun shapes that your dog will enjoy. Plus, they help in removing the ice cream easily once it’s frozen.
- Serving Size: Serve the dog ice cream in moderation. Treats should only make up a small portion of your dog’s daily caloric intake to prevent obesity and digestive issues.
- Freshness: Always use fresh ingredients. If you use fruits, make sure they are ripe and free from any bruises or mold.
- Storage: For longer storage, keep the ice cream in an airtight container. If you notice any changes in texture or smell, it’s best to discard it.
- Supervision: When serving the ice cream, supervise your dog to ensure they enjoy it safely. Some dogs may eat too quickly, which can lead to choking or upset stomach.
- Have Fun: Making dog ice cream can be a fun activity! Involve your family, and let your dog enjoy the process by letting them lick the spoon or bowl after you’re done.
These tips will help you create a delicious and safe dog ice cream treat that your furry friend will love!

Dog Ice Cream Recipe
Equipment
- Mixing Bowl or Blender To combine the ingredients smoothly. A blender is ideal for achieving a creamy consistency.
- Measuring Cups and Spoons: For accurately measuring ingredients like yogurt, peanut butter, and fruits.
- Silicone Molds or Ice Cube Trays To shape the ice cream into fun pops or cubes for easy serving.
- Spatula: For scraping down the sides of the bowl or blender and ensuring all ingredients are well mixed.
- Spoon or Scoop For filling the molds with the mixture.
- Freezer To freeze the dog ice cream until solid.
- Serving Dish To present the ice cream to your dog once it's ready.
Ingredients
- 1 cup Unsweetened Plain Yogurt
- 1/4 cup Peanut Butter
- 1 mashed Ripe Banana
Optional Toppings
- 1/4 cup Pumpkin Puree
- 1/4 cup Low-Sodium Chicken Broth
Instructions
- In a blender, combine 1 cup of unsweetened yogurt, 1/4 cup of xylitol-free peanut butter, and 1 mashed banana until smooth. Add any optional ingredients if desired.
- Transfer the mixture into silicone molds or ice cube trays.
- Place the molds in the freezer for at least 4 to 6 hours, or until solid.
- Once frozen, remove the ice cream from the molds and serve small portions to your dog.
- Keep any leftovers in an airtight container in the freezer for up to 2 weeks.
Notes
Conclusion
Now that you have a quick and easy dog ice cream recipe at your fingertips, it’s time to get creative in the kitchen! We encourage you to try this delightful treat for your furry friend and share your experiences. Whether your dog enjoys classic flavors or you experiment with unique combinations, homemade dog ice cream is sure to bring joy to your pup’s day.
Making treats for your dog not only shows your love and care but also strengthens the bond between you and your pet. There’s something incredibly rewarding about watching them enjoy a treat that you’ve prepared with your own hands. So, grab your ingredients, get blending, and have fun creating these tasty, tail-wagging delights! We’d love to hear about your adventures in dog ice cream-making, so don’t hesitate to share your favorite flavors and tips!

Hi, I’m Katelyn Williams, the expert behind Ninjacreamiicecream.com. With a deep passion for creating delectable ice cream recipes, I’m here to share my love for all things ice cream. I earned my Bachelor’s degree from Louisiana State University, and since then, I’ve been dedicated to perfecting the art of ice cream making. From classic flavors to innovative creations, my goal is to inspire you to make delicious and creamy treats at home effortlessly. Join me for the best recipes, tips, and techniques to elevate your ice cream game and indulge in delightful frozen desserts!


