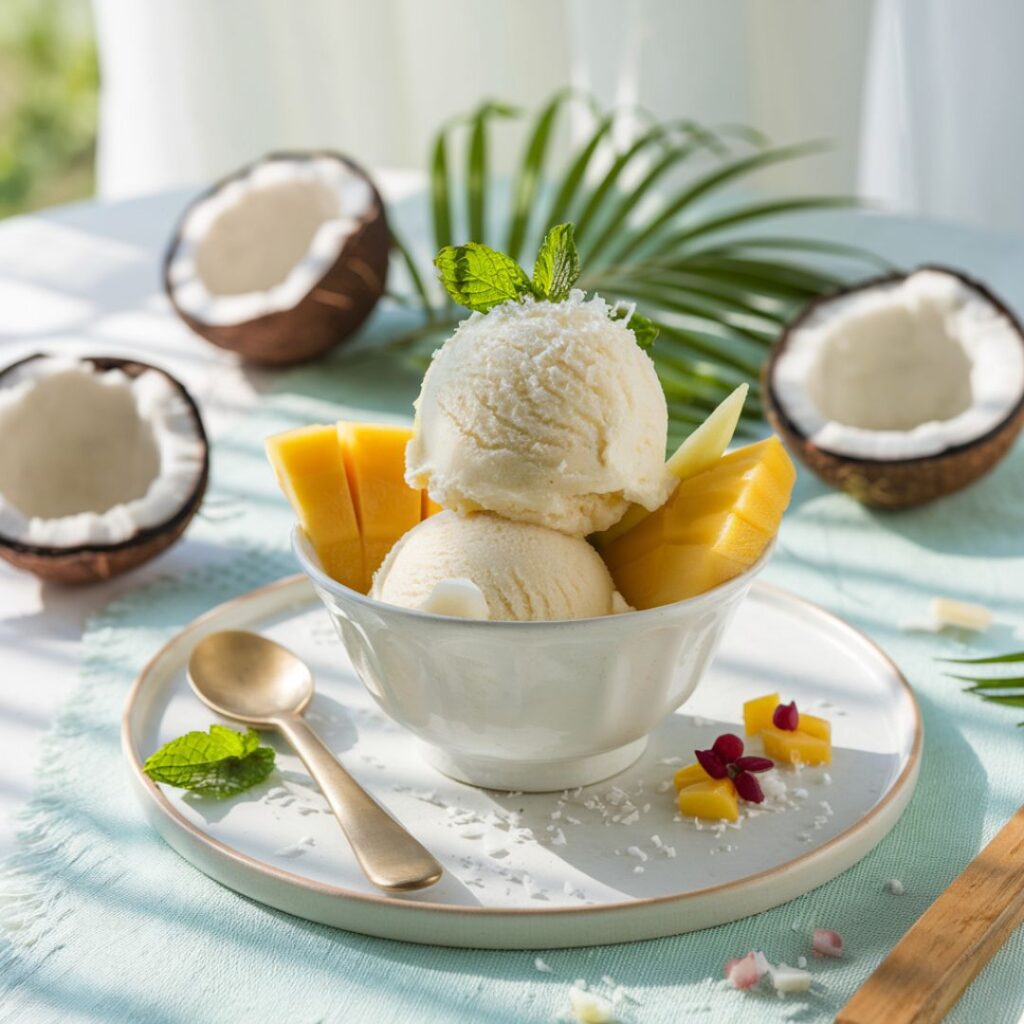
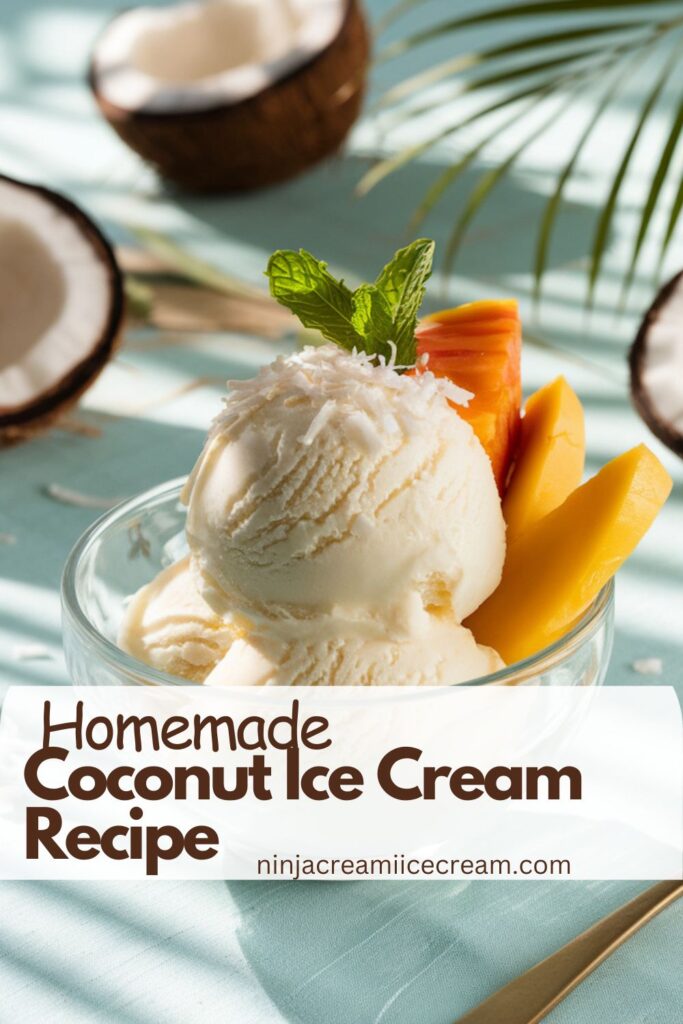
Coconut Ice Cream is a refreshing and creamy dessert that perfectly captures tropical flavors in every scoop. With its rich, velvety texture and subtle coconut sweetness, this homemade treat is ideal for warm weather or anyone craving a light, dairy-free option. Made with just a handful of simple, natural ingredients, this recipe offers a healthier alternative to store-bought ice cream, free of artificial additives and preservatives. Whether you’re a coconut lover or just looking for a fun dessert to try, this easy recipe will deliver a tropical escape right at home.
Disclosure: This post may contain affiliate links. As an Amazon Associate, I earn from qualifying purchases. Read more.
Coconut Ice Cream Recipe
Ingridents
- 2 cans of full-fat coconut milk (or 3-4 cups of fresh coconut milk for a creamier texture)
- ½ cup of sugar (or honey, maple syrup, or your preferred sweetener)
- 1 teaspoon vanilla extract (optional, for added flavor)
- Pinch of salt (to enhance sweetness)
- ½ cup shredded coconut (optional, for extra texture)
- 1-2 tablespoons coconut cream (optional, for a richer flavor)
Step-by-Step Instructions
1. Preparing the Coconut Base
- In a medium saucepan, combine 2 cans of coconut milk, ½ cup of sugar, and 1 teaspoon of vanilla extract (if using).
- Heat the mixture over medium heat, stirring constantly until the sugar dissolves completely.
- Remove from heat and let it cool slightly.
Tips:
- If you prefer a less sweet ice cream, reduce the sugar to ¼ cup, or substitute it with honey or maple syrup.
- For a richer texture, add 1-2 tablespoons of coconut cream.
- If you want a stronger coconut flavor, consider adding a few drops of coconut extract.
2. Chilling the Mixture
- Once the mixture has cooled, transfer it to a bowl and cover it with plastic wrap.
- Place the bowl in the refrigerator for at least 2-4 hours, or overnight, to chill. This helps the flavors blend and ensures the base is cold enough for freezing.
3. Freezing the Ice Cream
- Ice Cream Maker Method: Pour the chilled mixture into your ice cream maker and churn according to the manufacturer’s instructions (usually around 20-30 minutes). Once it reaches a soft-serve consistency, transfer it to a container and freeze for at least 2 hours to firm up.
- No-Churn Method: Pour the mixture into a shallow, freezer-safe dish. Freeze for 30 minutes, then stir the mixture to break up ice crystals. Repeat this process every 30 minutes for about 2-3 hours, or until the ice cream is creamy and fully frozen.
4. Adding Mix-Ins
- If you want to add shredded coconut, chocolate chips, or any other mix-ins, fold them into the ice cream base just before transferring it to the freezer.
- For a more customized flavor, try adding chopped fruit (like mango or pineapple), nuts, or even a swirl of caramel or chocolate sauce.
Suggestions:
- For extra texture, toast the shredded coconut before mixing it in.
- Create a tropical twist by adding crushed macadamia nuts or lime zest for a zesty flavor pop.
Directions
- Prepare the Coconut Base
- In a medium saucepan, combine 2 cans of coconut milk, ½ cup of sugar (or preferred sweetener), and 1 teaspoon of vanilla extract (optional).
- Heat over medium heat, stirring constantly until the sugar has completely dissolved.
- Remove from heat and let the mixture cool slightly.
- Chill the Mixture
- Pour the coconut mixture into a bowl, cover with plastic wrap, and refrigerate for at least 2-4 hours or overnight. Chilling is crucial for achieving a creamy texture when freezing.
- Freeze the Ice Cream
- Ice Cream Maker Method: Pour the chilled mixture into an ice cream maker and churn for about 20-30 minutes, or until the mixture reaches a soft-serve consistency. Transfer to a container and freeze for another 2 hours to firm up.
- No-Churn Method: Pour the mixture into a shallow, freezer-safe dish. Freeze for 30 minutes, then stir or whisk to break up ice crystals. Repeat every 30 minutes for about 2-3 hours, until fully frozen and creamy.
- Add Mix-Ins (Optional)
- Before transferring the ice cream to the freezer, fold in shredded coconut, chocolate chips, or your favorite mix-ins like fruit or nuts. You can also top the ice cream with toasted coconut flakes for extra flavor and texture.
- Serve and Enjoy
- Scoop the homemade coconut ice cream into bowls or cones, and garnish with toppings like toasted coconut, fresh fruit, or a drizzle of chocolate. Enjoy your creamy, tropical dessert!
Coconut Ice Cream Recipe Tips
- Use Full-Fat Coconut Milk
- For the creamiest texture, always use full-fat coconut milk or coconut cream. Light coconut milk may result in a thinner, icier texture.
- Adjust the Sweetness
- Taste the mixture before chilling to adjust the sweetness. You can use honey, agave, maple syrup, or even coconut sugar for different flavor profiles. For a subtle sweetness, reduce the sugar by ¼ cup.
- Chill the Base Properly
- Make sure the coconut mixture is completely chilled before freezing. This helps the ice cream churn more smoothly and results in a creamier texture.
- Add Mix-Ins at the Right Time
- Stir in shredded coconut, chocolate chips, or fruits only after the ice cream has thickened (for ice cream makers) or just before the final freezing step (for no-churn methods). This ensures even distribution and texture.
- Toasting Coconut for Extra Flavor
- Toast shredded coconut in a dry pan over medium heat for a few minutes until golden brown. This adds a rich, nutty flavor that enhances the coconut profile.
- Prevent Ice Crystals
- For no-churn ice cream, whisk or blend the mixture every 30 minutes during the freezing process to break up ice crystals and create a smoother consistency.
- Add Coconut Extract for a Stronger Flavor
- If you want an intense coconut flavor, add ½ teaspoon of coconut extract to the mixture along with the vanilla.
- Storage Tips
- Store the ice cream in an airtight container to prevent freezer burn. Press a piece of plastic wrap directly onto the surface before sealing to avoid ice crystals.
- Let the Ice Cream Soften Before Serving
- If the ice cream becomes too firm, let it sit at room temperature for about 5-10 minutes before scooping for easier serving.
- Experiment with Flavors
- Try adding tropical fruits like mango or pineapple, a swirl of passion fruit puree, or a pinch of sea salt for a unique twist on the classic coconut flavor.

Coconut Ice Cream Recipe
Equipment
- Medium Saucepan: For heating the coconut milk and dissolving the sugar
- Mixing bowl To combine the coconut base ingredients and chill in the refrigerator
- Whisk or Spoon - For stirring the mixture until well combined
- Ice Cream Maker For churning the ice cream, if you choose the ice cream maker method
- Shallow Freezer-Safe Dish For the no-churn method or transferring the churned ice cream for freezing
Ingredients
- 2 cans coconut milk
- ½ cup granulated sugar
- 1 teaspoon vanilla extract
- ½ cup shredded coconut
- 1-2 tablespoons coconut cream
Optional Toppings
- ½ cup chocolate chips
- ½ cup chopped nuts
- ½ cup fruit mix-ins
Instructions
- Make the Base: In a saucepan, heat 2 cans of coconut milk, ½ cup of sugar, and 1 teaspoon of vanilla extract over medium heat until the sugar dissolves. Let it cool.
- Chill: Pour the mixture into a bowl, cover with plastic wrap, and refrigerate for 2-4 hours or overnight.
- Ice Cream Maker: Churn in an ice cream maker for 20-30 minutes, then freeze for 2 hours.
- Add Mix-Ins: Fold in optional ingredients like ½ cup of shredded coconut or chocolate chips after churning or before final freezing.
- Serve: Scoop the ice cream into bowls or cones, and enjoy with your favorite toppings!
Notes
-
Coconut Milk Selection:
- Always choose full-fat coconut milk or coconut cream for the best creamy texture. Light coconut milk may result in an icier consistency.
-
Chilling Time:
- Allow enough time for the mixture to chill thoroughly before freezing. This step is crucial for achieving a smooth and creamy ice cream.
-
Churning Options:
- Using an ice cream maker yields a smoother texture. If you don’t have one, the no-churn method works well but requires more attention to stir every 30 minutes.
-
Mix-Ins:
- Feel free to customize with various mix-ins. Add them at the right stage (after churning or before final freezing) for even distribution.
-
Storage:
- Store leftover ice cream in an airtight container to prevent freezer burn. For best results, consume within a week for optimal freshness.
-
Softening Before Serving:
- If the ice cream becomes too hard, let it sit at room temperature for about 5-10 minutes before scooping for easier serving.
-
Dietary Considerations:
- This recipe is dairy-free and can be adjusted for different dietary needs by using alternative sweeteners or add-ins.
-
Experimentation:
- Don’t hesitate to experiment with flavors! Consider adding spices like cinnamon or nutmeg, or incorporating tropical fruits for a unique twist.
Conclusion
This simple and delicious Coconut Ice Cream recipe is a perfect way to indulge in a refreshing, homemade dessert. With its creamy texture and rich tropical flavors, it’s sure to become a favorite treat for coconut lovers and ice cream enthusiasts alike. Whether you stick to the classic recipe or get creative with mix-ins and flavor variations, making this ice cream at home is easy and fun. Give it a try and enjoy the taste of the tropics from your own kitchen. Don’t forget to experiment with your own unique additions and share your experience—your next favorite flavor might be just a scoop away!

Hi, I’m Katelyn Williams, the expert behind Ninjacreamiicecream.com. With a deep passion for creating delectable ice cream recipes, I’m here to share my love for all things ice cream. I earned my Bachelor’s degree from Louisiana State University, and since then, I’ve been dedicated to perfecting the art of ice cream making. From classic flavors to innovative creations, my goal is to inspire you to make delicious and creamy treats at home effortlessly. Join me for the best recipes, tips, and techniques to elevate your ice cream game and indulge in delightful frozen desserts!


