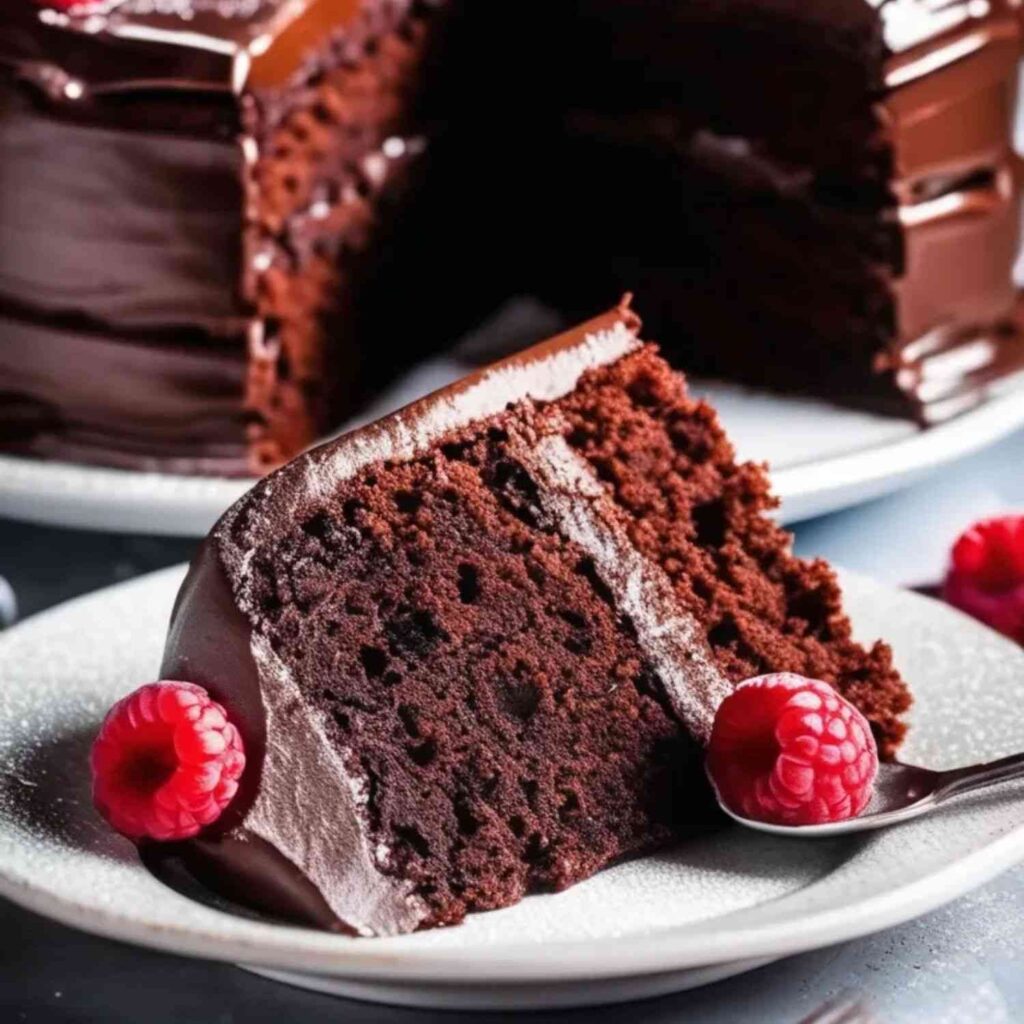
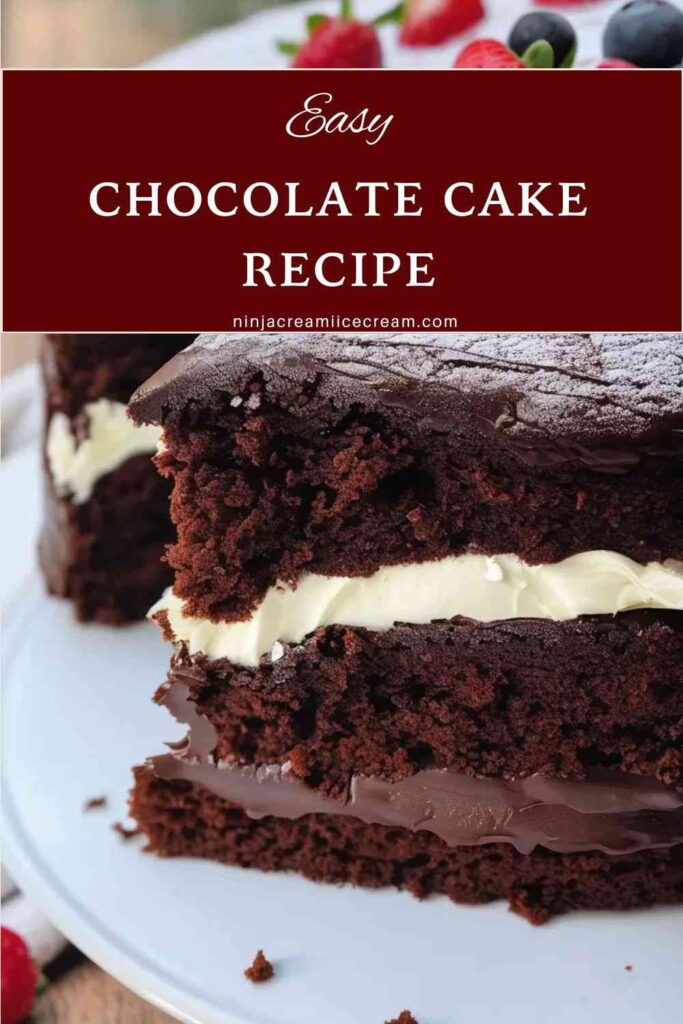
Chocolate Cake is a timeless dessert that perfectly balances rich flavor and moist texture, making it a favorite for all occasions. Whether you’re celebrating a birthday, hosting a festive gathering, or simply indulging in a casual treat, this cake is a versatile delight that never fails to impress. The recipe is straightforward, requiring simple ingredients and easy steps, yet it delivers an irresistibly delicious result that will leave everyone asking for seconds. Perfect for both novice and experienced bakers, this Chocolate Cake is a must-try for anyone who loves a sweet, chocolatey indulgence.
Disclosure: This post may contain affiliate links. As an Amazon Associate, I earn from qualifying purchases. Read more.
Chocolate Cake Recipe
For the Cake Batter:
- All-Purpose Flour (2 cups / 250g)
- Provides the structure for the cake. Sift it for a smoother batter and lighter texture.
- Granulated Sugar (2 cups / 400g)
- Adds sweetness and keeps the cake moist.
- Unsweetened Cocoa Powder (¾ cup / 75g)
- Gives the cake its rich chocolate flavor. Use high-quality cocoa for the best results.
- Baking Powder (1½ tsp)
- Helps the cake rise and achieve a light, airy texture.
- Baking Soda (1½ tsp)
- Works with baking powder for leavening and enhances the cocoa flavor.
- Salt (1 tsp)
- Balances the sweetness and enhances the overall flavor.
- Eggs (2 large)
- Bind the ingredients together and add richness to the cake.
- Milk (1 cup / 240ml)
- Adds moisture and softness. Whole milk works best, but alternatives like almond or oat milk can be used.
- Vegetable Oil (½ cup / 120ml)
- Keeps the cake tender and moist. Canola oil or melted coconut oil can be substituted.
- Vanilla Extract (2 tsp)
- Adds a touch of aromatic sweetness that enhances the chocolate flavor.
- Boiling Water (1 cup / 240ml)
- Ensures the batter is smooth and helps bloom the cocoa for a deeper chocolate flavor.
For the Chocolate Frosting (Optional):
- Unsalted Butter (½ cup / 115g, softened)
- Forms the creamy base for the frosting.
- Powdered Sugar (2½ cups / 300g)
- Sweetens the frosting and gives it a smooth, velvety texture.
- Unsweetened Cocoa Powder (½ cup / 50g)
- Adds the chocolatey richness to the frosting.
- Milk or Heavy Cream (3–4 tbsp)
- Adjusts the frosting’s consistency, making it spreadable.
- Vanilla Extract (1 tsp)
- Enhances the chocolate flavor and adds warmth to the frosting.
Optional Add-Ins and Toppings:
- Chocolate Chips or Chunks (½ cup) – Fold into the batter for extra bursts of chocolate.
- Chopped Nuts (½ cup) – Add crunch and texture, such as walnuts or pecans.
- Sprinkles, Fresh Berries, or Shaved Chocolate – For decorative topping.
All these ingredients come together to create a luscious and indulgent chocolate cake perfect for any occasion. Adjust the quantities slightly based on personal taste preferences!
Instructions for Chocolate Cake Recipe
Step 1: Preheat the Oven and Prepare Pans
- Preheat your oven to 350°F (175°C).
- Grease two 9-inch round cake pans with butter or oil. For added ease, line the bottoms with parchment paper and lightly dust the sides with flour. This will ensure your cakes come out cleanly after baking.
Step 2: Mix the Dry Ingredients
- In a large mixing bowl, sift together 2 cups of all-purpose flour, 2 cups of granulated sugar, ¾ cup of unsweetened cocoa powder, 1½ teaspoons of baking powder, 1½ teaspoons of baking soda, and 1 teaspoon of salt.
- Sifting the dry ingredients helps to break up clumps, ensuring a smooth and uniform batter.
Step 3: Combine the Wet Ingredients
- In another bowl, crack 2 large eggs and whisk them lightly.
- Add 1 cup of milk, ½ cup of vegetable oil, and 2 teaspoons of vanilla extract to the eggs. Mix well until everything is fully incorporated.
- The oil helps to keep the cake moist, while the milk adds tenderness. The eggs act as a binder for the wet and dry ingredients.
Step 4: Mix the Wet and Dry Ingredients
- Gradually add the wet ingredients into the dry ingredients, mixing them together until just combined.
- It’s important not to overmix, as this can cause the cake to become dense. Use a spatula or a hand whisk to gently fold the ingredients.
Step 5: Add the Boiling Water
- Once the batter is combined, carefully stir in 1 cup of boiling water.
- The boiling water will make the batter thinner, but it helps to create a super moist cake with a fudgy texture. Don’t worry if the batter looks runny – it’s meant to be that way!
Step 6: Pour the Batter into Pans
- Divide the batter evenly between the two prepared cake pans. Use a spatula to spread the batter out evenly in each pan.
- The batter will rise quite a bit, so don’t fill the pans more than halfway to ensure the cakes have enough space to expand.
Step 7: Bake the Cake
- Place the pans in the preheated oven and bake for 30–35 minutes.
- To check for doneness, insert a toothpick or skewer into the center of the cakes. If it comes out clean or with just a few crumbs, the cakes are done. If the toothpick comes out with batter, bake for an additional 5–10 minutes and check again.
Step 8: Cool the Cakes
- Remove the cakes from the oven and let them cool in the pans for about 10 minutes.
- After 10 minutes, gently run a knife around the edges of the pans to loosen the cakes. Carefully flip the pans over onto a wire rack to cool completely.
- Let the cakes cool completely before frosting to prevent the frosting from melting.
Step 9: Prepare the Frosting (Optional)
- While the cakes are cooling, prepare the chocolate frosting.
- In a medium bowl, beat ½ cup of softened unsalted butter with 2½ cups of powdered sugar and ½ cup of unsweetened cocoa powder until smooth and creamy.
- Gradually add 3–4 tablespoons of milk or heavy cream, adjusting the amount until the frosting reaches your desired consistency.
- Stir in 1 teaspoon of vanilla extract to enhance the flavor.
Step 10: Frost the Cake
- Once the cakes are completely cool, place one layer of the cake on a serving platter or cake stand.
- Spread a generous amount of frosting on top, smoothing it out with a spatula.
- Place the second layer of cake on top of the frosted layer and gently press it down.
- Frost the top and sides of the entire cake with the remaining frosting, covering it evenly.
- If desired, add decorative toppings like sprinkles, fresh berries, or chocolate shavings.
Step 11: Serve and Enjoy
- Slice the cake into portions and serve. Enjoy the rich, moist texture of the chocolate cake paired with the creamy frosting.
- This cake can be enjoyed immediately or stored for later (see storage tips below).
Storage Tips:
- If you have leftover cake, store it in an airtight container at room temperature for up to 3 days. For longer storage, refrigerate the cake for up to 5 days.
- You can also freeze the cake for up to 3 months. To freeze, wrap the cake layers tightly in plastic wrap and then in aluminum foil before freezing. Let thaw at room temperature before serving.
This detailed process ensures you’ll have a decadent, moist, and perfectly frosted chocolate cake to enjoy at any celebration!

Chocolate Cake Recipe
Equipment
- Oven – For baking the cake layers.
- 2 (9-inch) Round Cake Pans: For baking the cake layers.
- Mixing Bowls: One for dry ingredients and another for wet ingredients.
- Whisk or electric mixer To mix the wet ingredients and combine the dry and wet ingredients.
- Sifter or Fine Mesh Strainer: To sift the dry ingredients, especially cocoa powder, flour, and baking powder.
- Spatula: For folding ingredients and spreading the batter evenly.
- Measuring Cups and Spoons: For accurate measurement of ingredients.
- Toothpick or Cake Tester – To check if the cake is fully baked.
- Cooling Rack For cooling the cakes after baking.
- Butter Knife or Offset Spatula: For frosting and spreading the icing smoothly on the cake.
- Parchment Paper (Optional): For lining the cake pans to prevent sticking.
Ingredients
- 2 cups all-purpose flour
- 2 cups granulated sugar
- ¾ cup unsweetened cocoa powder
- 1½ teaspoons baking powder
- 1½ teaspoons baking soda
- 1 teaspoon salt
- 2 large eggs
- 1 cup milk
- ½ cup vegetable oil
- 2 teasoons vanilla extract
- 1 cup boiling water
Optional for frosting:
- ½ cup unsalted butter, softened
- 2½ cups powdered sugar
- ½ cup unsweetened cocoa powder
- 3–4 tablespoons milk or heavy cream
- 1 teaspoon vanilla extract
Instructions
- Prepare the Oven and Pans:Preheat your oven to 350°F (175°C). Grease two 9-inch round cake pans, line the bottoms with parchment paper, and dust the sides with flour to prevent sticking.
- Mix Dry Ingredients:In a large bowl, sift together the flour, sugar, cocoa powder, baking powder, baking soda, and salt until well combined.
- Combine Wet Ingredients:In a separate bowl, whisk the eggs, milk, vegetable oil, and vanilla extract together until smooth. Gradually add the wet ingredients into the dry ingredients and stir until just combined.
- Add Boiling Water:Carefully stir in the boiling water to the batter. The mixture will be thin, but that’s normal and ensures a moist, fudgy cake.
- Bake and Cool:Pour the batter evenly into the prepared pans. Bake for 30–35 minutes, or until a toothpick inserted into the center comes out clean. Let the cakes cool in the pans for 10 minutes, then transfer to a wire rack to cool completely before frosting.
Notes
-
Accurate Measurements:
Ensure that you measure your ingredients accurately. Too much flour or cocoa powder can affect the texture and flavor of the cake. Using a kitchen scale for precise measurements is recommended for best results. -
Use Room Temperature Ingredients:
For a smooth batter, it’s essential that your eggs, milk, and other wet ingredients are at room temperature. Cold ingredients can cause the batter to seize up and lead to uneven baking. -
Sift Dry Ingredients:
Sifting cocoa powder, flour, and baking soda ensures a lump-free mixture and helps evenly distribute the dry ingredients, which results in a lighter, fluffier cake. -
Don’t Overmix the Batter:
Once the wet and dry ingredients are combined, mix only until just incorporated. Overmixing can cause the cake to become dense and heavy. -
Boiling Water:
The addition of boiling water makes the batter thin but ensures a moist cake. Be sure to carefully add the hot water into the batter and stir well. -
Baking Time May Vary:
Oven temperatures may vary, so start checking the cake with a toothpick around the 30-minute mark. If it comes out clean or with a few crumbs, the cake is done. Don’t overbake, as this can dry out the cake. -
Let the Cake Cool:
Allow the cakes to cool in the pans for 10 minutes before transferring them to a cooling rack. This helps prevent them from breaking. Allow the cakes to cool completely before frosting. -
Frosting Options:
The frosting is optional but highly recommended for extra flavor and richness. Feel free to customize the frosting—cream cheese frosting, whipped cream, or a ganache topping are great alternatives to traditional buttercream. -
Storage:
Store leftover cake in an airtight container at room temperature for up to 3 days, or refrigerate it to extend freshness for up to a week. For longer storage, wrap the cake tightly in plastic wrap and freeze for up to 2 months. -
Customizing the Cake:
Feel free to add mix-ins like chocolate chips, nuts, or even a splash of coffee to enhance the chocolate flavor. You can also try adding a layer of fruit preserves or cream between the layers for a unique twist.
Tips for Making the Perfect Chocolate Cake
- Use Room Temperature Ingredients:
Make sure your eggs, milk, and other wet ingredients are at room temperature before mixing. This helps them combine more easily with the dry ingredients, resulting in a smoother batter and a more even texture. - Measure Ingredients Correctly:
When measuring flour, be sure to spoon it into the measuring cup and level it off with a knife. Scooping directly from the flour bag can lead to too much flour in the batter, which may result in a dense cake. - Sift Dry Ingredients:
Sifting your cocoa powder, flour, baking powder, and baking soda together will eliminate any lumps and ensure an even distribution of leavening agents, which leads to a fluffier cake. - Don’t Overmix the Batter:
Once you combine the wet and dry ingredients, mix only until just combined. Overmixing can develop the gluten in the flour, leading to a dense and chewy texture rather than a light and fluffy one. - Use High-Quality Cocoa Powder:
The flavor of your cake relies heavily on the quality of cocoa powder. Opt for high-quality, unsweetened cocoa powder for the best flavor, and avoid using sweetened cocoa, which may affect the cake’s texture and sweetness. - Boiling Water Trick:
Adding boiling water to the batter may seem unusual, but it enhances the cocoa flavor and results in a moist, tender cake. Be sure to stir carefully to avoid splashing. - Don’t Skip the Cooling Time:
Allow the cakes to cool in the pans for about 10 minutes before removing them. This makes it easier to transfer them without breaking or sticking to the pans. Let them cool completely before frosting to prevent the frosting from melting. - Make the Frosting in Advance:
You can make the frosting ahead of time and store it in the fridge for up to a week. Before using, let it come to room temperature and give it a quick stir to bring it back to a spreadable consistency. - Keep the Cake Moist:
If you’re not frosting the cake immediately or want to keep it extra moist, cover it loosely with plastic wrap or place it in an airtight container after it has cooled. This will help retain moisture and prevent the cake from drying out. - Customize the Frosting:
Experiment with different frostings! Try a cream cheese frosting for a tangy contrast, a ganache topping for a rich finish, or even a whipped cream frosting for a lighter, fluffier option. - Decorate Creatively:
Get creative with toppings and decorations! You can add chocolate chips, sprinkles, fresh berries, or even a drizzle of melted chocolate. If you’re feeling fancy, you can pipe the frosting into decorative swirls or flowers. - Make It a Layer Cake or Cupcakes:
This recipe is versatile and can easily be turned into a layer cake or cupcakes. If making cupcakes, line a 12-cup muffin tin with cupcake liners and bake at the same temperature for about 18-20 minutes.
By following these tips, you’ll ensure a beautifully baked, rich, and delicious chocolate cake every time!
Conclusion
This Chocolate Cake recipe is a true crowd-pleaser, combining simple ingredients with easy steps to create a rich, moist, and indulgent dessert. Whether you’re celebrating a special occasion or enjoying a sweet treat on a quiet afternoon, this cake will surely satisfy any chocolate craving. The versatility of the recipe makes it perfect for any event, from birthdays and holidays to casual gatherings and bake sales.
The beauty of this recipe lies in its balance between simplicity and deliciousness. With a few basic pantry staples, you can make a cake that rivals professional bakery creations. The addition of boiling water enhances the chocolate flavor and creates a tender texture, while the optional frosting elevates the cake to another level of decadence.
Baking this Chocolate Cake is an enjoyable experience that guarantees a delightful result. By following the instructions and using the helpful tips provided, you can create a dessert that everyone will rave about. Whether you’re a novice baker or an experienced pro, this recipe offers a perfect combination of ease and flavor that will make you proud every time you serve it.

Hi, I’m Katelyn Williams, the expert behind Ninjacreamiicecream.com. With a deep passion for creating delectable ice cream recipes, I’m here to share my love for all things ice cream. I earned my Bachelor’s degree from Louisiana State University, and since then, I’ve been dedicated to perfecting the art of ice cream making. From classic flavors to innovative creations, my goal is to inspire you to make delicious and creamy treats at home effortlessly. Join me for the best recipes, tips, and techniques to elevate your ice cream game and indulge in delightful frozen desserts!


