
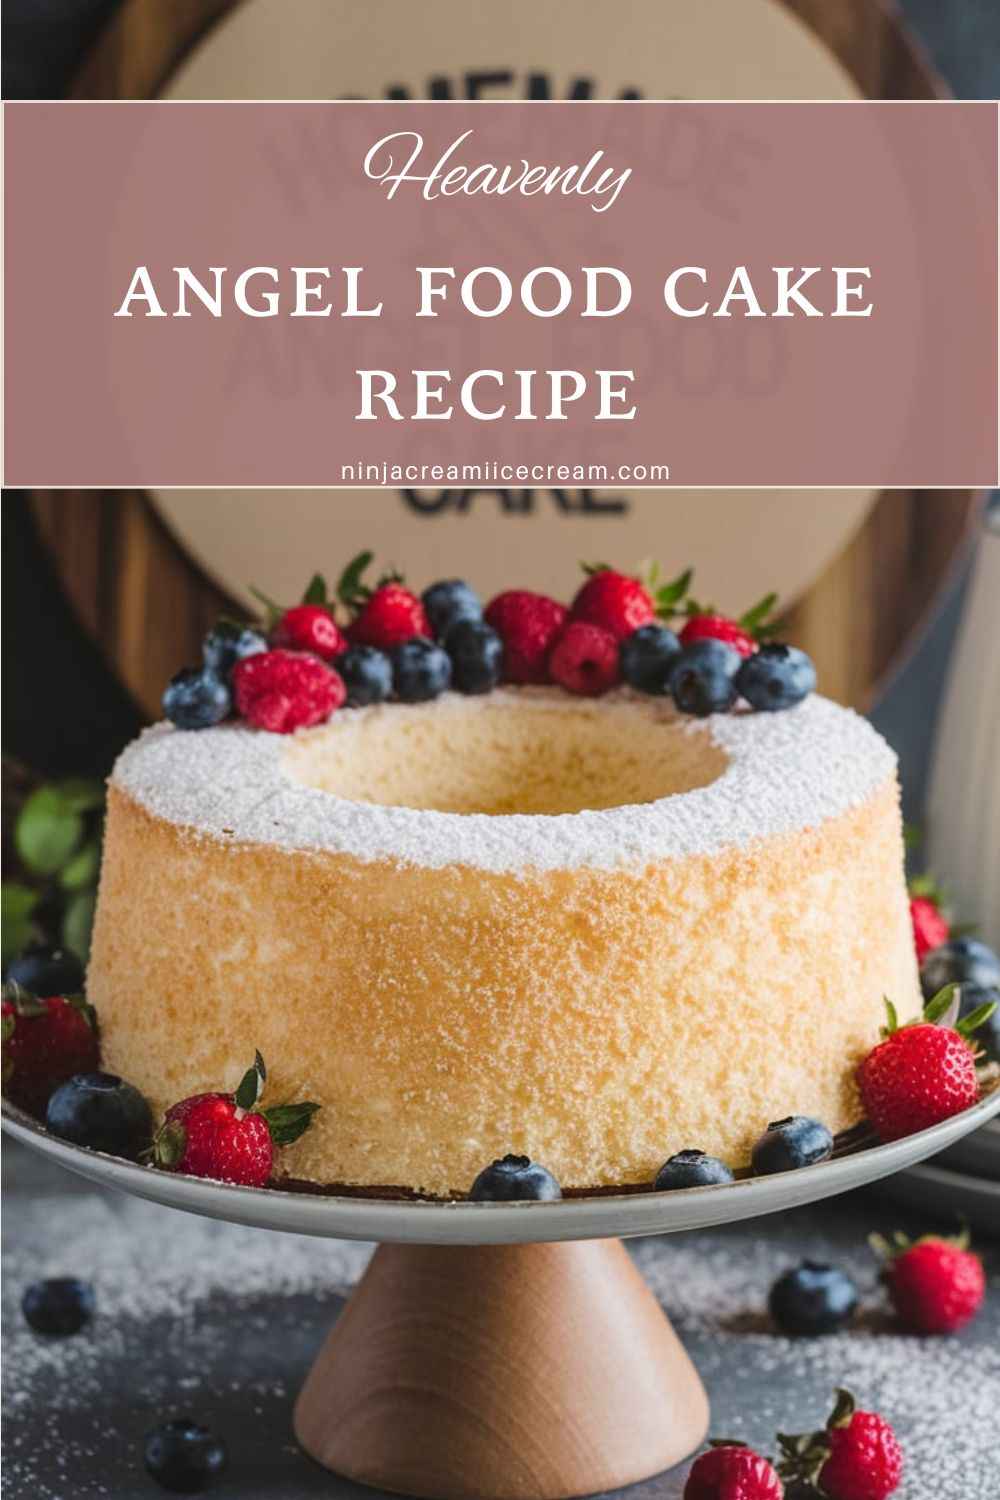
An Angel Food Cake Recipe is the perfect dessert for anyone seeking a light, fluffy, and airy treat. Its delicate texture and subtle sweetness make it a favorite choice for special occasions, summer gatherings, or even as a lighter alternative to more indulgent desserts. Made primarily from egg whites, sugar, flour, and a hint of vanilla, this cake delivers a melt-in-your-mouth experience with every bite. The simplicity of the ingredients allows the cake to shine, offering a clean and refreshing flavor that’s perfect for pairing with fresh berries, whipped cream, or a drizzle of chocolate. Whether you’re hosting a brunch or celebrating a milestone, this cake is sure to impress without being overly rich.
Disclosure: This post may contain affiliate links. As an Amazon Associate, I earn from qualifying purchases. Read more.
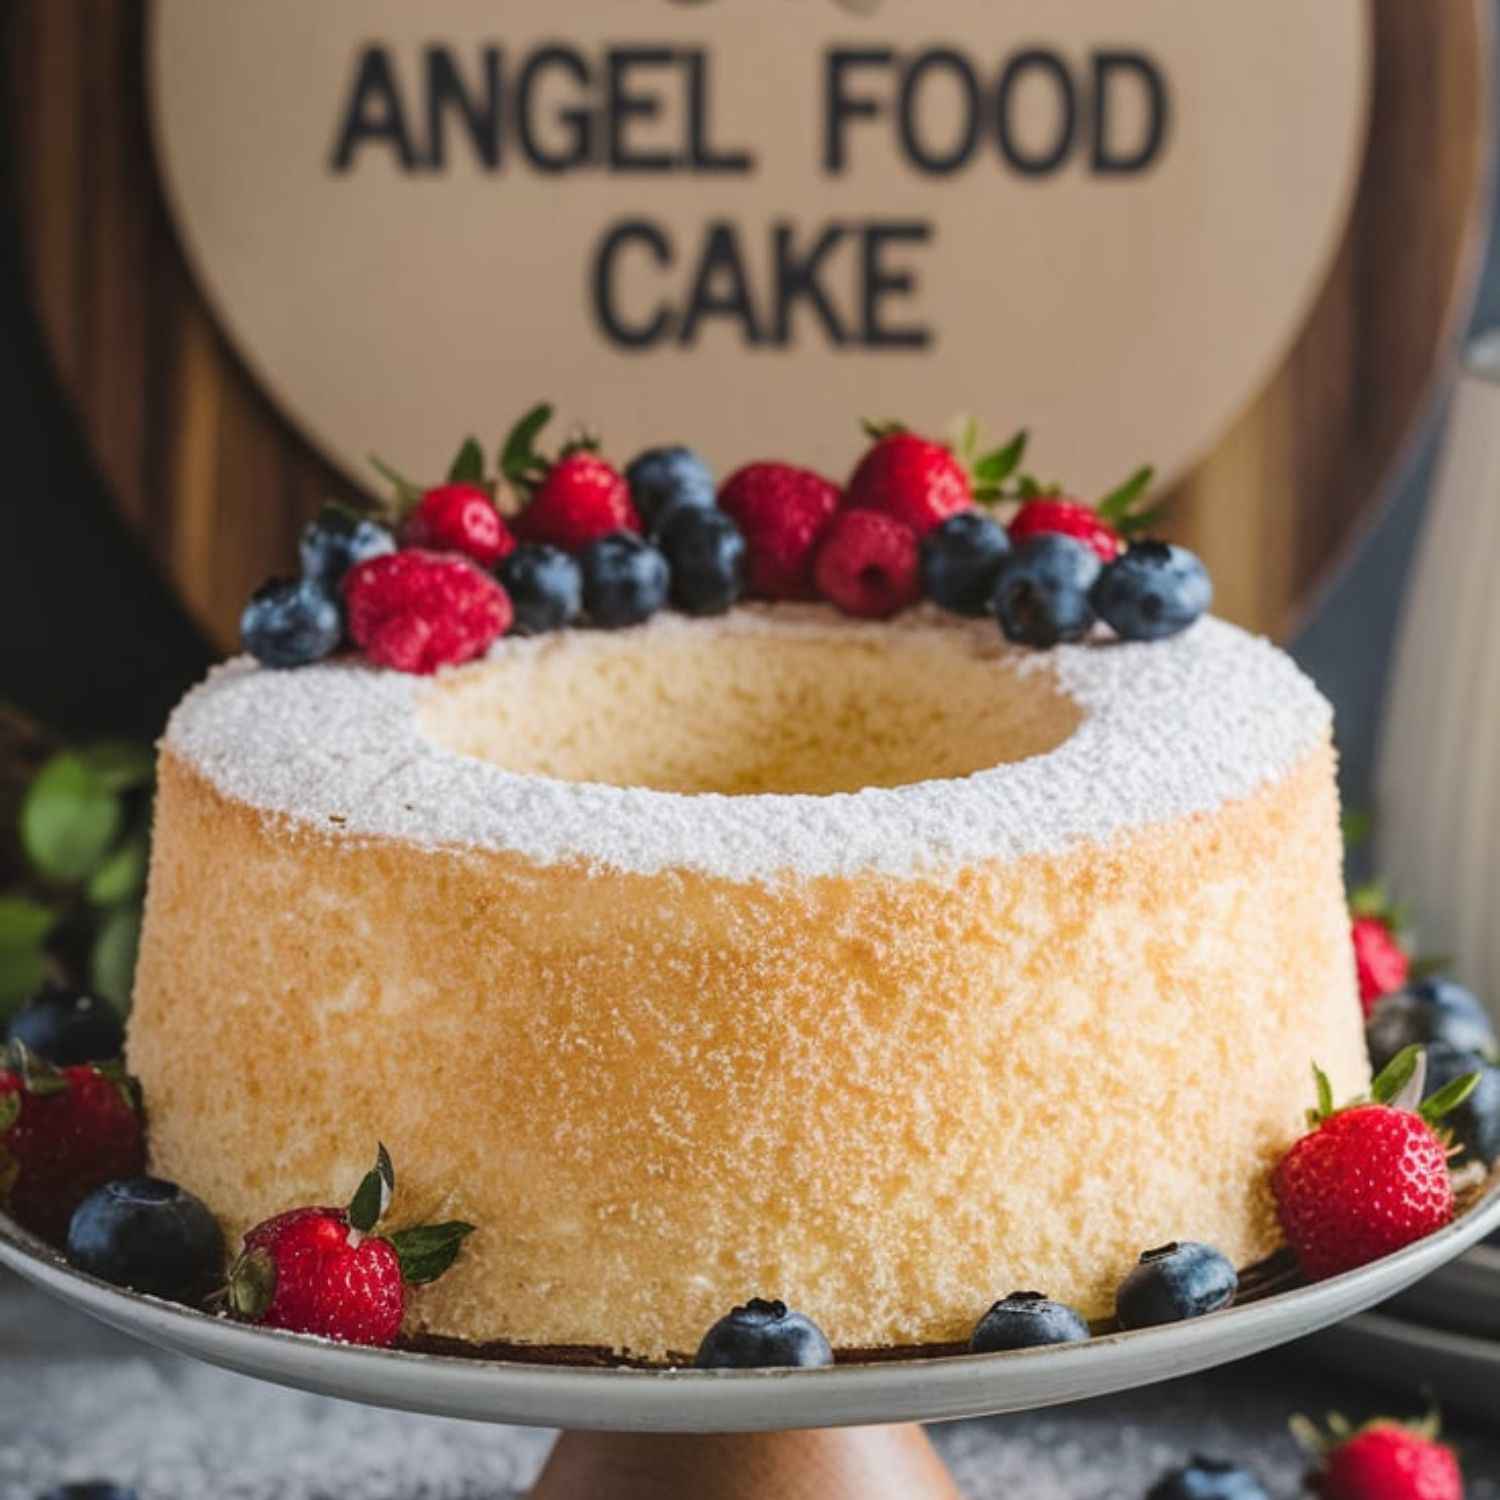
Angel Food Cake Recipe
Ingredients for Angel Food Cake
- Egg Whites (1 cup, about 8 large eggs)
The primary ingredient in Angel Food Cake, egg whites are responsible for its light and airy texture. When whipped, egg whites trap air, creating the cake’s signature fluffy consistency. It’s important to use only the whites and ensure they are free from yolk, as even a small amount of yolk can prevent the whites from reaching stiff peaks. - Powdered Sugar (1 1/2 cups)
Powdered sugar, also known as confectioners’ sugar, is finely ground and mixed with cornstarch to prevent clumping. It helps sweeten the cake without weighing it down, contributing to its smooth texture. Powdered sugar is also easier to incorporate into the egg whites than granulated sugar, ensuring the batter remains light and airy. - Cake Flour (1 cup)
Cake flour has a lower protein content than all-purpose flour, which results in a softer, finer crumb. It’s ideal for Angel Food Cake because it contributes to the delicate texture. If you don’t have cake flour on hand, you can substitute it by sifting all-purpose flour with cornstarch (2 tablespoons of cornstarch per cup of all-purpose flour). - Vanilla Extract (1 teaspoon)
Vanilla extract adds a subtle sweetness and depth of flavor to the cake. Since Angel Food Cake has a simple flavor profile, a splash of vanilla enhances the overall taste, balancing the sweetness without overpowering the light texture. You can also experiment with other extracts like almond or citrus for a different twist. - Cream of Tartar (1/4 teaspoon)
Cream of tartar is an acidic compound that stabilizes egg whites and helps them reach stiff peaks without deflating. It also helps to prevent the whites from over-beating and becoming too dry. A little bit goes a long way, ensuring your cake holds its airy structure during baking. - Salt (1/4 teaspoon)
Salt enhances the flavor of the other ingredients and helps balance the sweetness of the cake. It also contributes to stabilizing the egg whites and ensuring they whip up properly.
Optional Ingredients:
- Fresh Berries (for topping, such as strawberries, raspberries, or blueberries)
Adding fresh berries on top of the Angel Food Cake provides a burst of color and flavor, adding a tart contrast to the sweetness of the cake. They also make the cake more visually appealing. - Whipped Cream or Custard (for serving)
Light and fluffy whipped cream or a silky custard can complement the cake’s texture, making for a delightful treat. These toppings add richness without overwhelming the delicate nature of the cake. - Chocolate Drizzle (optional)
A drizzle of melted chocolate or chocolate ganache adds a rich contrast to the light cake, creating a beautiful and indulgent finish to the dessert.
These simple yet essential ingredients combine to create a perfect Angel Food Cake, ready to be enjoyed at any special event or casual gathering.
Instructions for Angel Food Cake
-
Prepare the Oven and Pan
- Preheat your oven to 350°F (175°C). This is the ideal temperature for baking Angel Food Cake, ensuring it rises properly and develops a golden-brown exterior.
- Prepare the pan: Use a 10-inch tube pan (Angel Food Cake pan). It’s important not to grease the pan. The batter needs to cling to the sides as it rises and greasing it will prevent this from happening. Just leave the pan ungreased for optimal results.
-
Beat the Egg Whites
- In a clean, dry mixing bowl, add egg whites, cream of tartar, and salt. Make sure the bowl and beaters are free from any grease or oil, as this can prevent the egg whites from whipping properly.
- Using an electric mixer, start at a low speed and gradually increase to medium-high. Beat the egg whites until they form soft peaks (the whites should hold their shape, but the peaks should slightly bend over when the beaters are lifted).
- Gradually add powdered sugar, about 1 tablespoon at a time, while continuing to beat. This will help to stabilize the egg whites.
- Once all the sugar is added, continue beating until the egg whites reach stiff peaks. This means that when you lift the beaters, the peaks of the egg whites should stand straight up without collapsing. The mixture should look glossy and smooth.
-
Sift the Dry Ingredients
- In a separate bowl, sift together cake flour and powdered sugar. Sifting is essential to ensure there are no lumps and to incorporate air into the dry ingredients, which helps create a lighter texture in the cake.
- Sift the mixture again after combining to ensure it’s perfectly fine and airy.
-
Fold in the Dry Ingredients
- Gradually fold the sifted flour and sugar mixture into the beaten egg whites. Use a rubber spatula and gently cut through the center of the egg whites, then lift and fold over the mixture. This process should be done slowly and gently to avoid deflating the air in the egg whites. You want to preserve the fluffy texture.
- Fold until the dry ingredients are just incorporated—do not overmix, as that can result in a denser cake.
-
Add Vanilla Extract
- Once the flour mixture is incorporated, gently stir in 1 teaspoon of vanilla extract. This should be done carefully to maintain the light texture of the batter.
-
Transfer the Batter to the Pan
- Pour the batter into the prepared ungreased tube pan. Smooth the top gently with a spatula to even it out.
- It’s important to avoid tapping the pan on the counter, as this can deflate the air in the batter and affect the cake’s rise.
-
Bake the Cake
- Place the pan in the preheated oven and bake for 35-40 minutes, or until the top is golden brown and the cake springs back when lightly pressed.
- You can also test the doneness by inserting a toothpick into the center of the cake; it should come out clean or with just a few dry crumbs. Be careful not to overbake, as this can dry out the cake.
-
Cool the Cake
- Once baked, invert the pan immediately to cool. Inverting the pan helps the cake retain its structure and prevents it from collapsing. Let it cool completely upside down on a wire rack or on the neck of a bottle if your tube pan doesn’t have legs.
- Allow the cake to cool for at least 1 hour. This is crucial to maintain its light, airy texture.
-
Remove the Cake from the Pan
- Once the cake is completely cool, use a knife to gently loosen the edges of the cake from the sides of the pan. Carefully run the knife around the center tube as well.
- Invert the pan and carefully remove the cake, ensuring it doesn’t break apart. If it’s sticking to the bottom of the pan, run the knife around the base to release the cake.
-
Serve the Cake
- Transfer the cake to a serving platter. You can serve the cake as-is, or optionally top with fresh berries, whipped cream, or a drizzle of chocolate for added flavor and decoration.
- Slice using a serrated knife to maintain the delicate texture of the cake.
Enjoy your homemade, light, and fluffy Angel Food Cake! Perfect for any occasion, or just as a treat to satisfy your sweet tooth without the heaviness of traditional cakes.
Angel Food Cake Recipe
Equipment
- Mixing Bowls:
- Electric Mixer or Stand Mixer
- Fine-Mesh Sieve or Sifter
- Spatula:
- Tube Pan (Angel Food Cake Pan)
- Cooling Rack
- Serrated Knife
- Measuring Cups and Spoons:
- Optional: Bottle or Tall Object for Inversion
Ingredients
- 12 large Egg Whites (approximately 1 ½ cups)
- 1 cup Granulated Sugar (divided into two ½ cups)
- 1 cup Powdered Sugar, sifted
- 1 cup Cake Flour, sifted
- 1½ teaspoons Cream of Tartar
- 1½ teaspoons Vanilla Extract
- ¼ teaspoon Salt
Instructions
- Prepare the Ingredients:Preheat your oven to 350°F (175°C). Sift the powdered sugar and cake flour together at least twice to ensure they are well aerated and lump-free. Set aside. Ensure your mixing bowl and whisk are clean, dry, and free of any grease.
- Whip the Egg Whites:In a large mixing bowl, beat the egg whites with an electric mixer on medium speed until frothy. Add cream of tartar and salt, then continue beating until soft peaks form. Gradually add the granulated sugar (½ cup at a time), beating on high speed until stiff, glossy peaks form. Mix in the vanilla extract.
- Incorporate the Dry Ingredients:Sift the powdered sugar and flour mixture over the whipped egg whites in small batches. Gently fold the dry ingredients into the egg whites using a rubber spatula. Be careful not to deflate the batter—fold with light, sweeping motions until just combined.
- Transfer to the Pan:Pour the batter into an ungreased tube pan. Smooth the top with a spatula and gently tap the pan on the counter to release any large air bubbles. Place the pan in the preheated oven and bake for 35–40 minutes, or until the top is golden brown and a toothpick inserted in the center comes out clean.
- Cool and Serve:Once baked, invert the pan immediately and allow the cake to cool completely upside down for about 1–2 hours. Once cool, run a knife along the edges to release the cake. Slice with a serrated knife and serve plain, or with your favorite toppings like fresh fruit, whipped cream, or a drizzle of chocolate. Enjoy!
Notes
-
Egg Whites Are Key
- Use fresh, room-temperature egg whites for the best results. Older or cold egg whites may not whip up as well.
-
Do Not Grease the Pan
- Greasing the pan will prevent the batter from clinging to the sides, which is necessary for the cake to rise properly.
-
Folding Technique Matters
- When folding the dry ingredients into the whipped egg whites, use a gentle motion to avoid deflating the batter. Overmixing can result in a dense cake.
-
Cool Upside Down
- Cooling the cake upside down is crucial to prevent it from collapsing. Use the legs of the tube pan or place the center over a bottle or sturdy object.
-
Choose the Right Pan
- A tube pan with a removable bottom works best for Angel Food Cake. Do not substitute with a bundt pan, as it may not release the cake properly.
-
Avoid Opening the Oven Early
- Resist the urge to check on the cake too soon. Opening the oven door can cause the cake to fall. Check only during the last 5 minutes of baking.
-
Slice with a Serrated Knife
- Use a serrated knife for clean slices without squishing the cake’s delicate texture.
-
Flavor Customizations
- Add a twist by incorporating citrus zest, almond extract, or other flavorings into the batter. Keep the balance of wet and dry ingredients consistent.
-
Store Properly
- Store leftover cake in an airtight container at room temperature for up to 2-3 days, or freeze for longer storage. Always allow the cake to cool completely before storing.
- Great Toppings
- Angel Food Cake pairs well with fresh berries, whipped cream, chocolate ganache, or fruit sauces. Customize toppings to suit your preference or occasion.

Hi, I’m Katelyn Williams, the expert behind Ninjacreamiicecream.com. With a deep passion for creating delectable ice cream recipes, I’m here to share my love for all things ice cream. I earned my Bachelor’s degree from Louisiana State University, and since then, I’ve been dedicated to perfecting the art of ice cream making. From classic flavors to innovative creations, my goal is to inspire you to make delicious and creamy treats at home effortlessly. Join me for the best recipes, tips, and techniques to elevate your ice cream game and indulge in delightful frozen desserts!