
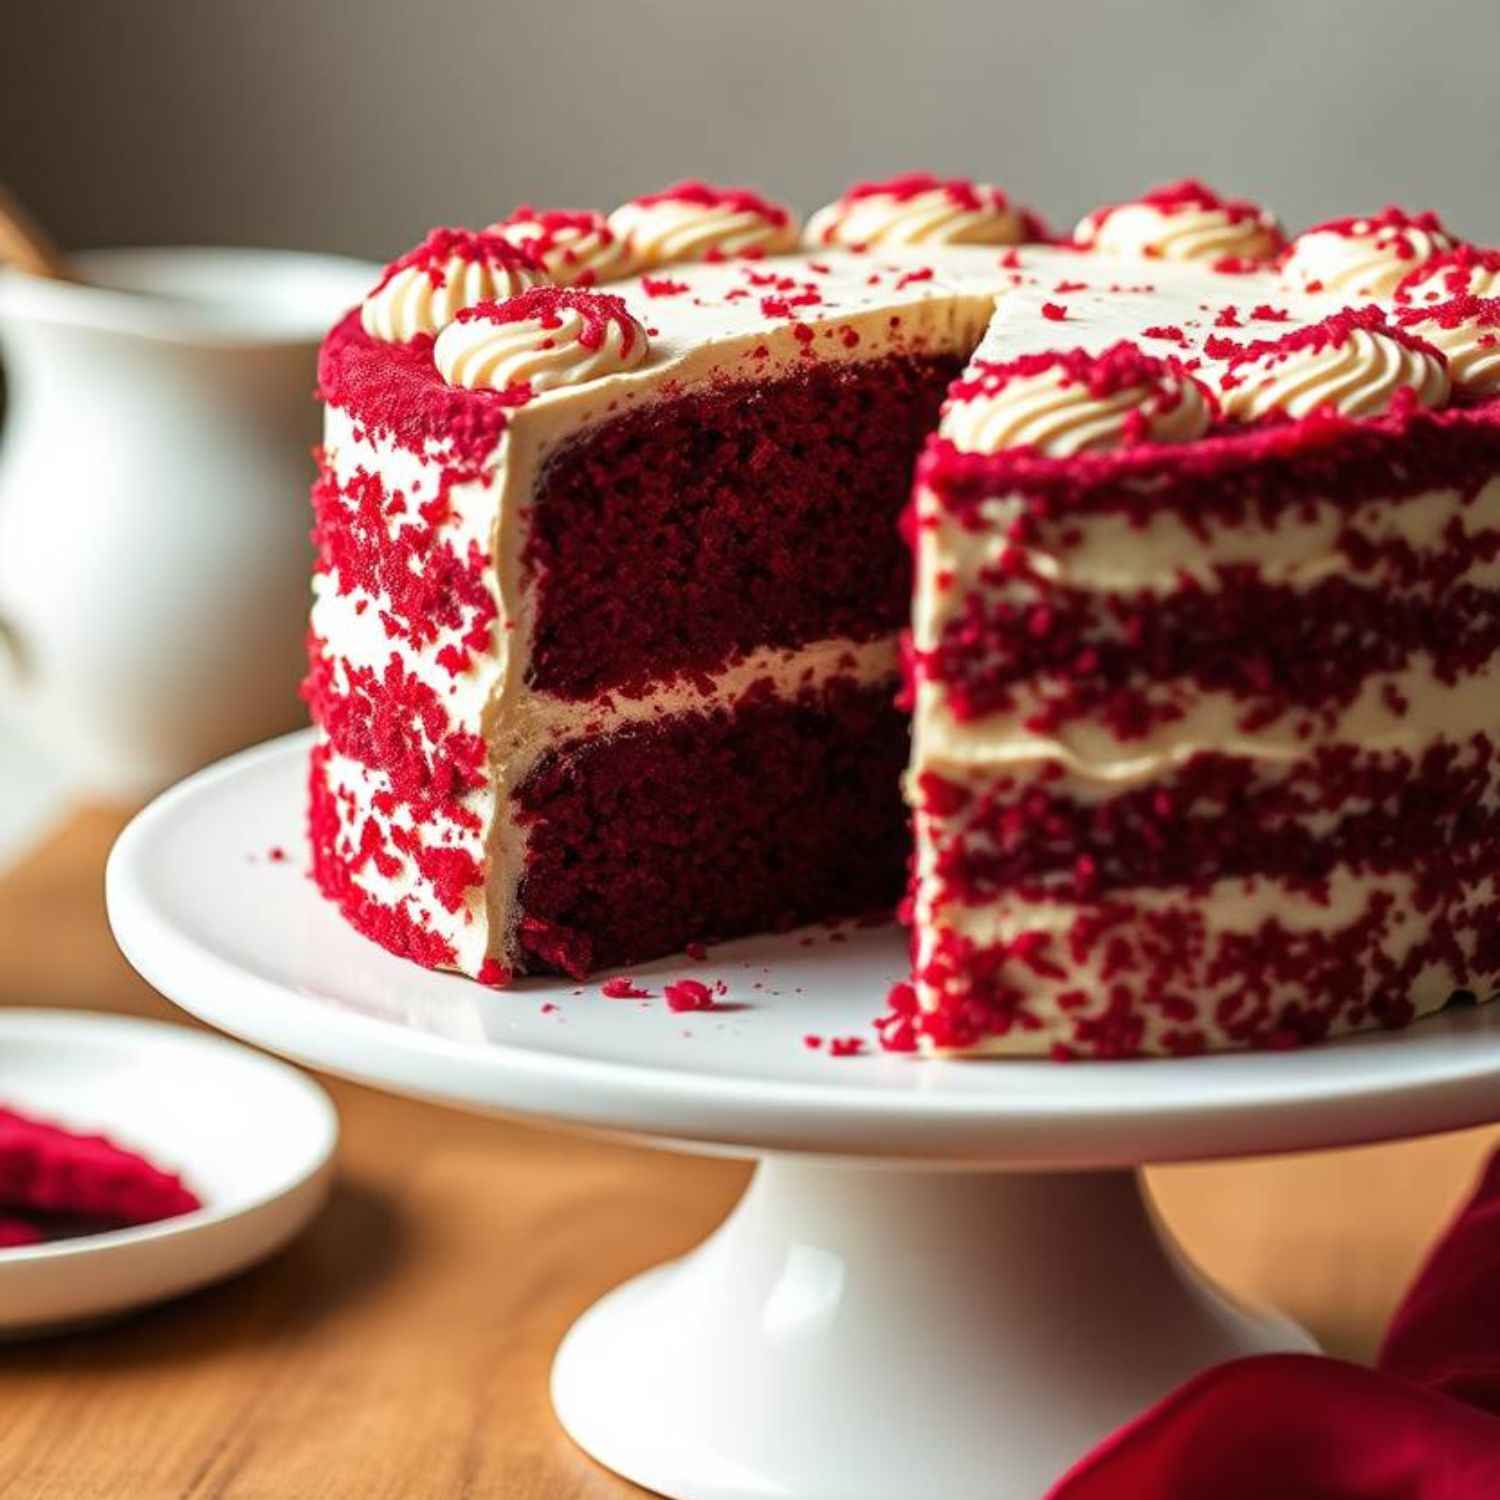
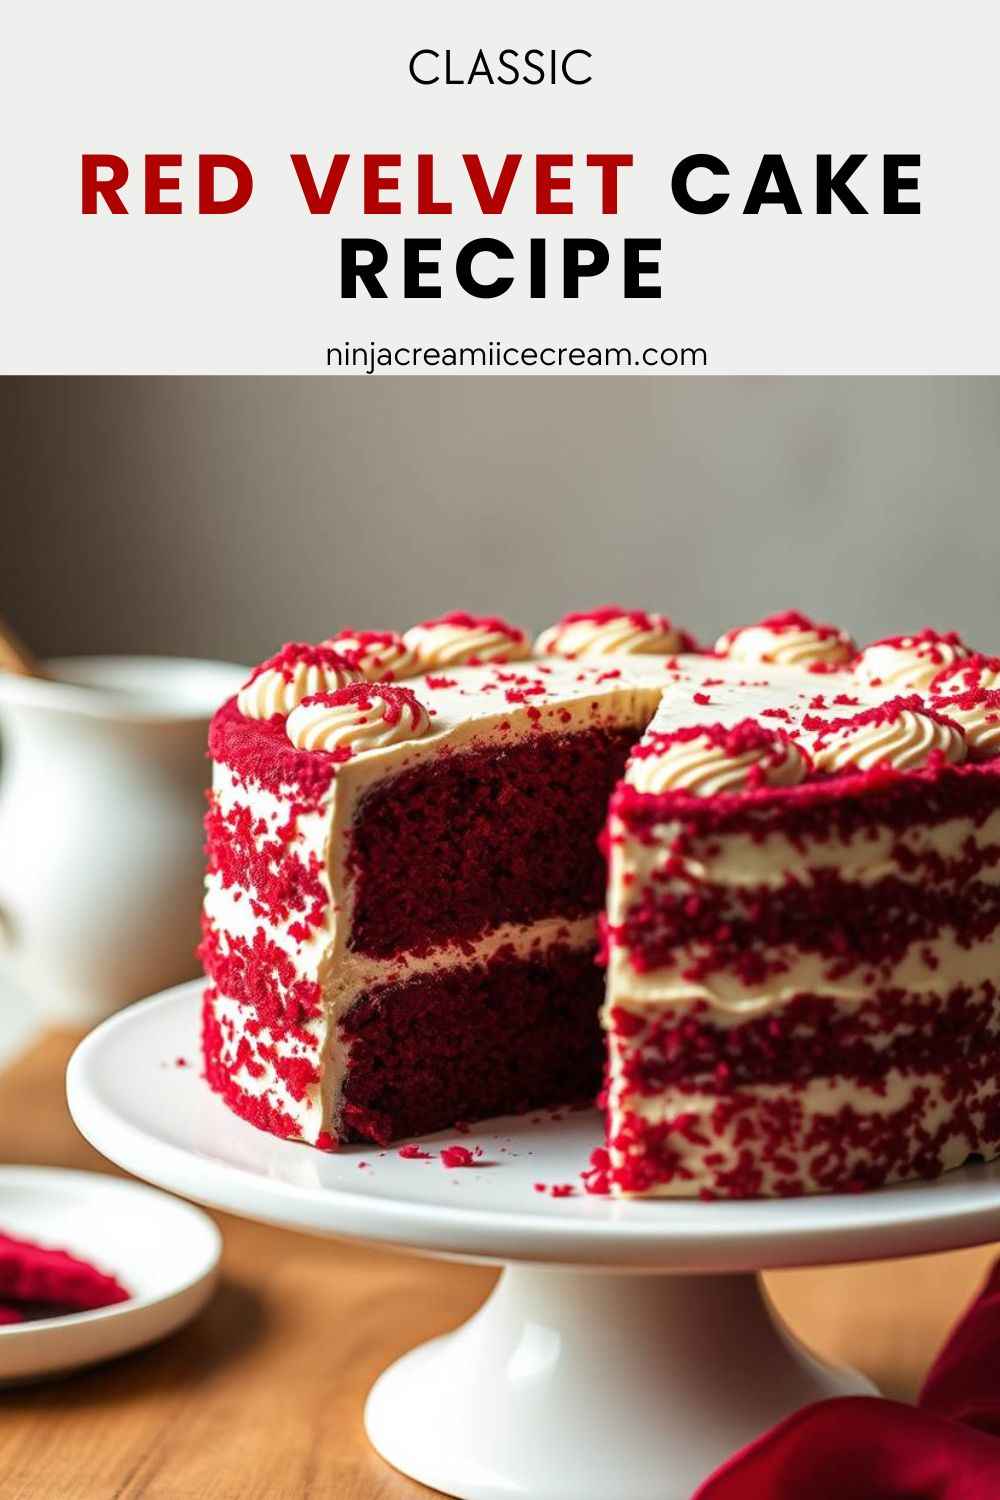
Red Velvet Cake is a beloved dessert that combines a striking visual appeal with a delicate, rich flavor. Known for its vibrant red color and velvety texture, this cake has become a symbol of indulgence and celebration. Its distinct flavor profile balances the mild tang of buttermilk with the subtle cocoa taste, offering a moist, tender crumb that’s both light and decadent. The bold red hue, often enhanced by a generous layer of creamy white frosting, makes it the perfect showstopper for any occasion.
Disclosure: This post may contain affiliate links. As an Amazon Associate, I earn from qualifying purchases. Read more.
Whether it’s a wedding, birthday, or holiday gathering, Red Velvet Cake is a fantastic choice to elevate any celebration. Its festive color and luxurious texture make it a crowd-pleaser, creating a visual and sensory experience that enhances the mood of any special event. The cake’s combination of flavor and eye-catching appearance ensures it stands out at dessert tables, leaving guests impressed and satisfied.
Red Velvet Cake Recipe
Ingredients
For the Cake:
- All-purpose flour
This is the base of the cake and provides structure. It’s best to sift the flour before using to prevent clumping and ensure an even texture. - Granulated sugar
Sugar sweetens the cake and contributes to the moistness of the crumb. It also helps with the cake’s slight caramelization during baking, giving it a subtle richness. - Baking soda
This is the leavening agent that causes the cake to rise and become light and fluffy. It reacts with the acidity of the buttermilk to help the batter expand. - Cocoa powder (unsweetened)
A small amount of unsweetened cocoa powder is used to add a slight chocolate flavor without overwhelming the overall taste. It also contributes to the deep color of the cake. - Salt
Salt enhances the flavor of the cake and balances the sweetness, bringing out the other flavors more prominently. - Buttermilk
Buttermilk adds moisture to the cake and reacts with the baking soda to create a tender texture. It also adds a subtle tanginess that is characteristic of red velvet cakes. - Eggs
Eggs help bind the ingredients together and contribute to the cake’s structure, texture, and color. They provide richness and moisture to the batter. - Vegetable oil
Oil helps keep the cake moist and tender. It creates a soft crumb and prevents the cake from becoming dry. - Red food coloring
The signature red color of the cake comes from food coloring. It not only gives the cake its iconic hue but also makes it visually striking for any celebration. - White vinegar
Vinegar reacts with the baking soda, enhancing the cake’s fluffiness and creating a tender crumb. It also helps bring out the rich color of the red velvet cake. - Vanilla extract
Vanilla adds a warm, fragrant undertone to the cake, balancing the cocoa flavor and complementing the sweetness of the batter.
For the Cream Cheese Frosting:
- Cream cheese (softened)
Cream cheese is the key ingredient in the frosting, giving it a rich, tangy flavor that contrasts beautifully with the sweetness of the cake. It also provides a smooth, creamy texture. - Butter (softened)
Butter adds richness to the frosting and helps achieve a smooth, fluffy consistency. It also enhances the flavor, making the frosting more indulgent. - Powdered sugar
Powdered sugar sweetens the frosting and gives it a smooth, spreadable texture. It dissolves easily and doesn’t leave any grittiness in the frosting. - Vanilla extract
Vanilla extract adds depth and warmth to the frosting, enhancing the flavor and creating a perfect balance with the tanginess of the cream cheese. - A pinch of salt
Salt helps balance the sweetness of the frosting and enhances the overall flavor profile, preventing the frosting from being too sugary.
These ingredients come together to create the perfect Red Velvet Cake, with a moist, fluffy texture and a tangy, sweet cream cheese frosting. The balance of flavors and vibrant color makes it a truly special dessert.
Instructions
Step 1: Preheat the Oven and Prepare the Cake Pans
- Preheat your oven to 350°F (175°C). This ensures the cake bakes evenly at the right temperature.
- Grease two 9-inch round cake pans with butter or cooking spray, then dust with flour to prevent sticking. Alternatively, you can line the pans with parchment paper for easy removal after baking.
Step 2: Mix the Dry Ingredients
- In a large bowl, sift together 2 ½ cups of all-purpose flour, 1 ½ cups of granulated sugar, 1 tablespoon of cocoa powder, 1 teaspoon of baking soda, and ½ teaspoon of salt.
- Sifting the dry ingredients helps to avoid clumps, ensuring an even mix and a smooth batter.
Step 3: Mix the Wet Ingredients
- In a separate bowl, whisk together 1 cup of buttermilk, 2 large eggs, ½ cup of vegetable oil, 2 teaspoons of vanilla extract, and 2 tablespoons of red food coloring.
- The food coloring should be enough to give the cake its bright red hue. If you prefer a deeper color, you can add a little more food coloring.
- Add 1 teaspoon of white vinegar to the wet mixture. This will react with the baking soda to help the cake rise and create a fluffy texture.
Step 4: Combine Wet and Dry Ingredients
- Gradually add the wet ingredients into the dry mixture, stirring gently with a spatula or using a hand mixer on low speed.
- Mix until just combined. Be careful not to over-mix, as this could make the cake dense.
- The batter should have a smooth consistency, and the red color should be evenly distributed.
Step 5: Bake the Cakes
- Divide the batter evenly between the two prepared cake pans.
- Use a spatula to smooth the top of the batter so it bakes evenly.
- Bake the cakes in the preheated oven for 25-30 minutes. Start checking for doneness around 25 minutes by inserting a toothpick into the center of the cakes. If it comes out clean or with a few moist crumbs, the cakes are done.
- If needed, let the cakes bake for an additional 5 minutes, checking regularly.
Step 6: Cool the Cakes
- Remove the cakes from the oven and allow them to cool in the pans for about 10 minutes.
- After 10 minutes, turn the cakes out onto a wire rack to cool completely. This helps prevent them from becoming soggy and ensures the frosting will set well when applied.
Step 7: Make the Cream Cheese Frosting
- While the cakes are cooling, prepare the cream cheese frosting.
- In a large bowl, beat 8 ounces of softened cream cheese and ½ cup of softened butter with an electric mixer on medium speed until smooth and fluffy.
- Gradually add 4 cups of powdered sugar, beating continuously until fully incorporated. If the frosting becomes too thick, you can add a small splash of milk to reach your desired consistency.
- Stir in 1 teaspoon of vanilla extract and a pinch of salt to balance the sweetness.
Step 8: Frost the Cake
- Once the cakes have cooled completely, place the first layer on a serving plate or cake stand.
- Spread a generous layer of cream cheese frosting over the top of the first cake layer, smoothing it out evenly with a spatula.
- Place the second layer of cake on top and frost the entire cake with the remaining cream cheese frosting.
- If desired, use a spatula to create decorative swirls or patterns in the frosting.
Step 9: Serve and Enjoy
- Slice and serve the cake once the frosting has set. If you prefer, chill the cake in the fridge for about 30 minutes to firm up the frosting before cutting.
- The cake can be stored in the refrigerator for up to 3-4 days. Make sure to cover it to keep the frosting fresh.
With these detailed instructions, you’ll be able to create a stunning and delicious Red Velvet Cake that’s perfect for any celebration!

Red Velvet Cake Recipe
Equipment
- Oven –
- 2 (9-inch) Round Cake Pans:
- Mixing Bowls:
- Electric Mixer (Hand Mixer or Stand Mixer)
- Measuring Cups and Spoons:
- Whisk
- Spatula:
- Cooling Rack
- Parchment Paper (Optional):
- Knife or Cake Slicer
- Frosting Spreader or Offset Spatula
Ingredients
For the Cake:
- 2 ½ cups all-purpose flour (measured correctly by spooning and leveling)
- 1 ½ cups granulated sugar
- 1 tbsp unsweetened cocoa powder
- 1 tsp baking soda
- ½ teaspoon salt
- 1 cup buttermilk (room temperature)
- 2 large large eggs (room temperature)
- ½ cup vegetable oil
- 2 tsp vanilla extract
- 2 tbsp red food coloring (liquid or gel)
- 1 tsp white vinegar
For the Cream Cheese Frosting:
- 8 ounces cream cheese (softened)
- ½ cup unsalted butter (softened)
- 4 cups powdered sugar (sifted)
- 1 teaspoon vanilla extract
- Pinch of salt (optional, to balance sweetness)
Instructions
- Prepare the Cake Pans and Preheat the OvenPreheat your oven to 350°F (175°C). Grease and flour two 9-inch round cake pans, or line them with parchment paper for easy cake removal.
- Mix the Dry IngredientsIn a large bowl, sift together 2 ½ cups of all-purpose flour, 1 ½ cups of granulated sugar, 1 tablespoon of cocoa powder, 1 teaspoon of baking soda, and ½ teaspoon of salt. Set aside.
- Combine the Wet IngredientsIn a separate bowl, whisk together 1 cup of buttermilk, 2 large eggs, ½ cup of vegetable oil, 2 teaspoons of vanilla extract, 2 tablespoons of red food coloring, and 1 teaspoon of white vinegar.
- Mix Wet and Dry IngredientsGradually add the wet ingredients to the dry ingredients, mixing gently until combined. Be careful not to overmix. The batter should be smooth with a vibrant red color.
- Bake and Frost the CakeDivide the batter evenly between the two prepared cake pans. Bake for 25-30 minutes, or until a toothpick inserted into the center comes out clean. Cool the cakes in the pans for 10 minutes, then remove and let them cool completely on a wire rack. While the cakes cool, prepare the cream cheese frosting by beating together 8 ounces of cream cheese, ½ cup of softened butter, 4 cups of powdered sugar, 1 teaspoon of vanilla extract, and a pinch of salt until smooth. Once the cakes are cooled, spread the frosting between the layers and on top of the cake.
Notes
-
Buttermilk Substitution:
- If you don’t have buttermilk on hand, you can make a substitute by adding 1 tablespoon of vinegar or lemon juice to 1 cup of milk. Let it sit for 5 minutes before using.
-
Food Coloring:
- The intensity of the red color can vary depending on the type of food coloring used. Gel food coloring typically gives a more vibrant color than liquid food coloring. Start with 2 tablespoons, but feel free to add more if you want a deeper red hue.
-
Baking Time Variations:
- Oven temperatures can vary, so start checking your cake at the 25-minute mark. You can insert a toothpick into the center of the cake—if it comes out clean, the cakes are done.
-
Cake Storage:
- Store leftover cake in the refrigerator for up to 3-4 days. Make sure it is tightly wrapped or placed in an airtight container to keep it moist.
-
Softening Cream Cheese and Butter:
- Ensure the cream cheese and butter are softened to room temperature for easy mixing. Cold ingredients can result in a lumpy frosting.
-
Leveling the Cakes:
- If your cakes have domed in the center, you can level them with a serrated knife before frosting to ensure even layers.
-
Frosting Consistency:
- If the cream cheese frosting is too runny, add more powdered sugar to thicken it. If it’s too thick, add a tablespoon of milk to achieve a smoother texture.
-
Gluten-Free Option:
- For a gluten-free version, substitute the all-purpose flour with a gluten-free flour blend that can be used cup-for-cup in place of regular flour.
Tips for Perfect Red Velvet Cake
- Use Room Temperature Ingredients:
- Ensure that your eggs, buttermilk, and butter are at room temperature before mixing. This helps them incorporate more easily into the batter, resulting in a smoother, fluffier texture.
- Don’t Overmix the Batter:
- Once you add the wet ingredients to the dry ingredients, mix only until just combined. Overmixing can lead to a dense cake, so keep it gentle to maintain a light, tender crumb.
- Measure Flour Correctly:
- Too much flour can make your cake dry. To measure the flour correctly, spoon it into your measuring cup and level it off with a knife. Avoid scooping the flour directly from the container, as it can pack it down, leading to inaccurate measurements.
- Use Quality Cocoa Powder:
- Even though red velvet cake isn’t a chocolate cake, the cocoa powder adds a subtle flavor that enhances the overall taste. Choose a high-quality, unsweetened cocoa powder for the best results.
- Adjust the Red Food Coloring:
- The amount of food coloring used can affect the final appearance. If you prefer a more vibrant red, feel free to add a bit more food coloring, but be cautious not to overwhelm the flavor.
- Ensure Your Oven Is Accurate:
- Oven temperatures can vary. Use an oven thermometer to make sure your oven is preheating to the correct temperature (350°F/175°C). This ensures even baking and prevents overcooking or undercooking the cake.
- Cool Cakes Completely Before Frosting:
- Allow your cakes to cool completely before frosting to avoid the frosting melting. If you’re in a rush, place the cakes in the fridge for about 15-20 minutes to speed up the cooling process.
- Frosting Tip – Use Softened Cream Cheese and Butter:
- Softening the cream cheese and butter ensures a smooth frosting. Cold ingredients can cause the frosting to be lumpy, so always let them sit out for about 30 minutes before using.
- Cake Pans – Grease and Flour Properly:
- To avoid the cake sticking to the pan, grease your pans thoroughly and dust with flour, or line the pans with parchment paper. This makes the cakes easier to remove after baking.
- Chill the Cake After Frosting:
- For neat slices and a more stable frosting, chill the cake for about 30 minutes after frosting it. This helps the frosting firm up and prevents it from sliding off when serving.
- Decorate with Optional Garnishes:
- For added flair, decorate the cake with red velvet cake crumbs, edible glitter, or even fresh berries. It adds visual interest and gives the cake a personalized touch.
- Leftover Cake Storage:
- Store leftover cake in the refrigerator. It will stay fresh for about 3-4 days. Make sure to cover it tightly with plastic wrap or place it in an airtight container to preserve its moisture.
By following these tips, you’ll be able to make a delicious and visually stunning Red Velvet Cake that is sure to impress!
Conclusion
Red Velvet Cake is more than just a dessert—it’s a statement piece that brings elegance and flavor to any celebration. Its striking red color, combined with a moist, tender crumb and a tangy cream cheese frosting, makes it the perfect choice for birthdays, weddings, holidays, or any special occasion. The cake’s unique combination of cocoa, buttermilk, and the vibrant hue sets it apart from other traditional cakes, ensuring it stands out on any dessert table.
With easy-to-follow instructions and tips for achieving the perfect balance of flavors and texture, this Red Velvet Cake recipe is accessible for both beginners and seasoned bakers. Whether you’re making it for a milestone event or just a sweet treat to share with loved ones, this cake offers a delightful experience from the first bite to the last.
By mastering this recipe, you’ll create a show-stopping dessert that not only tastes delicious but also leaves a lasting impression. So, the next time you’re planning a celebration, consider baking a Red Velvet Cake—it’s sure to add a touch of beauty and indulgence to your event, making it one to remember.

Hi, I’m Katelyn Williams, the expert behind Ninjacreamiicecream.com. With a deep passion for creating delectable ice cream recipes, I’m here to share my love for all things ice cream. I earned my Bachelor’s degree from Louisiana State University, and since then, I’ve been dedicated to perfecting the art of ice cream making. From classic flavors to innovative creations, my goal is to inspire you to make delicious and creamy treats at home effortlessly. Join me for the best recipes, tips, and techniques to elevate your ice cream game and indulge in delightful frozen desserts!