
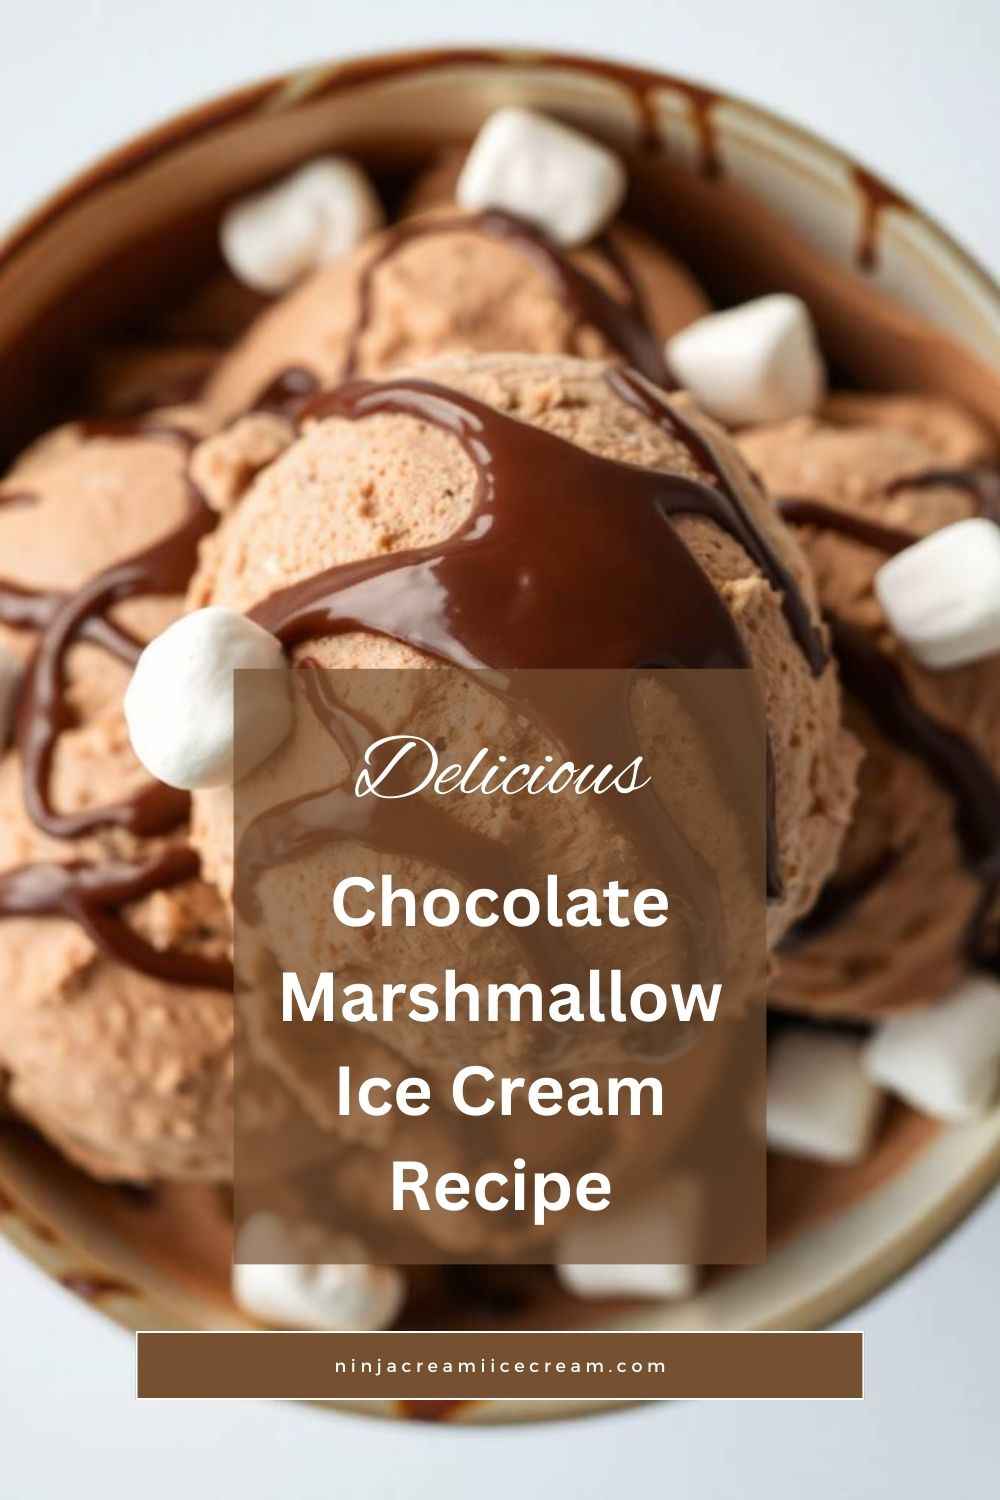
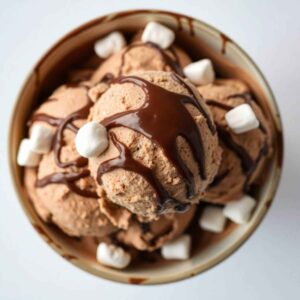
Chocolate Marshmallow Ice Cream is a decadent treat that combines the richness of creamy chocolate with the delightful fluffiness of marshmallows. This irresistible dessert perfectly balances the bold, indulgent flavors of chocolate with the light, pillowy texture of melted or mixed marshmallows, creating a taste sensation that’s hard to resist. Whether you choose to make this recipe at home from scratch or enhance a store-bought base with your favorite mix-ins, it’s a guaranteed crowd-pleaser for any occasion.
Disclosure: This post may contain affiliate links. As an Amazon Associate, I earn from qualifying purchases. Read more.

Chocolate Marshmallow Ice Cream Recipe
Ingredients for Chocolate Marshmallow Ice Cream
Main Ingredients
- Chocolate
- 1 cup of chopped dark chocolate or milk chocolate (adjust to your preference for sweetness).
- Provides the rich, chocolatey flavor that forms the base of the ice cream.
- Mini Marshmallows
- 1 to 1½ cups of mini marshmallows or chopped regular marshmallows.
- Adds a chewy, fluffy texture and the signature marshmallow taste.
- Heavy Cream
- 2 cups of heavy whipping cream.
- Ensures the ice cream is rich, creamy, and smooth.
- Whole Milk
- 1 cup of whole milk.
- Balances the richness of the heavy cream and helps achieve the desired consistency.
- Granulated Sugar
- ¾ cup of granulated sugar (or adjust to taste).
- Sweetens the ice cream base and enhances the chocolate flavor.
- Vanilla Extract
- 1 teaspoon of pure vanilla extract.
- Adds depth to the flavor and complements the chocolate and marshmallow elements.
Optional Add-ins
- Chocolate Chips or Chunks
- ½ cup for extra bursts of chocolate in every bite.
- Marshmallow Swirl
- ½ cup of marshmallow fluff or melted marshmallows swirled into the churned ice cream for added texture.
- Crushed Graham Crackers
- ½ cup, for a s’mores-inspired twist.
- Caramel or Chocolate Syrup
- Drizzle into the mixture or as a topping to enhance the flavor.
- Nuts
- ¼ cup of finely chopped nuts, such as almonds or hazelnuts, for added crunch.
These ingredients come together to create a velvety chocolate base with delightful pops of fluffy marshmallows, making this ice cream a crowd-pleaser.
Ingredients for Chocolate Marshmallow Ice Cream
Chocolate Marshmallow Ice Cream Recipe
Equipment
- Mixing Bowls:
- Saucepan
- Whisk or Hand Mixer
- Ice Cream Maker
- Spatula:
- Measuring Cups and Spoons:
- Freezer-Safe Container with Lid
- Double Boiler (Optional)
- Plastic Wrap or Parchment Paper
Ingredients
- 1 cup Dark or Milk Chocolate (chopped or in chips)
- 1½ cups Mini Marshmallows (or regular marshmallows, cut into smaller pieces)
- 2 cups Heavy Whipping Cream
- 1 cup Whole Milk
- 1 teaspoon Vanilla Extract
Optional Add-ins:
- ½ cup Chocolate Chips or Chunks (for extra chocolatey texture)
- ½ cup Marshmallow Fluff (for a smoother marshmallow swirl)
- ½ cup Crushed Graham Crackers (for a s’mores-inspired twist)
- ¼ cup Caramel or Chocolate Syrup
- ¼ cup Chopped Nuts
Instructions
- Prepare the Chocolate BaseIn a saucepan, melt the chocolate over low heat, stirring constantly to prevent burning. Once melted, remove from heat and let it cool slightly.
- Mix the Ice Cream BaseIn a large mixing bowl, whisk together the heavy cream, whole milk, sugar, and vanilla extract until the sugar is fully dissolved. Add the melted chocolate to the mixture and stir until smooth and well combined.
- Chill the MixtureCover the bowl and refrigerate the ice cream base for 2-4 hours, or until it’s completely chilled. This step ensures that the ice cream churns to a creamy consistency.
- Churn the Ice CreamPour the chilled mixture into an ice cream maker and churn according to the manufacturer's instructions, typically for 20-25 minutes. If desired, add chocolate chips, marshmallow fluff, or other optional add-ins during the last few minutes of churning.
- Freeze and ServeTransfer the churned ice cream to a freezer-safe container, folding in mini marshmallows or extra marshmallow fluff for added texture. Cover with plastic wrap and freeze for at least 4 hours or until firm. Scoop and enjoy!
Notes
-
Chill the Base Thoroughly
- It's crucial to chill the ice cream base for at least 2-4 hours (or overnight) before churning. This ensures a smoother and creamier texture once churned.
-
Melting Chocolate
- When melting the chocolate, use a low heat and stir constantly to prevent it from burning. A double boiler method works best to maintain control over the temperature.
-
Use Cold Ingredients
- For the best texture, make sure that the heavy cream and whole milk are cold before mixing them into the base. This helps the ice cream churn properly.
-
Don’t Over-Churn
- Over-churning can cause the ice cream to become too firm or grainy. Follow the manufacturer's instructions for your ice cream maker, typically churning for 20-25 minutes.
-
Marshmallow Texture
- Mini marshmallows are best folded in after churning to maintain their fluffy texture. If you prefer a smoother consistency, marshmallow fluff can be swirled in during the churning process.
-
Freezing for Firmness
- After churning, transfer the ice cream to a freezer-safe container and freeze for at least 4 hours to allow it to firm up properly before serving.
-
Storage
- Store leftover ice cream in an airtight container to prevent freezer burn. To prevent ice crystals from forming, place a layer of plastic wrap directly on the surface before sealing the container.
-
Customization
- Feel free to add or remove mix-ins based on your preferences. Crushed cookies, chocolate chunks, or even caramel swirls can make this ice cream even more delightful!
Tips for Making Chocolate Marshmallow Ice Cream
- Use High-Quality Ingredients
- Opt for premium chocolate and fresh heavy cream to achieve the best flavor and texture.
- Chill the Base Thoroughly
- After mixing the ice cream base, refrigerate it for at least 2-4 hours or overnight. This step enhances the creamy texture and ensures it churns properly.
- Melt Chocolate Carefully
- Melt chocolate over low heat or use a double boiler to prevent burning. Stir continuously for a smooth consistency.
- Fold Marshmallows Gently
- Add mini marshmallows or marshmallow fluff after churning to retain their fluffy texture. Fold them in gently to avoid deflating the ice cream.
- Don’t Skip the Freezer Time
- Once churned, let the ice cream firm up in the freezer for at least 4 hours or overnight. This step ensures the perfect scoopable texture.
- Pre-Freeze Your Ice Cream Maker Bowl
- If using an ice cream maker with a freezer bowl, ensure it is completely frozen (usually requires 12-24 hours in the freezer).
- Customize with Add-ins
- Experiment with mix-ins like crushed cookies, graham crackers, or caramel swirls to elevate the flavor profile. Add them during the last minute of churning.
- Serve at the Right Temperature
- Let the ice cream sit at room temperature for 5-10 minutes before scooping to make it easier to serve.
- Storage Tip
- Store the ice cream in an airtight container. Place a piece of plastic wrap directly on the surface to prevent ice crystals from forming.
- Double the Recipe
- If serving a crowd, double the recipe but churn in batches to ensure even consistency.
By following these tips, you’ll create a perfectly creamy and flavorful chocolate marshmallow ice cream every time!
Conclusion
Chocolate Marshmallow Ice Cream is the ultimate treat for those who crave a combination of rich, creamy chocolate and the light, fluffy texture of marshmallows. This recipe strikes the perfect balance between indulgence and fun, making it a favorite for both kids and adults alike. Whether you’re making it from scratch or enhancing a store-bought base with marshmallows and other mix-ins, the result is a delightful dessert that’s hard to resist.
By using high-quality ingredients and following simple steps, you can create a homemade masterpiece that rivals any store-bought version. The versatility of this recipe also allows you to experiment with flavors and textures by adding ingredients like caramel swirls, crushed cookies, or chopped nuts. From special occasions to casual family nights, this ice cream is sure to be a crowd-pleaser that leaves everyone wanting more.

Hi, I’m Katelyn Williams, the expert behind Ninjacreamiicecream.com. With a deep passion for creating delectable ice cream recipes, I’m here to share my love for all things ice cream. I earned my Bachelor’s degree from Louisiana State University, and since then, I’ve been dedicated to perfecting the art of ice cream making. From classic flavors to innovative creations, my goal is to inspire you to make delicious and creamy treats at home effortlessly. Join me for the best recipes, tips, and techniques to elevate your ice cream game and indulge in delightful frozen desserts!