A Banana Milkshake is a delicious, nutritious, and easy-to-make treat that combines the natural sweetness of ripe bananas with creamy milk. This simple beverage is not only a satisfying snack but also versatile enough to be enjoyed as a wholesome breakfast or a delightful dessert. Whether you’re looking for a quick pick-me-up or a refreshing drink to cool you down, the banana milkshake is the perfect choice. With its smooth texture and rich flavor, it’s a go-to option for any time of the day, offering a boost of energy and essential nutrients like potassium and vitamins.
Disclosure: This post may contain affiliate links. As an Amazon Associate, I earn from qualifying purchases. Read more.
Banana Milkshake Recipe
Ingredients for Banana Milkshake
- 1 Ripe Banana
- The star ingredient of this milkshake, a ripe banana, provides natural sweetness and a creamy texture. Bananas are packed with potassium, vitamins B6 and C, and dietary fiber, making them a nutritious base for the shake. Using a ripe banana ensures the milkshake has the ideal level of sweetness and a smooth consistency.
- 1 Cup of Milk
- Milk adds creaminess to the milkshake, helping blend the banana into a smooth consistency. You can use regular dairy milk or opt for a non-dairy alternative like almond milk, oat milk, or coconut milk, depending on your preference or dietary needs. Milk is rich in calcium and protein, contributing to the milkshake’s nutritional value.
- 1-2 Tablespoons of Honey or Sweetener (Optional)
- Honey or your preferred sweetener can be added if you like a sweeter taste. Honey also brings additional benefits, such as antioxidants and antibacterial properties. For those looking for sugar-free or lower-calorie options, alternatives like stevia, maple syrup, or agave nectar can also work well.
- ½ Teaspoon Vanilla Extract (Optional)
- Adding vanilla extract enhances the flavor of the milkshake, giving it a warm, aromatic note. It complements the banana and milk perfectly, creating a more complex and indulgent taste. This ingredient is optional but can elevate the flavor of your milkshake.
- Ice Cubes (Optional)
- Ice cubes are optional but can be added if you prefer a thicker, colder milkshake. They help chill the drink and create a slushier consistency, perfect for a hot day or if you want a thicker texture. For an even thicker consistency, you can freeze the banana slices beforehand and blend them with the milk.
These ingredients combine to create a creamy, rich, and satisfying banana milkshake that can be enjoyed in various ways depending on your tastes and dietary preferences.
Instructions for Banana Milkshake
-
Prepare the Banana
- Start by peeling the banana and cutting it into small slices or chunks. This will make it easier for your blender to blend the banana smoothly into the milkshake.
-
Add the Ingredients to the Blender
- Place the sliced banana into the blender. Follow with 1 cup of milk (dairy or non-dairy based on your preference). If you’d like a sweeter milkshake, add 1-2 tablespoons of honey or your preferred sweetener, adjusting to taste. For extra flavor, you can also add ½ teaspoon of vanilla extract.
-
Add Ice (Optional)
- If you like your milkshake cold and thick, add a few ice cubes to the blender. Alternatively, you can use frozen banana slices to achieve a similar effect. Ice helps give the milkshake a frosty, creamy texture, making it even more refreshing.
-
Blend the Mixture
- Secure the lid of your blender and blend the ingredients on high speed until the mixture is smooth and creamy. Depending on the power of your blender, this should take about 20-30 seconds. If needed, stop the blender and scrape down the sides to ensure all ingredients are fully blended.
-
Taste and Adjust Sweetness
- Once blended, taste your banana milkshake. If you prefer it sweeter, you can add a little more honey or sweetener and blend again for a few seconds to combine.
-
Serve and Enjoy
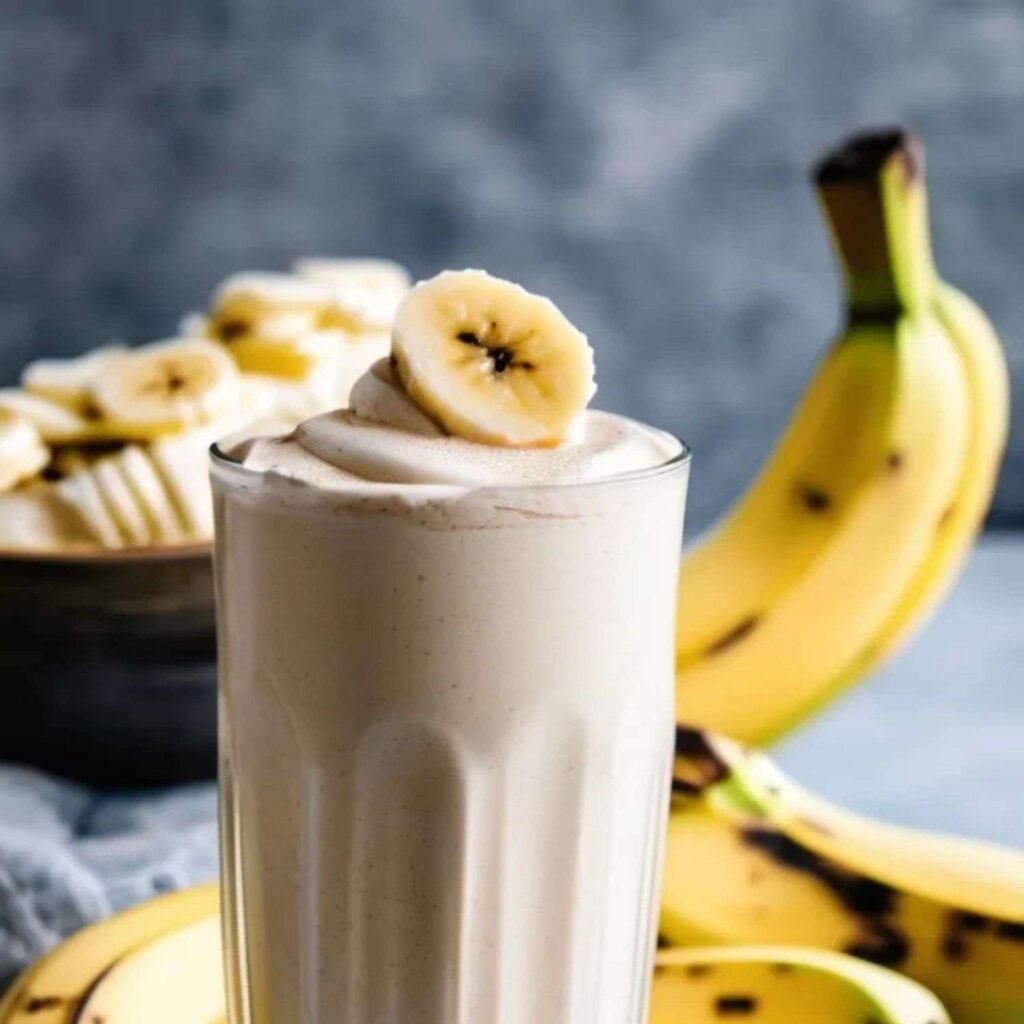
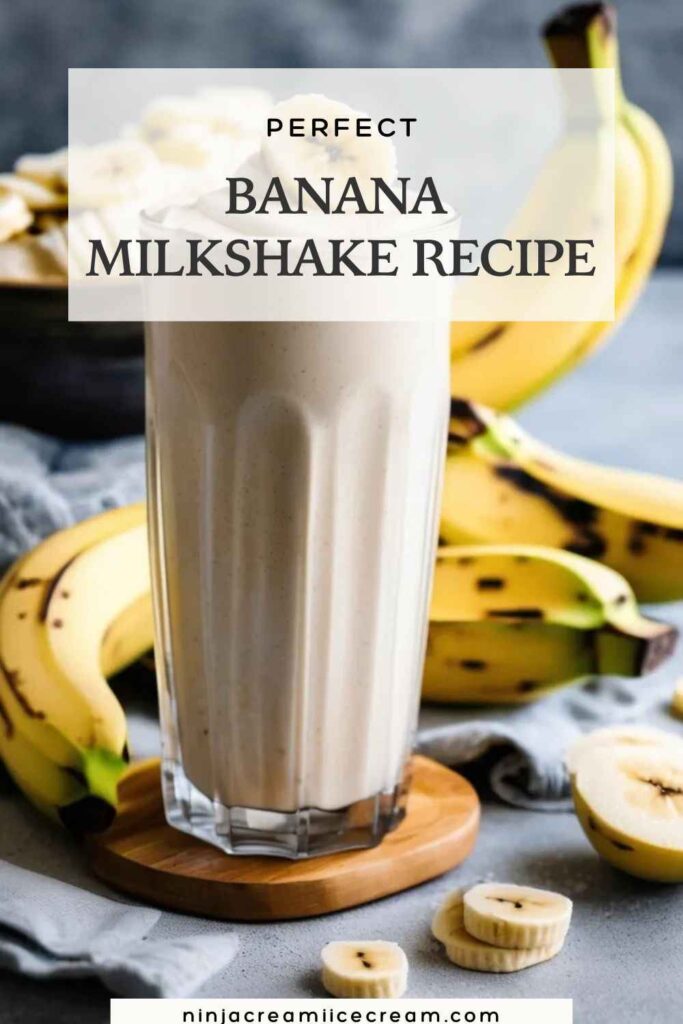
- Pour the milkshake into a glass or cup. If desired, garnish with a slice of banana on the rim of the glass or a sprinkle of cinnamon for added flavor. Serve immediately with a straw for easy sipping.
These simple steps will create a delicious banana milkshake that’s creamy, satisfying, and perfect for any occasion!

Banana Milkshake Recipe
Equipment
- Blender: Essential for blending the banana and milk (and any other add-ins) into a smooth and creamy texture.
- Measuring Cups and Spoons: To measure the ingredients like milk, honey, and vanilla extract.
- Knife and Cutting Board: For peeling and slicing the banana into smaller chunks before adding it to the blender.
- Glass or Cup for Serving To pour and enjoy your freshly made milkshake.
- Straw (Optional) For an easy and fun way to sip your milkshake.
Ingredients
- 1 ripe banana
- 1 cup milk
- 1-2 tablespoons honey or sweetener (optional)
- ½ teaspoon vanilla extract (optional)
- Ice cubes (optional)
Instructions
- Prepare the BananaPeel the banana and cut it into small chunks to make it easier to blend.
- Add Ingredients to the BlenderPlace the banana chunks in the blender, then add 1 cup of milk. If using, add 1-2 tablespoons of honey or sweetener and ½ teaspoon of vanilla extract.
- Add Ice (Optional)Add a few ice cubes for a colder, thicker milkshake, or use frozen banana slices for a similar effect.
- Blend Until SmoothSecure the blender lid and blend on high speed for 20-30 seconds, or until the mixture is creamy and smooth.
- Serve and EnjoyPour the milkshake into a glass, garnish with a slice of banana or a sprinkle of cinnamon if desired and enjoy!
Notes
-
Use Ripe Bananas
- The riper the banana, the sweeter and smoother the milkshake will be. Overripe bananas work best for a naturally sweet taste and creamy texture.
-
Adjust Sweetness to Taste
- Depending on your preference and the ripeness of your banana, you may not need to add much sweetener. Start with a small amount of honey or other sweeteners, then adjust as necessary.
-
Milk Options
- You can use any type of milk based on dietary needs (such as almond, soy, or oat milk). Keep in mind that different types of milk may slightly alter the flavor and texture of the shake.
-
Frozen Banana for Thicker Shake
- For a thicker and colder milkshake, freeze the banana slices before blending. This helps eliminate the need for ice and results in a creamier consistency.
-
Blend Thoroughly
- Make sure to blend the mixture until smooth to avoid chunks of banana. If needed, stop the blender and scrape down the sides to ensure even blending.
-
Customization
- Feel free to add flavor variations like cinnamon, nutmeg, peanut butter, or even cocoa powder to give your milkshake a unique twist.
-
Serving Tips
- Serve immediately for the best flavor and texture. If left to sit for too long, the milkshake may lose its creaminess or thicken up too much.
-
Calorie Consideration
- If you're concerned about the calorie count, opt for unsweetened non-dairy milk and limit the added sweeteners for a lower-calorie version.
Tips for the Perfect Banana Milkshake
- Use a Ripe Banana
- For the best flavor and natural sweetness, make sure the banana is ripe. A ripe banana will blend smoother and provide a naturally sweet base for the milkshake. If your banana is not ripe enough, you can let it sit for a day or two to ripen.
- Freeze the Banana for a Thicker Texture
- For an even thicker, creamier milkshake, freeze the banana slices beforehand. This eliminates the need for ice and helps create a smooth, frosty texture without watering down the flavor.
- Customize with Flavors
- Don’t be afraid to get creative! You can add flavor variations like a teaspoon of cinnamon, a dash of nutmeg, or a spoonful of peanut butter for added richness. Chocolate syrup or cocoa powder can also give your milkshake a chocolatey twist.
- Adjust the Sweetness
- Depending on the sweetness of your banana and personal preference, you may want to adjust the amount of honey or sweetener. Start with a small amount and taste the milkshake as you go, adding more if needed.
- Use Cold Milk for a Chilled Shake
- To ensure your milkshake is cool and refreshing, use cold milk or chill the milk before blending. If you’re using dairy-free alternatives, make sure they’re refrigerated for a nice, cold shake.
- Try Dairy-Free Alternatives
- If you’re lactose intolerant or following a plant-based diet, you can swap regular milk for almond milk, oat milk, or coconut milk. These alternatives still provide a creamy texture and add unique flavors to your banana milkshake.
- Add Protein or Superfoods
- To make your banana milkshake more filling, consider adding a scoop of protein powder, Greek yogurt, or a handful of spinach. This boosts the nutritional value, making it a great post-workout snack or a more substantial breakfast.
- Garnish for a Fun Touch
- Add a fun garnish like whipped cream, a cherry on top, or a sprinkle of granola or shredded coconut for added texture and flavor. A few extra banana slices or a drizzle of honey can also make the presentation more appealing.
By following these tips, you can customize your banana milkshake to suit your tastes and dietary preferences, ensuring it’s the perfect treat every time!
Conclusion
A banana milkshake is a simple yet satisfying treat that’s perfect for any time of day. With just a few ingredients—ripe bananas, milk, and optional sweeteners—you can create a creamy, naturally sweet beverage that’s as nutritious as it is delicious. It’s an easy recipe that takes minutes to prepare and can be customized to suit various dietary needs, making it a versatile option for everyone in the family.
Whether you enjoy it as a quick snack, a refreshing breakfast, or a light dessert, this banana milkshake is a great way to fuel your day with essential vitamins and minerals. Bananas are packed with potassium and fiber, while milk adds calcium and protein, making this milkshake a well-rounded choice. Plus, with the option to add flavor variations or extra nutritional boosts, you can easily tailor it to your taste preferences.
So, the next time you’re craving something sweet and refreshing, reach for a banana milkshake. It’s a fun and simple way to enjoy the delicious taste of bananas while treating yourself to a nutritious and satisfying drink. With endless customization possibilities, you’ll never get bored of this classic milkshake recipe.

Hi, I’m Katelyn Williams, the expert behind Ninjacreamiicecream.com. With a deep passion for creating delectable ice cream recipes, I’m here to share my love for all things ice cream. I earned my Bachelor’s degree from Louisiana State University, and since then, I’ve been dedicated to perfecting the art of ice cream making. From classic flavors to innovative creations, my goal is to inspire you to make delicious and creamy treats at home effortlessly. Join me for the best recipes, tips, and techniques to elevate your ice cream game and indulge in delightful frozen desserts!


